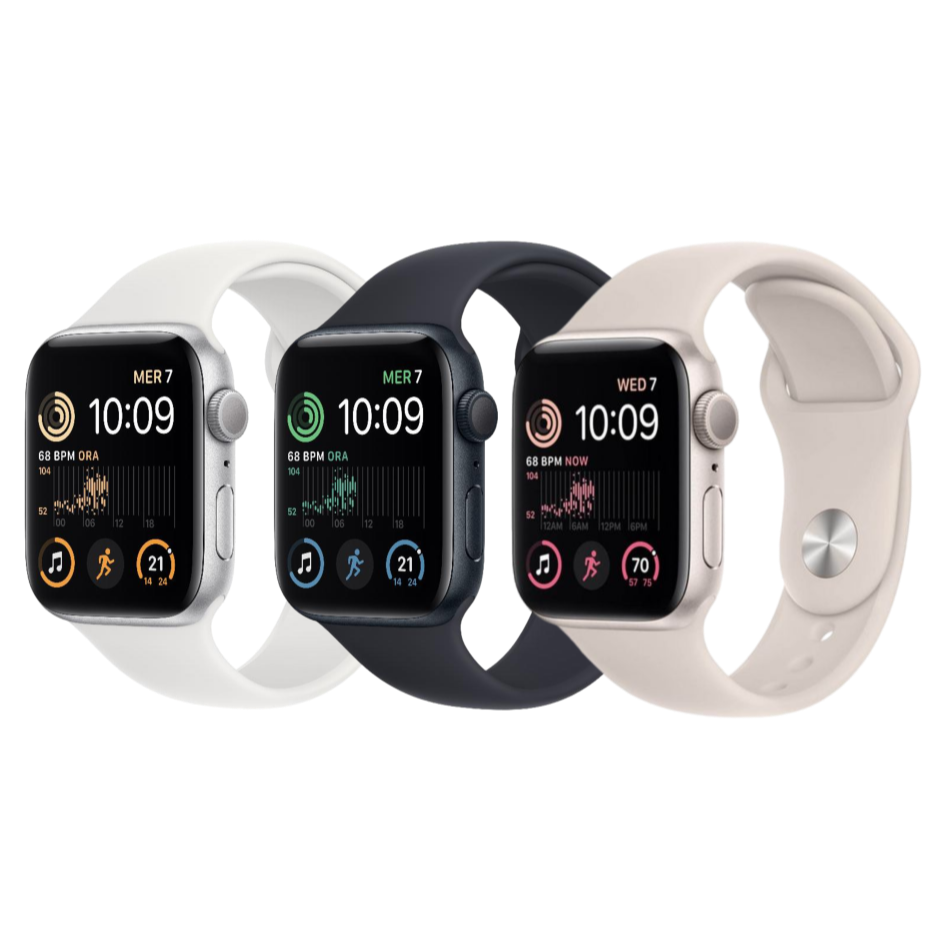
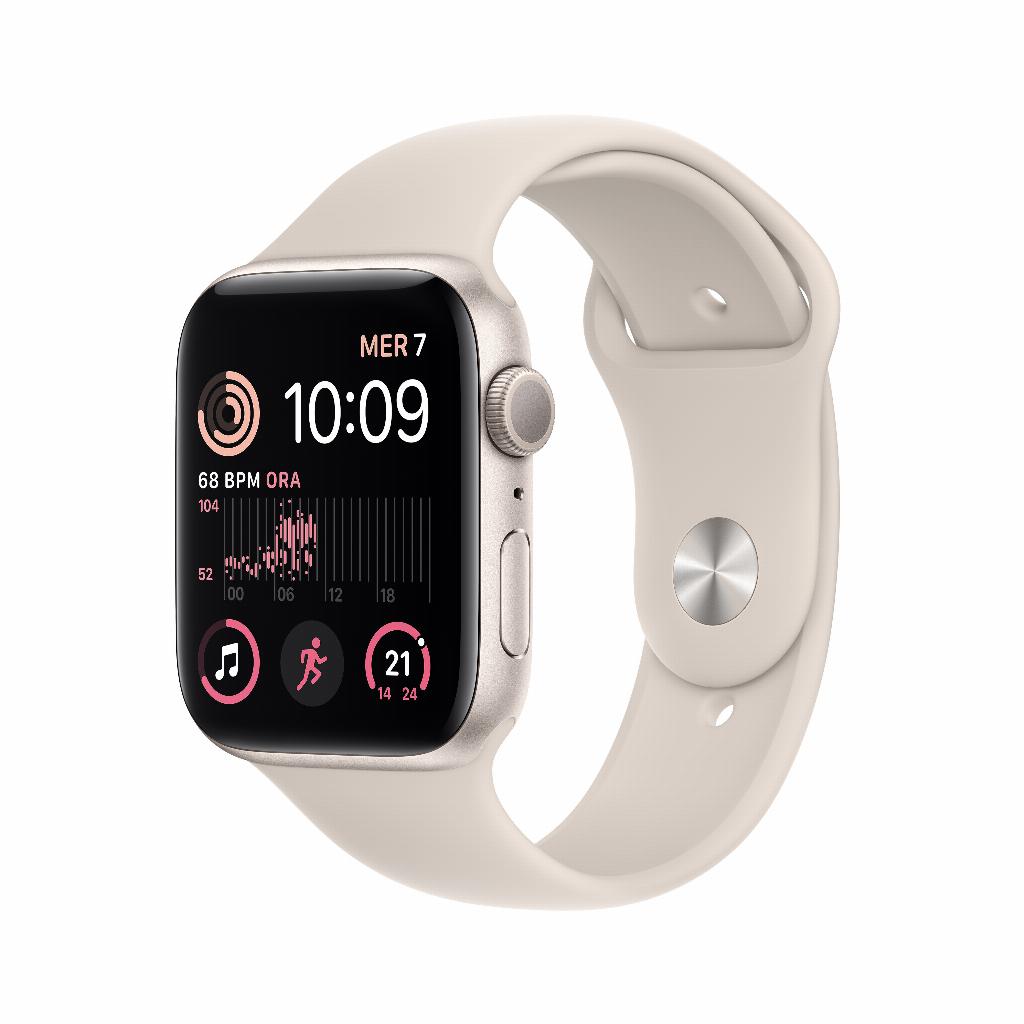
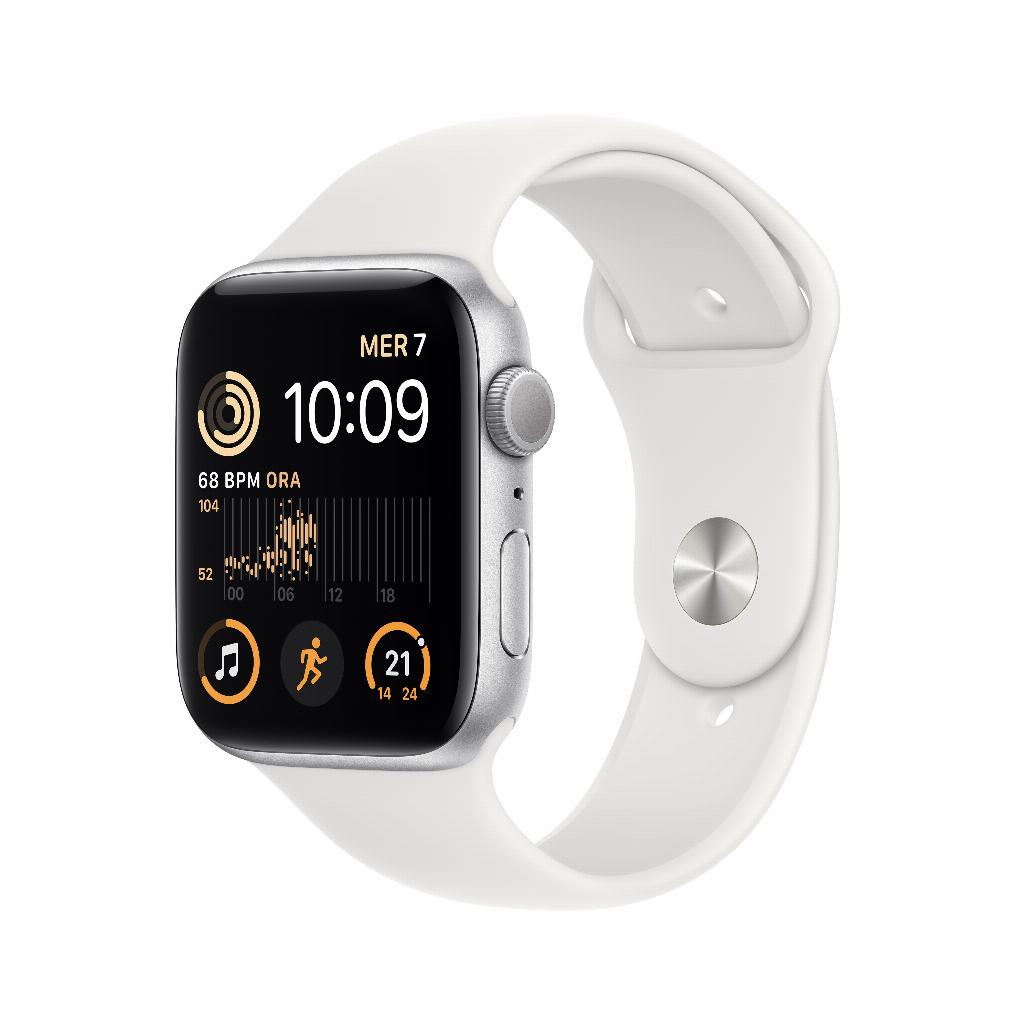
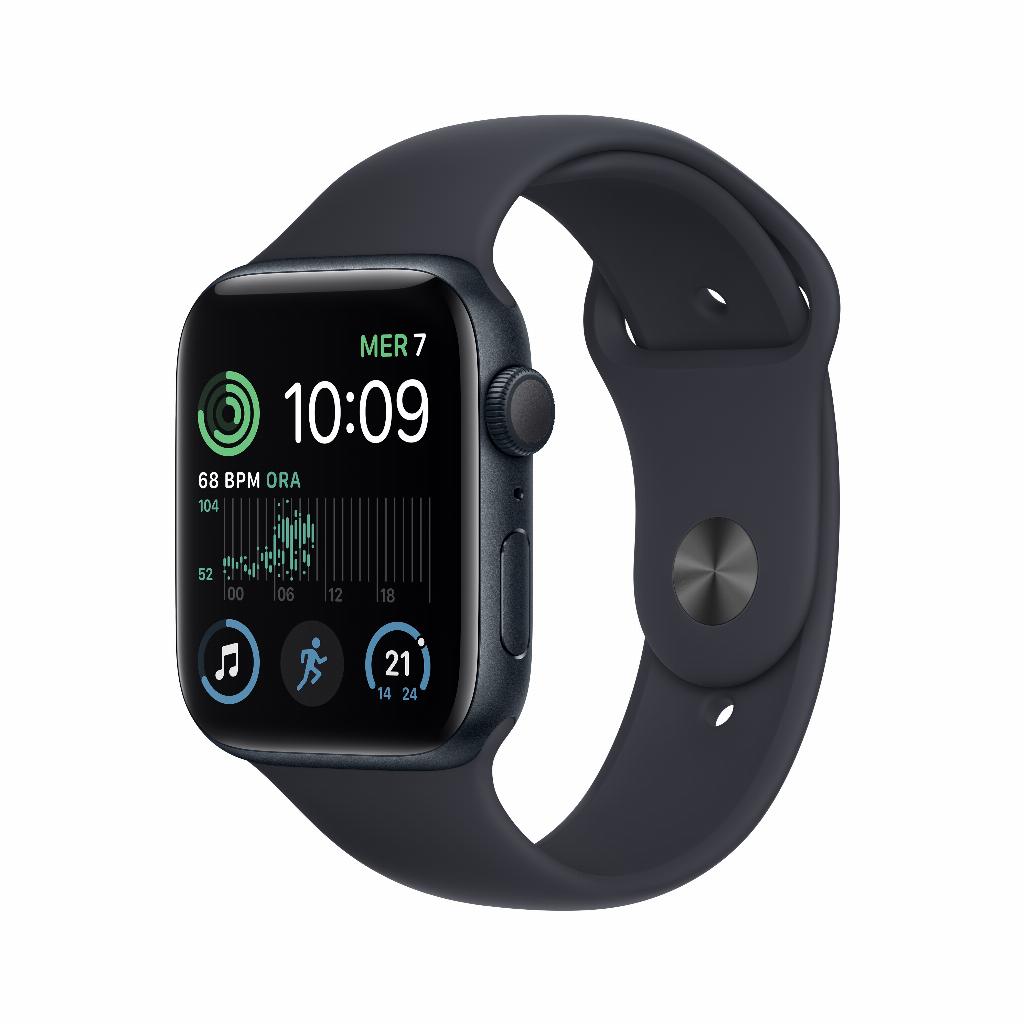
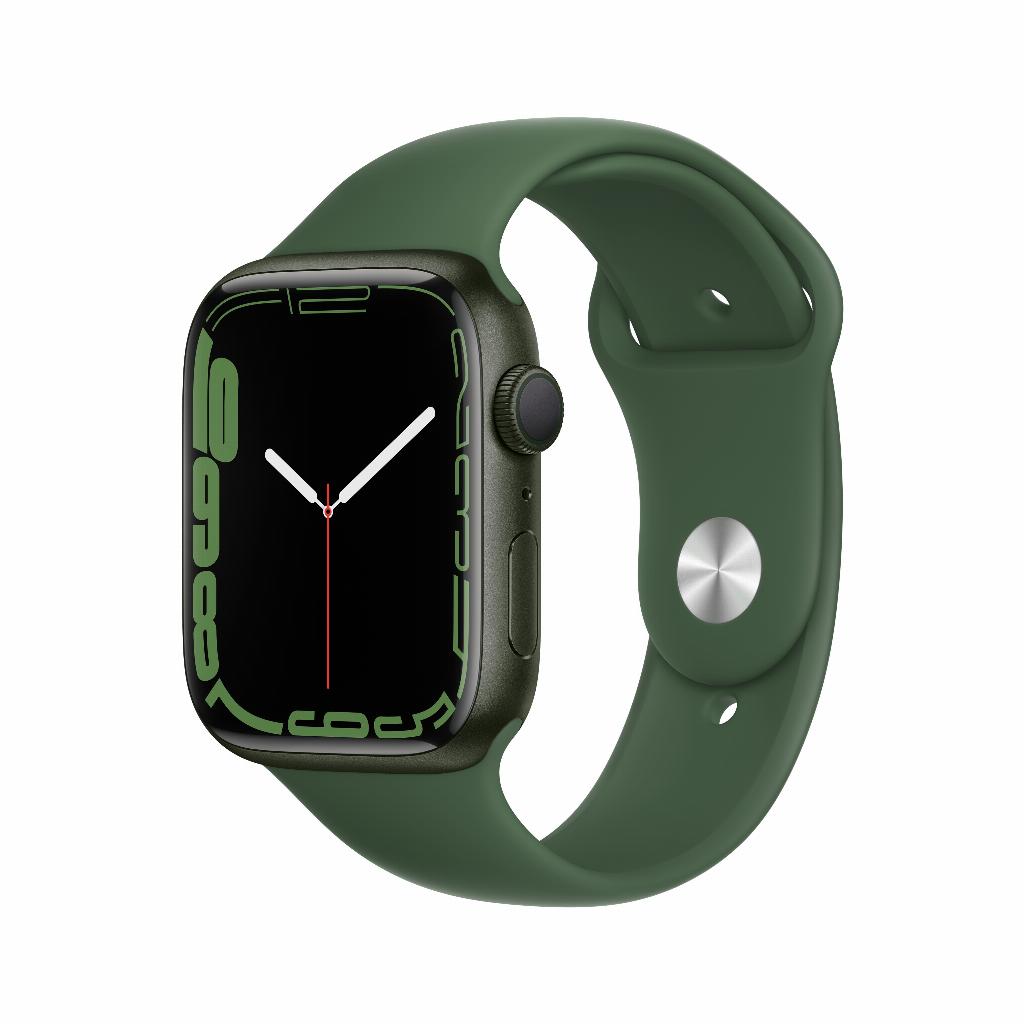
Apple Watch backup: simpler than you think
Your Apple Watch crashes. All your data is gone. Months of heart rate readings, workout data, health stats—gone. Most users think backing up is complicated. Separate cables, technical menus, hours of waiting. But here's the surprise: your Apple Watch automatically backs up when your iPhone syncs with iCloud. No extra steps required.
The real problem lies elsewhere. People forget that their Watch backup only works if their iPhone backup is up to date. While they're busy gathering accessories or pairing their AirPods , they're skipping the most important step: two simple taps in your iPhone settings. Nothing more. In this article, you'll learn exactly the two steps you need to take today to secure your Watch data forever.
Useful links
Why your iPhone backup is crucial for your Watch
Most users don't realize that their Apple Watch doesn't create a separate backup. The smartwatch stores all its data via the paired iPhone. This means that when your iPhone backs up to iCloud, all your watch data is automatically included. No hassle with cables, no extra software required.
This integrated approach has advantages. You only have to manage one backup process instead of two. It also prevents your Watch data and iPhone data from becoming separated. However, there's also a risk: if you forget the iPhone backup, you'll lose your Watch data as well.
The two essential steps explained
Step 1: Enable automatic iCloud backup
Open your iPhone's settings and tap your name at the top. Scroll to "iCloud" and then to "iCloud Backup." Turn on the switch for automatic backups. Your device will now perform a daily backup when it's plugged in, connected to Wi-Fi, and the screen is locked.
This setting ensures you never have to manually create a backup again. Your data is securely stored every night, including all the data collected from your smartwatch. This includes heart rate measurements, workout data, activity rings, and health statistics.
Step 2: Check your storage space
Go back to the iCloud menu and check how much storage you have left. Apple gives you 5 GB of free storage by default, but this quickly fills up with photos and app data. For a complete backup of both your iPhone and Watch, you often need more. Consider upgrading to 50 GB (€0.99 per month) or 200 GB (€2.99 per month).
Don't want to buy extra storage? Then free up space by deleting old backups. Go to "Manage account storage" and delete backups from devices you no longer use. You can also select which apps to back up. Disable large apps you don't need.
What exactly is stored?
Your Watch backup contains more than you might think. All your health and fitness data is preserved, including historical measurements and trends. Your app layout is preserved, as are watch faces and their configuration. Music playlists, photos you've synced, and general settings are also included in the backup.
What isn't saved are credit cards for Apple Pay (you'll need to add these again for security reasons), paired Bluetooth devices, and certain passwords. You'll need to manually reset these after a restore.
Manual backup for safety
Want to create an immediate backup, for example, for a major update? Open your settings, go to your Apple ID, and select iCloud. Tap "iCloud Backup" and select "Back Up Now." The process will start immediately and usually takes five to twenty minutes, depending on your internet speed and the amount of data you have.
While creating a manual backup, your iPhone must remain connected to Wi-Fi. Your watch doesn't need to be charging, but it must remain within Bluetooth range of your phone. Don't interrupt the process by opening apps that use a lot of data.
Troubleshooting backup errors
Are you getting an error message during the backup process? First, check your internet connection. An unstable Wi-Fi connection is the most common cause. Restart your router and try again. If it still doesn't work, check that both devices have the latest software.
Sometimes it helps to disconnect and reconnect the pairing between your iPhone and Watch. Open the Watch app on your phone, tap "My Watch," and select "Unpair Apple Watch." The device will automatically create a backup before disconnecting. Then reconnect and restore from the backup.
Restore from a backup
Bought a new Apple Watch or need to reset your current one? You can easily restore your backup. During the pairing process, the Watch app will ask if you want to restore from a backup. Choose the most recent backup and wait for the process to complete.
The restore usually takes thirty minutes to an hour. Keep both devices close together during this process. After the restore, you'll need to manually set up some settings, such as Apple Pay and Wi-Fi passwords. Apps will be redownloaded automatically.
Tips for optimal backup management
Set a monthly reminder to check your backup status. Check if automatic backups are still enabled and if you have enough storage space. Delete old backups from devices you've sold or given away.
Also consider a local backup via your computer. Connect your iPhone to a Mac or PC with iTunes/Finder. This method doesn't use iCloud storage and can be faster for large amounts of data. The downside is that you have to perform it manually, and the backup is only stored on that specific computer.
For users with multiple Apple devices, it's wise to enable family sharing for iCloud storage. Share up to 2TB of storage with up to five family members. This way, you'll both pay less and everyone will have enough space for backups.
Conclusion: Two taps for a secure backup
Backing up your Apple Watch turns out to be surprisingly simple: turn on automatic iCloud backup on your iPhone and check if you have enough storage. That's all it takes. No cables, no technical menus, no hours of waiting. Your Watch data automatically piggybacks on your phone backup.
The only thing you need to remember: without a current iPhone backup, there's no Watch backup. So check your settings today. Those two taps will only take you thirty seconds at most, but they could save you months of valuable health data if something goes wrong.


