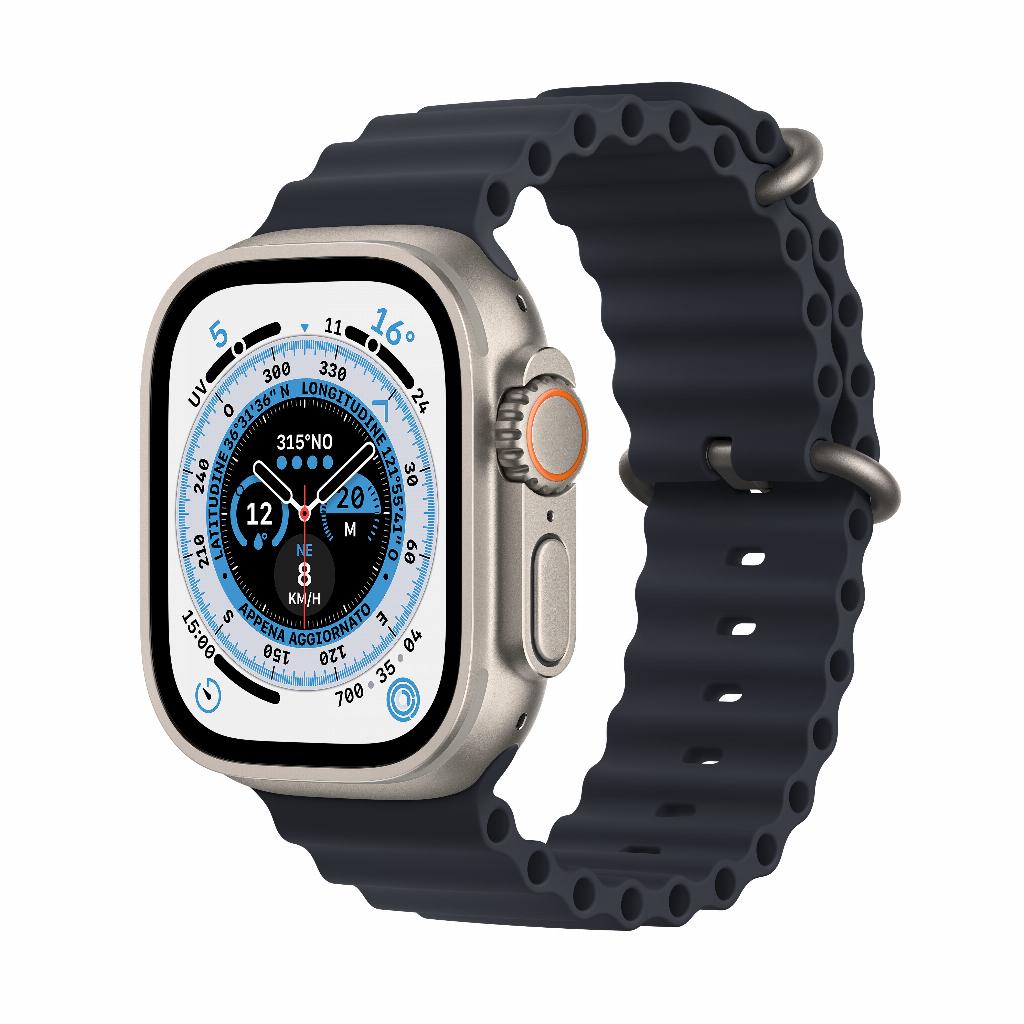
Replacing your Apple Watch band: easier than you think
Your Apple Watch band is loose. Or it no longer matches your outfit. Maybe it's simply worn out after months of heavy use. You're thinking about replacing it, but fear the hassle of small buttons, the wrong size, or damaging your expensive watch. Yet, replacing an Apple Watch band turns out to be ridiculously simple . In fact, it's probably the easiest upgrade you'll ever make to an Apple product. No tools required, no technical expertise, not even a manual. Press two buttons, slide out the old band, click in the new one. Done. Just as easy as changing AirPods eartips . The real problem? Choosing from the endless collection of accessories available. Because once you realize how simple it is, you'll want a different band for every occasion.
Useful links
- Apple Watch collection - discover different models and accessories
- iPhone cases - match your Apple Watch with your phone
Choosing the right strap for your Apple Watch
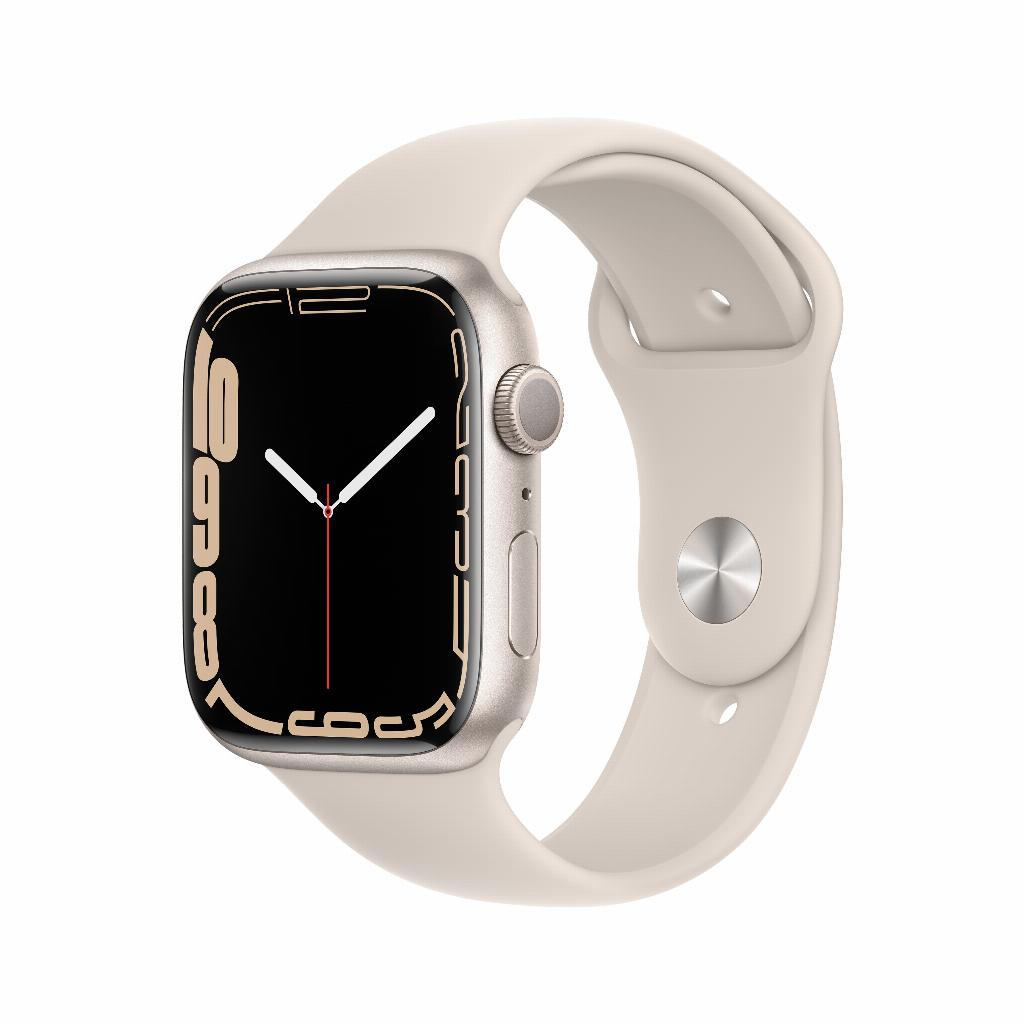
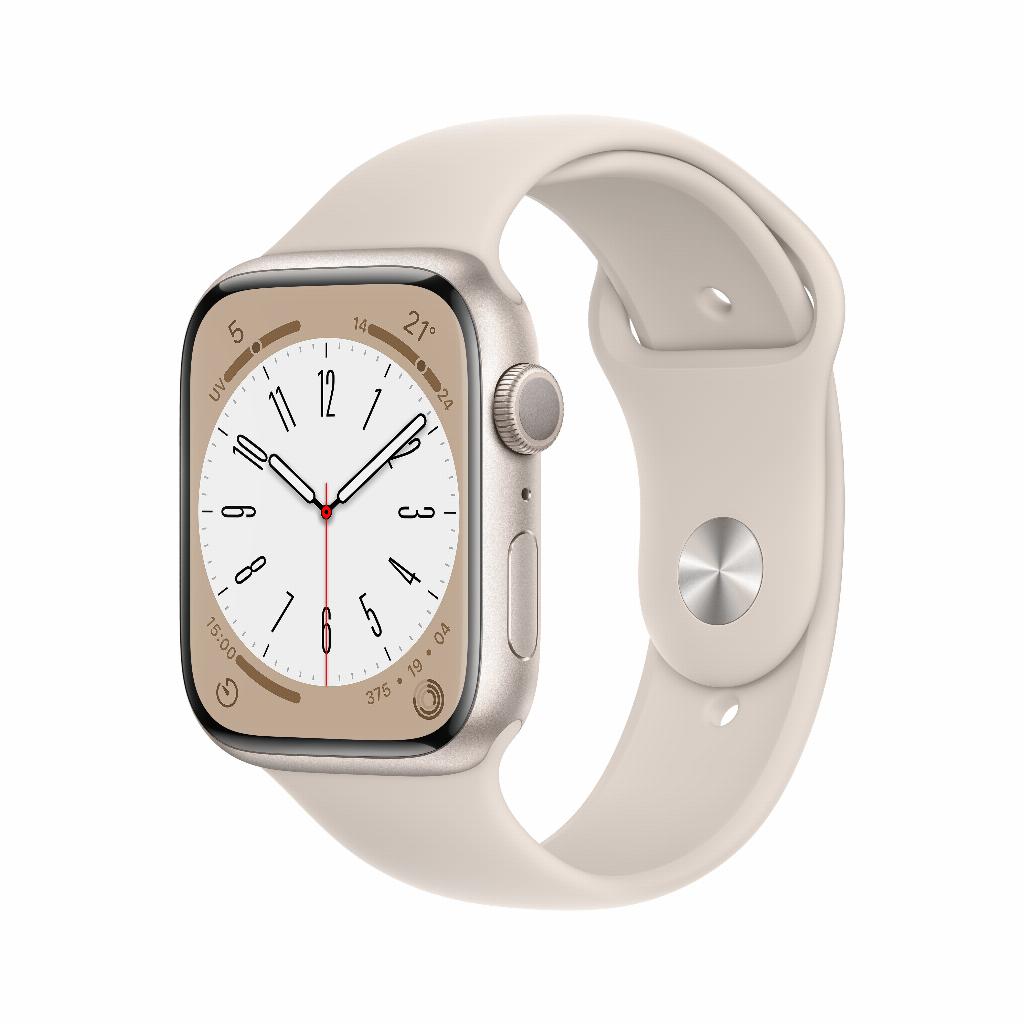
Before removing your old band, it's wise to first determine which new one you want. Apple Watch bands come in different sizes: 38mm, 40mm, and 41mm for the smaller models, and 42mm, 44mm, 45mm, and 49mm for the larger ones. First, check your Apple Watch's size by going to "General" and then "About" in Settings.
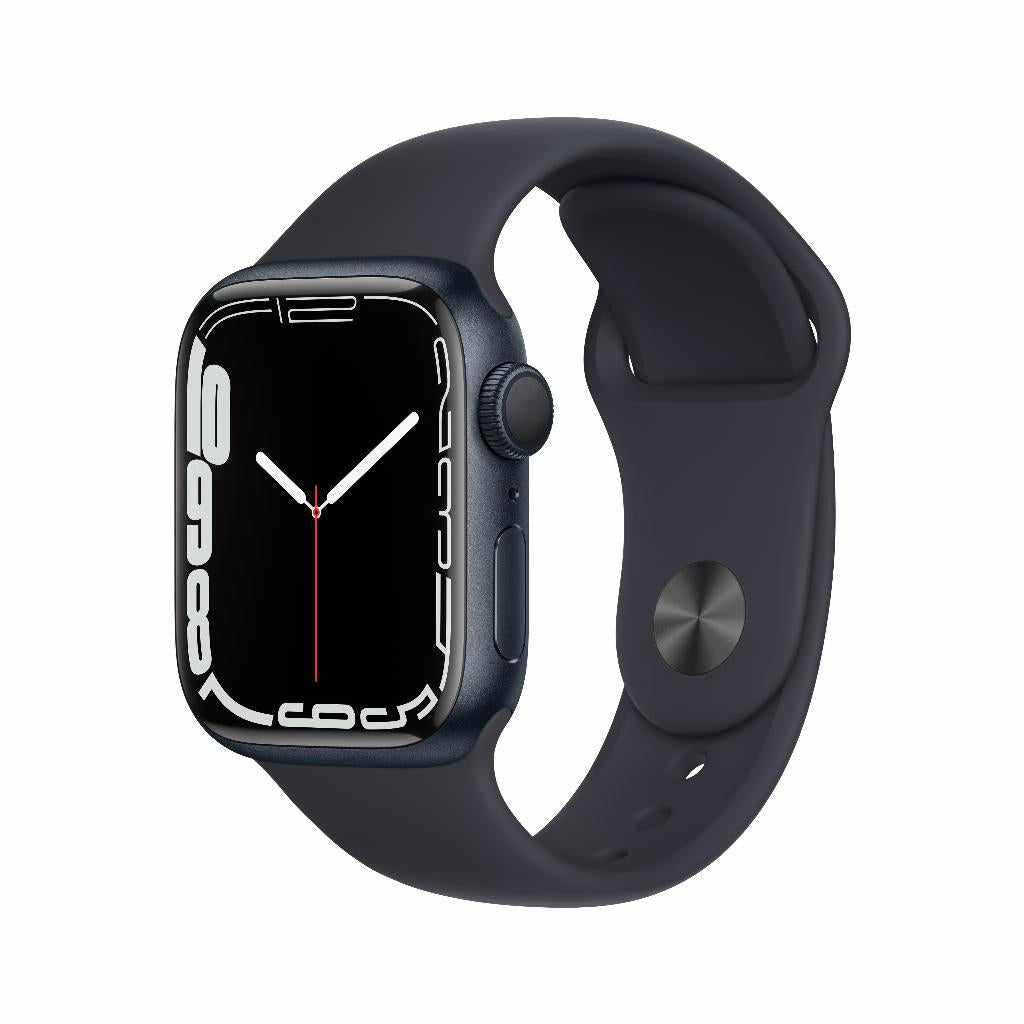
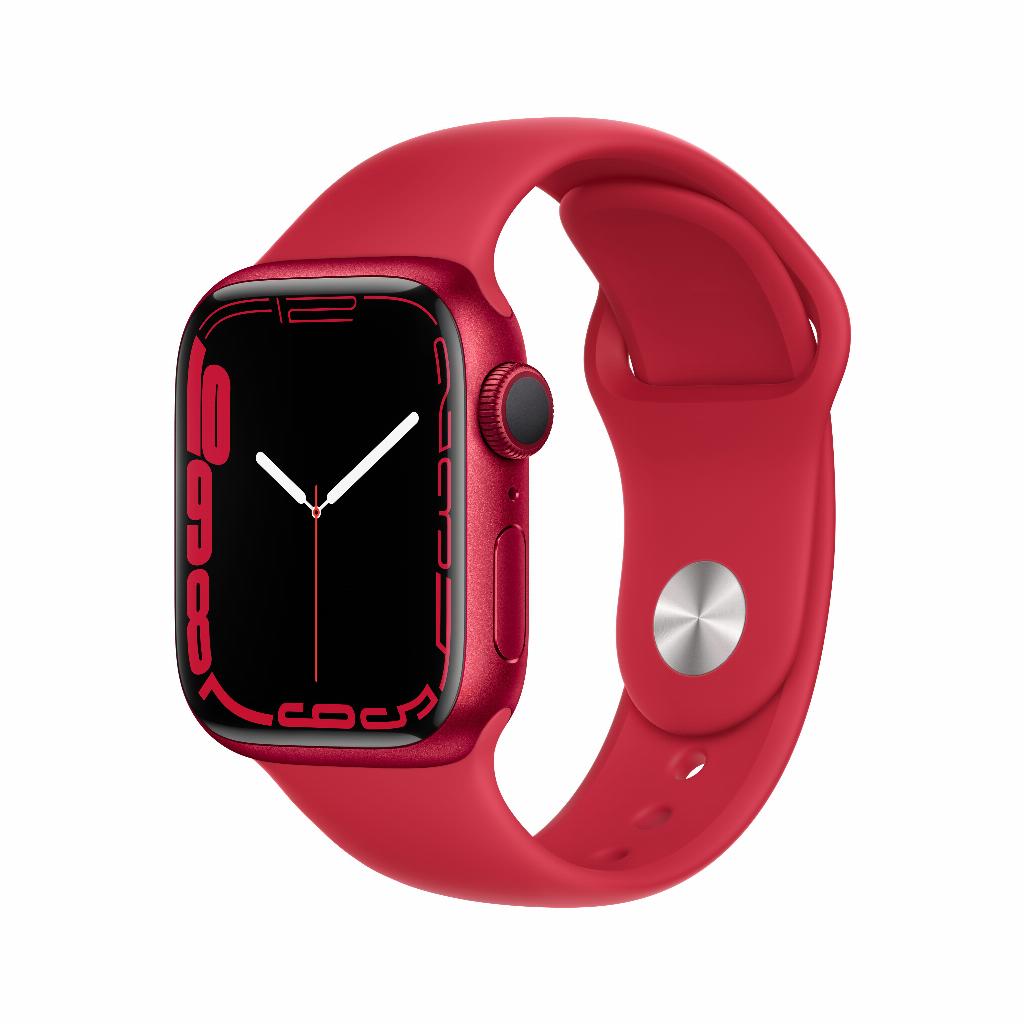
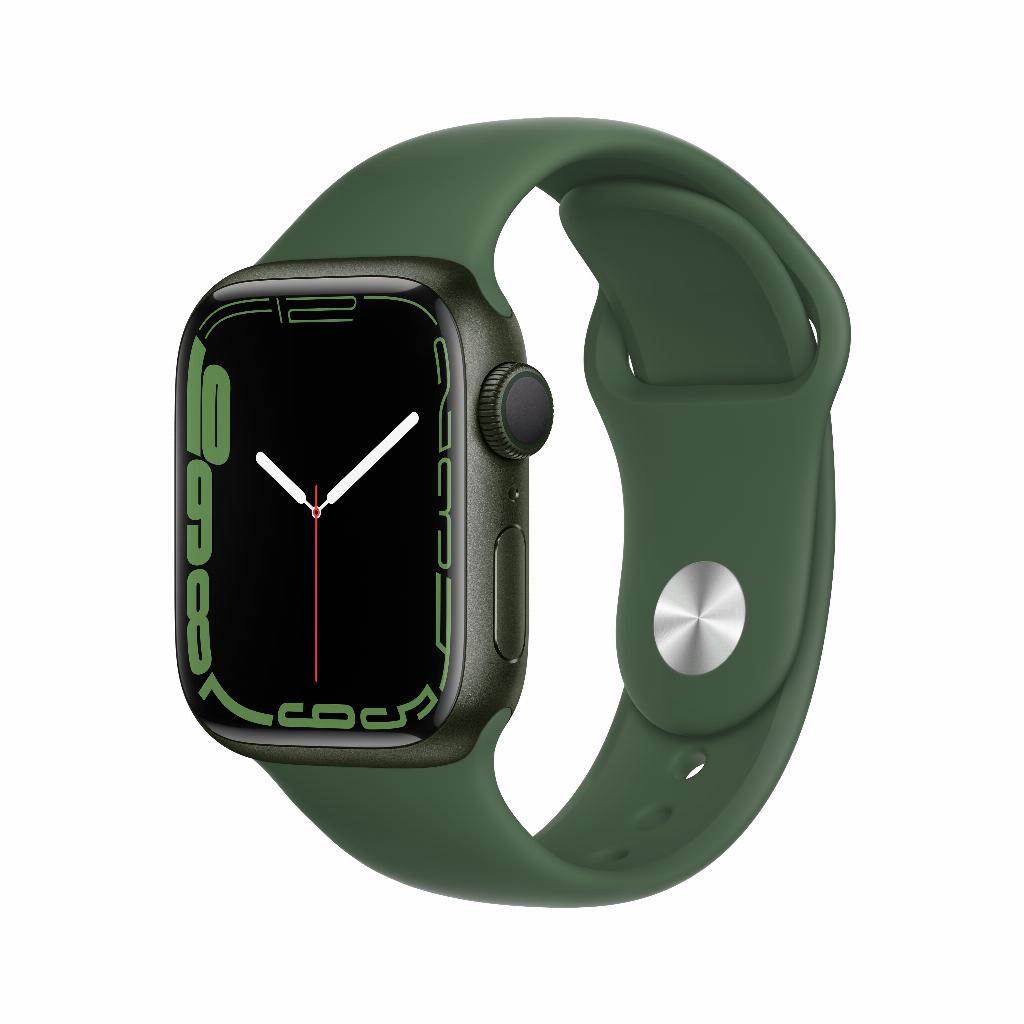
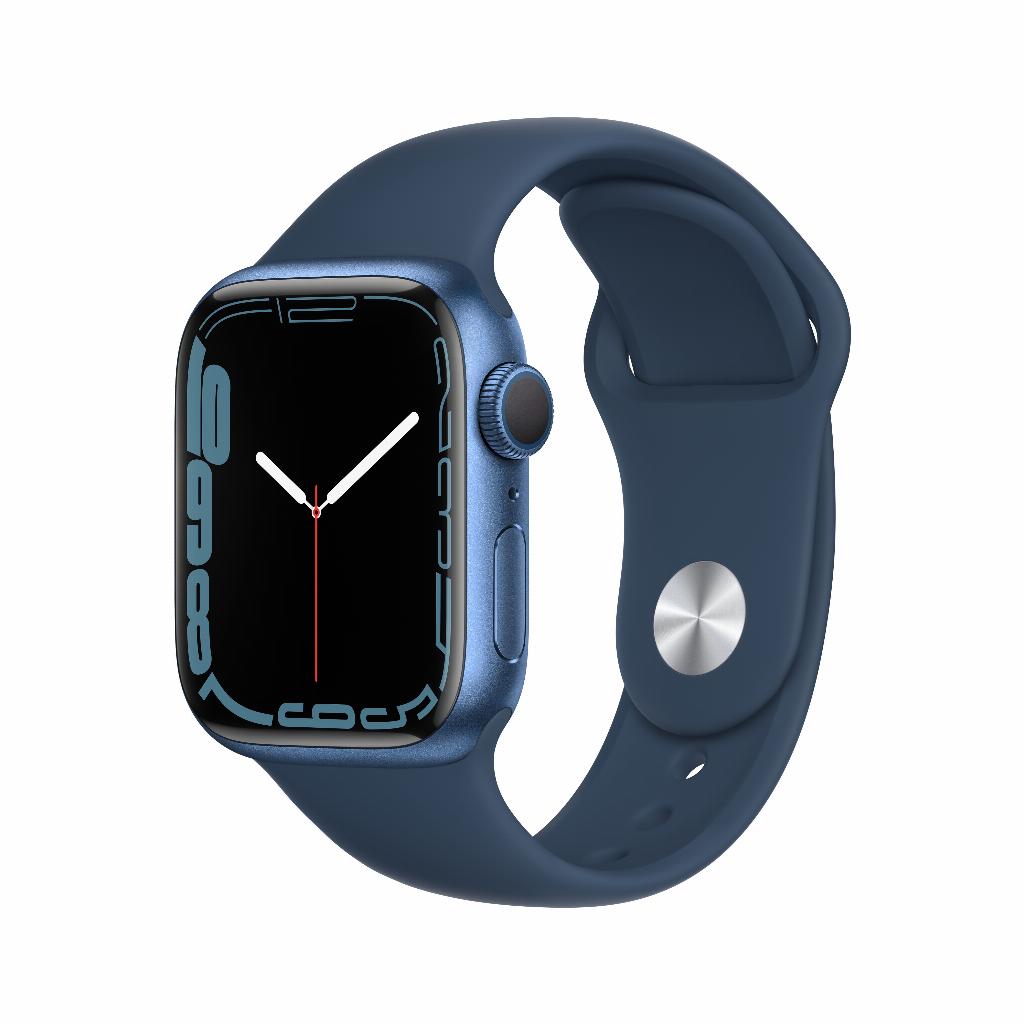
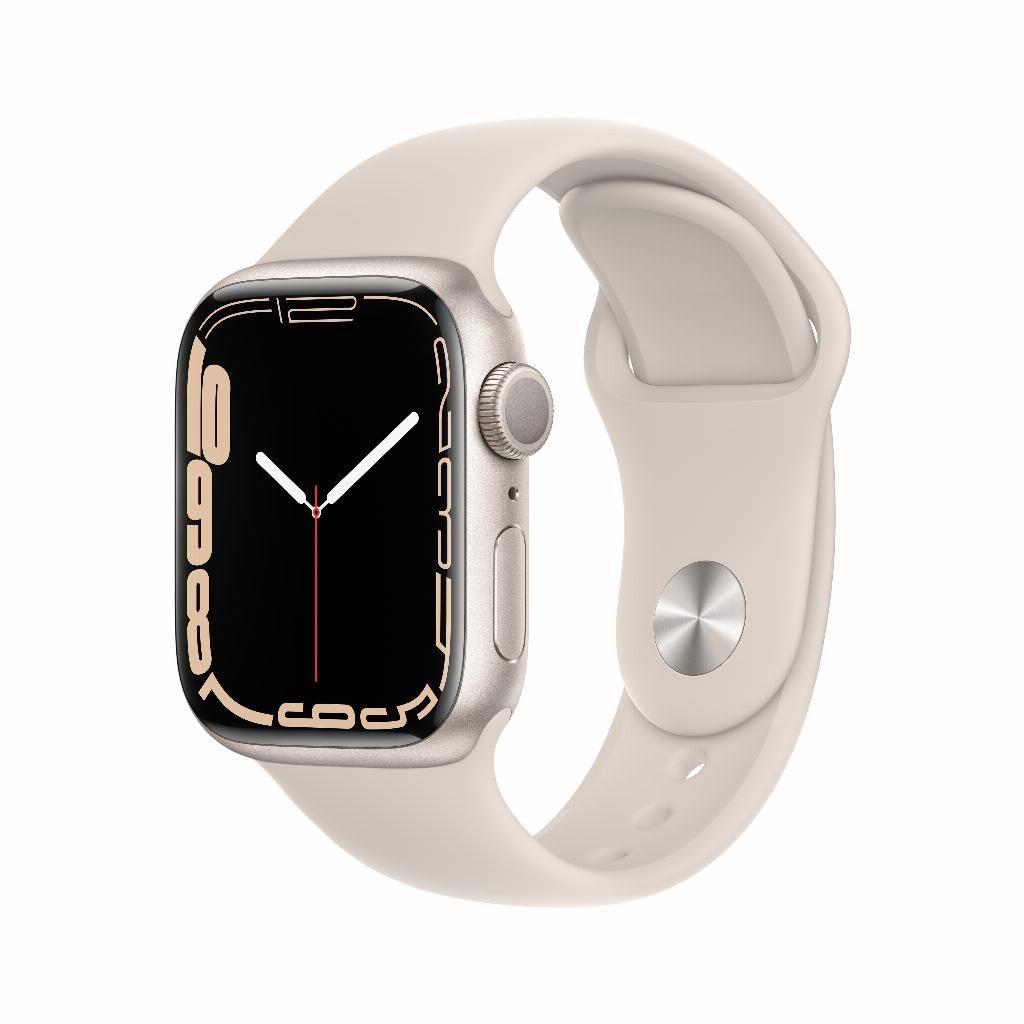
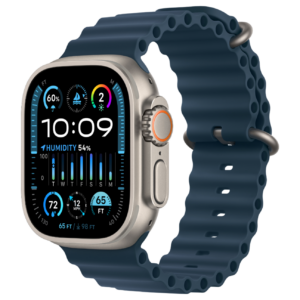
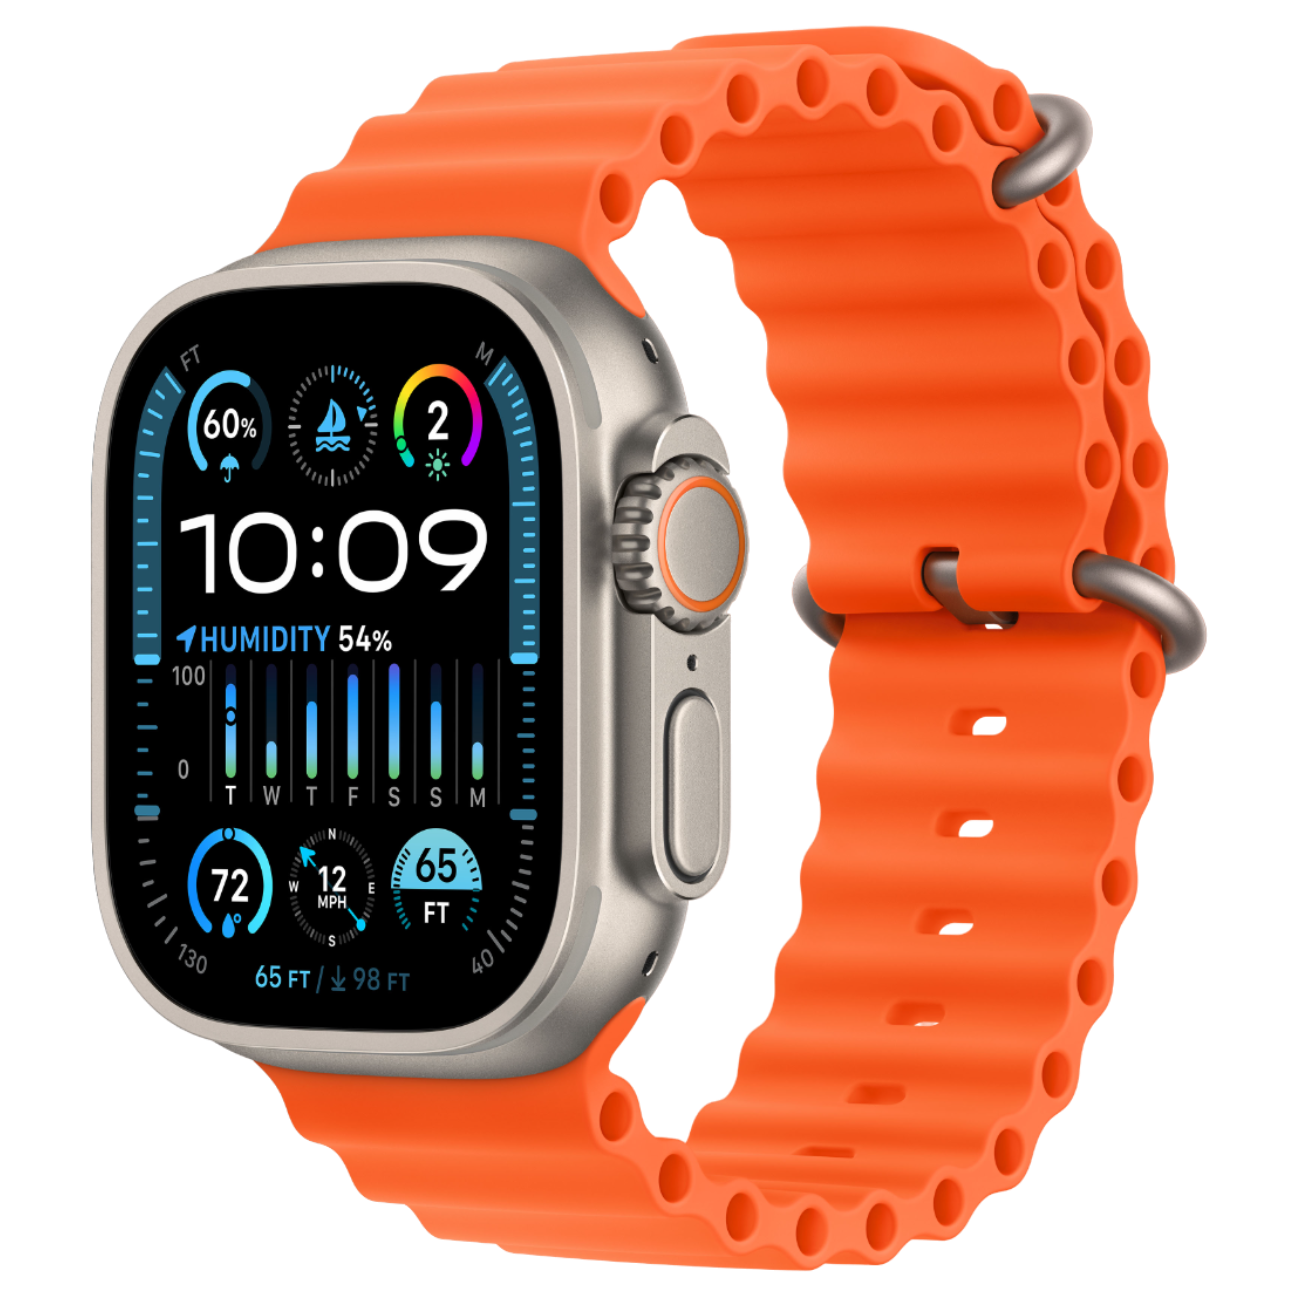
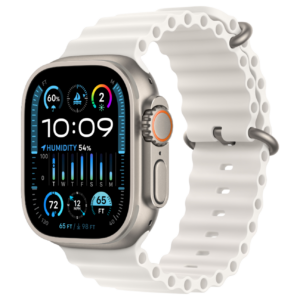
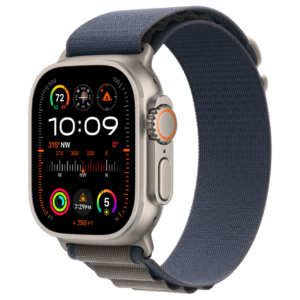
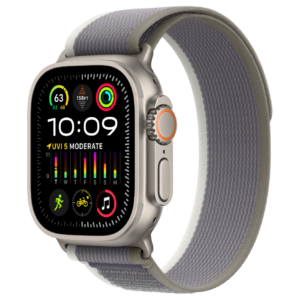
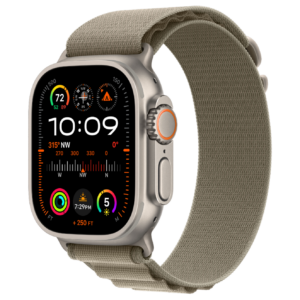
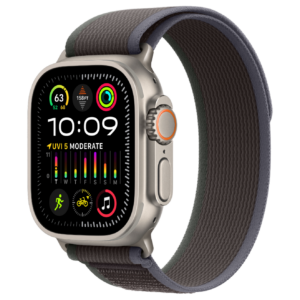
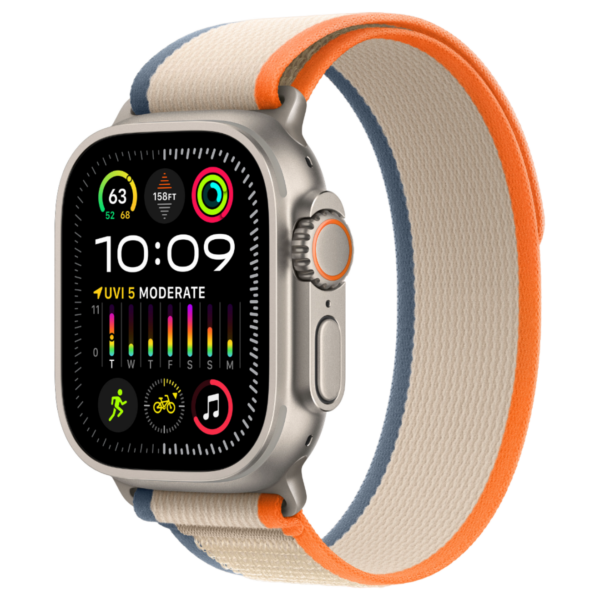
Sport bands are ideal for exercising thanks to their breathable material and sweat resistance. They are available in silicone or woven nylon. Leather straps give your watch a classic look, perfect for business meetings or special occasions. Milanese straps combine style and comfort with their fine-mesh metal weave. For frequent swimmers, ocean straps are the best choice due to their chlorine resistance.
How to remove your current strap in 6 simple steps
The process is surprisingly simple, but precision is important to avoid scratches:
Step 1: Place your Apple Watch face down on a soft cloth or towel. This prevents scratches on the display.
Step 2: Locate the two small release buttons. You'll find them at the top and bottom where the strap attaches to the watch case.
Step 3: Press and hold one of the buttons. You'll feel a slight resistance, which is normal.
Step 4: Slide the strap horizontally away from the center of the watch case while holding the button. The strap will slide out smoothly.
Step 5: Repeat this process for the other half of the strap.
Step 6: Inspect the grooves where the strap was located for dirt or dust. Clean them with a dry, soft cloth if necessary.
How to correctly attach the new strap
Now comes the fun part: installing your new strap. Pay close attention to the strap's orientation. Many straps have a short and a long side. The short side goes at the top of the watch (12 o'clock position) and the long side goes at the bottom (6 o'clock position).
Slide the strap into the groove until you hear a soft click. Gently pull on the strap to ensure it's secure. A loose strap can cause your watch to fall off your wrist, so this check is essential. If the strap isn't secure, remove it and try again.
Common problems and solutions
Sometimes the strap won't slide smoothly into the groove. This usually happens when you try to insert it at the wrong angle. Make sure the strap is perfectly aligned with the groove before inserting it. Never force a strap; this can damage both the strap and the watch case.
If the release button is stuck, dirt or sweat may have accumulated. Clean the button with a slightly damp cloth and let it dry completely before trying again. Never use sharp objects to pry the button loose.
Maintenance for maximum lifespan
A well-maintained band will last for years. Rinse your sports band with lukewarm water after intense exercise. Let it air dry completely before wearing it again. Leather bands require special care: avoid contact with water and use leather conditioner occasionally to keep them supple.
Clean metal bands with a soft, dry cloth. For stubborn dirt, use a slightly damp cloth, but dry the band immediately to prevent water stains. Store spare bands in a cool, dry place out of direct sunlight.
When is replacement necessary?
Replace your strap when you see cracks in rubber or silicone bands, the clasp no longer works properly, or when leather straps show signs of excessive wear. A worn strap not only looks less attractive, it can also break unexpectedly, damaging your watch.
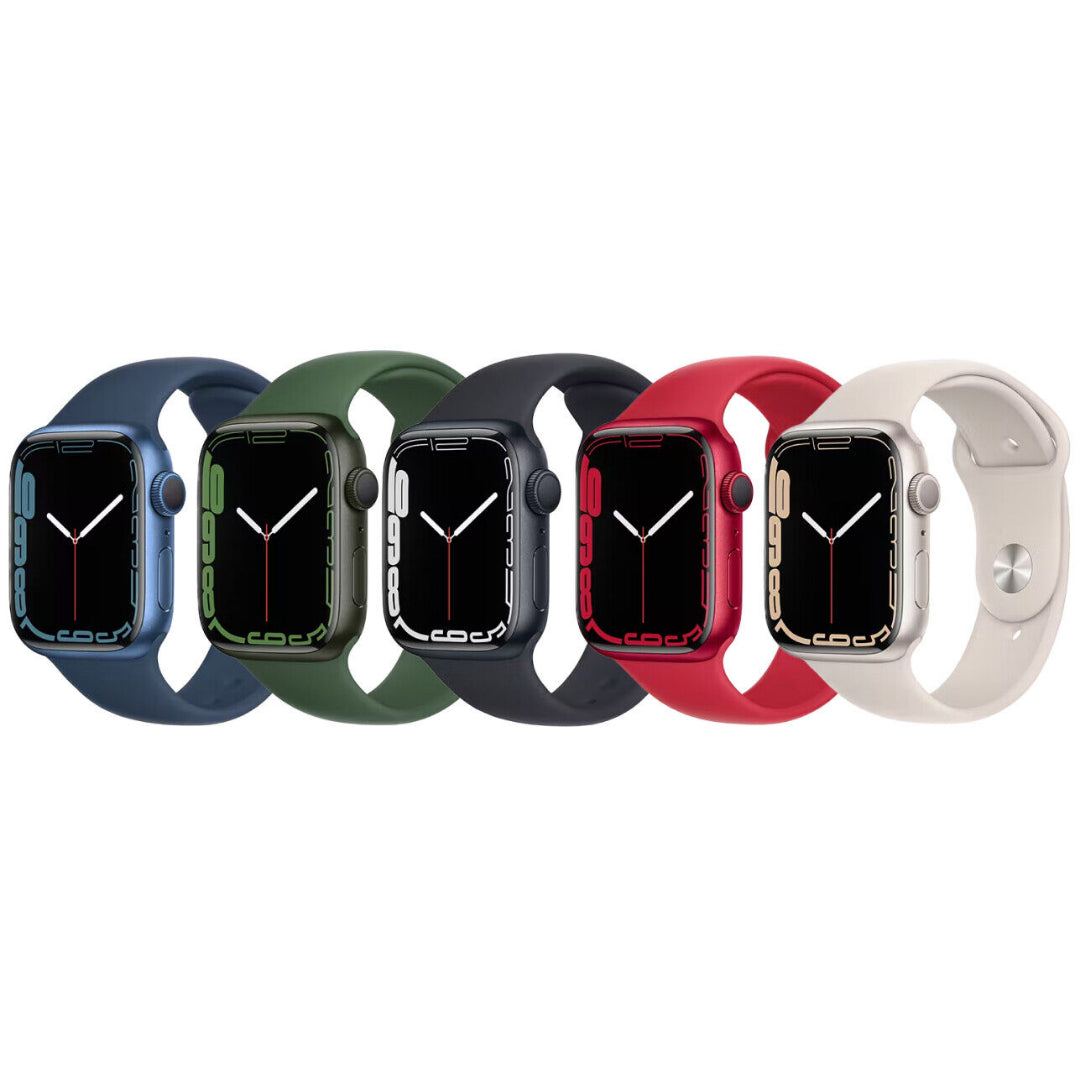
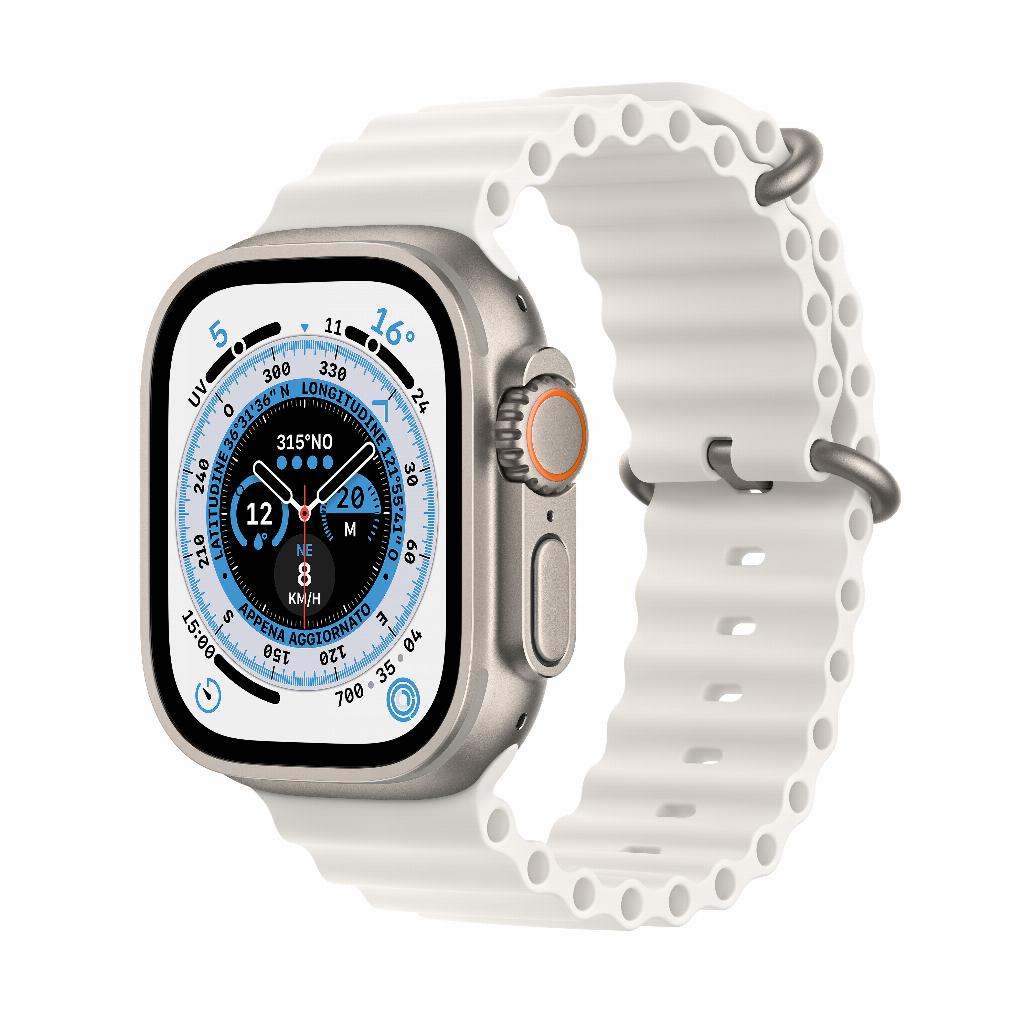
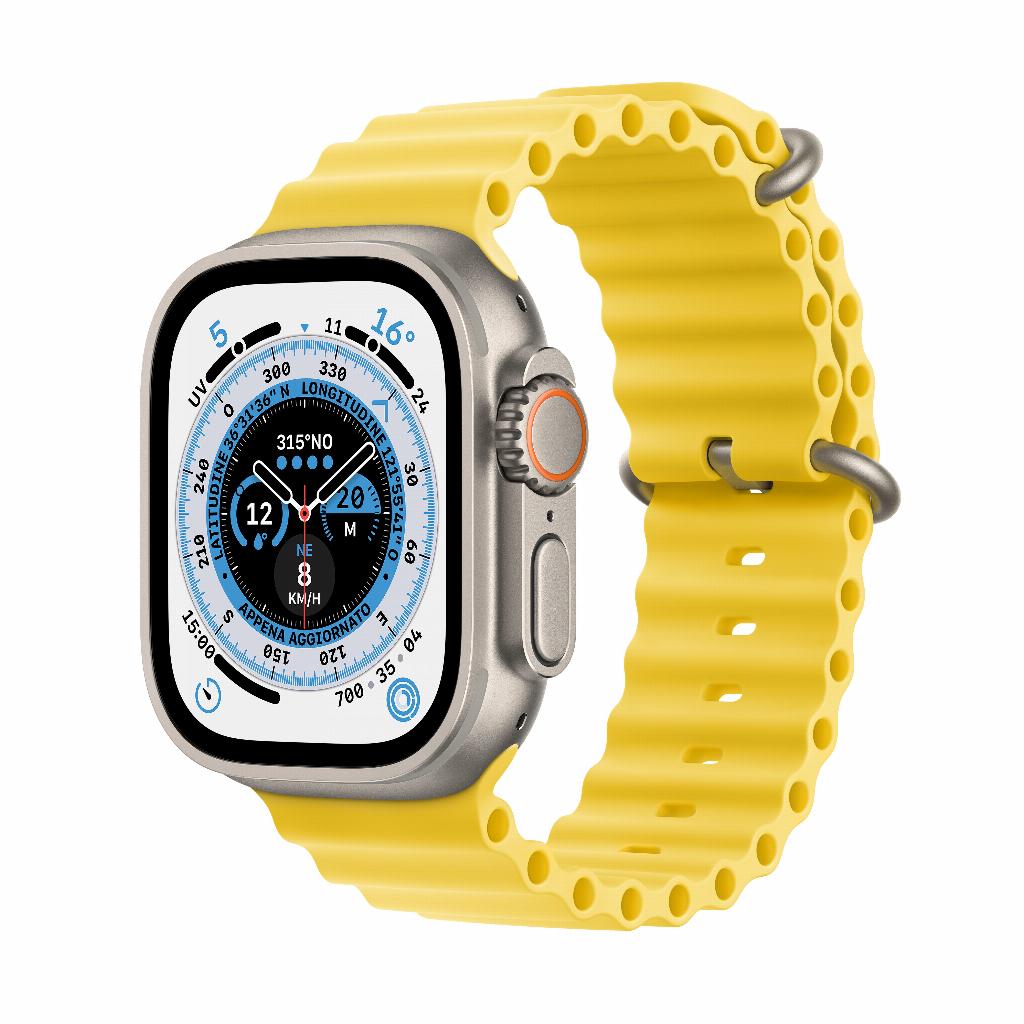
Different straps for different occasions
The beauty of interchangeable straps is that you can choose the perfect one for every situation. For your daily workout, a fluoroelastomer sports band is ideal because of its water resistance and easy cleaning. During a business meeting, a leather strap gives your Apple Watch a professional look.
Colorful nylon straps are popular for festivals and going out because they're comfortable and durable. Many users have multiple straps in their collection so they can quickly switch between them depending on their outfit or activity.
Tips for buying straps online
When ordering straps online, be sure to check compatibility with your specific Apple Watch model. Not all straps fit all models. Check reviews from other buyers, especially regarding fit and durability. Official Apple straps are high-quality but expensive. Excellent alternatives are available for a fraction of the price.
Measure your wrist circumference before ordering, especially with metal or leather straps where size is important. Sports bands are often adjustable and therefore more flexible in size. Choose straps with a warranty if you have any concerns about the quality.
Conclusion: change your strap in thirty seconds
Changing your Apple Watch band turns out to be no rocket science . Press two buttons, remove the old one, and insert the new one—you'll have a completely different look in thirty seconds. Whether you choose a sports band for running or a leather one for that important meeting, the possibilities are endless. With proper care, your bands will last for years, and thanks to the simple interchangeable system, you can effortlessly build a collection to suit any occasion. This way, your Apple Watch will always be an extension of your personal style.