Apple Pay on your Apple Watch: more convenient than you think
Your Apple Watch can pay. No debit card. No phone. Sounds futuristic, but many people ignore this feature. Too complicated, they think. Too much hassle with settings and verification. Yet, Apple Pay on your watch is set up in five minutes . And then all you need is your watch to pay. No more searching for your wallet among your AirPods and other accessories in your bag.
The funny thing is: most users who pay with their watch once never want to go back. They discover that it's not only easier, but also more secure than contactless payment with your debit card. Because your card details are never shared with the store. Time to take those five simple steps.
Useful links:
What exactly is Apple Pay?
Apple Pay is Apple's contactless payment service that replaces your debit card with digital versions on your devices. It works with the NFC chip in your Watch, the same technology as contactless payment. The difference? Your card details remain hidden behind a unique device number. The retailer only sees an encrypted transaction code, not your actual card number.
The service works at all stores with a contactless payment terminal. In the Netherlands, almost every store, supermarket, and restaurant accepts Apple Pay. You can also use it to pay online at supported webshops.
The five steps to set up Apple Pay
Step 1: Check the basic requirements
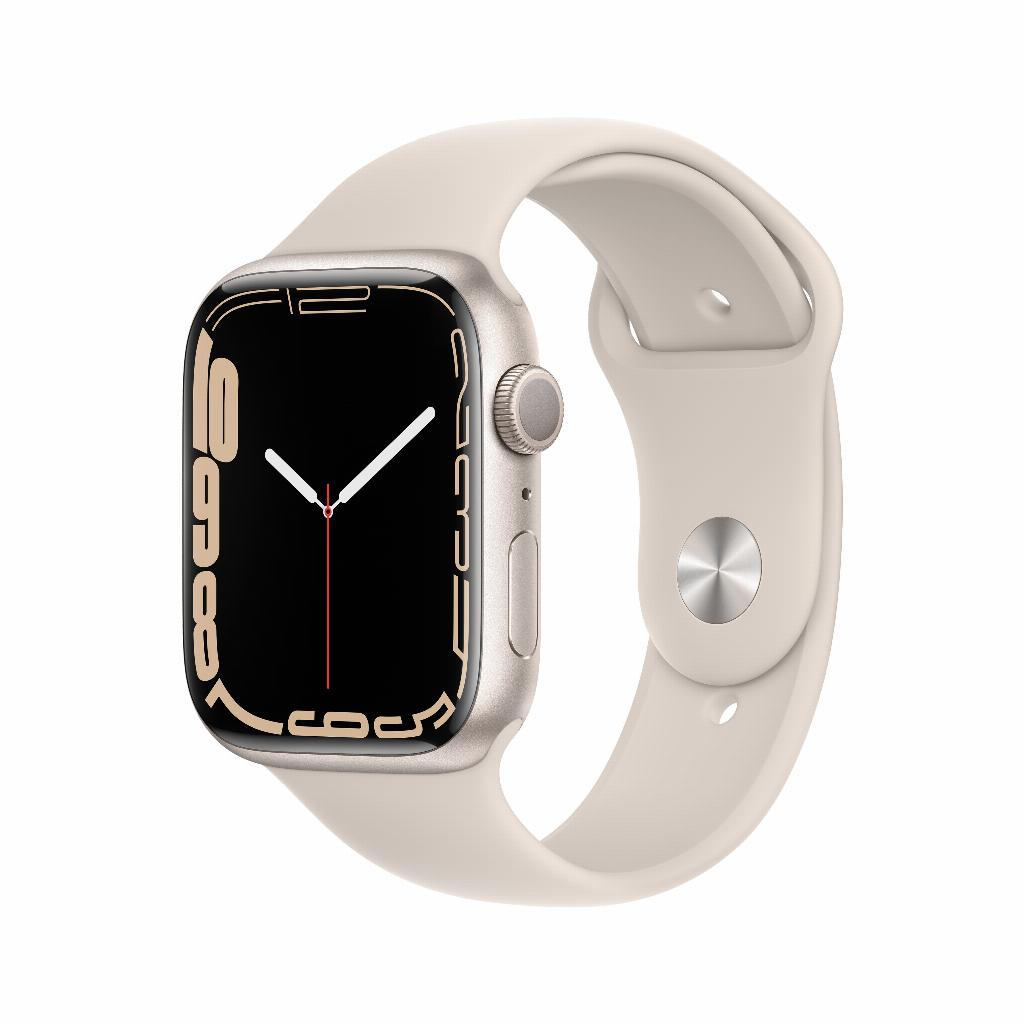
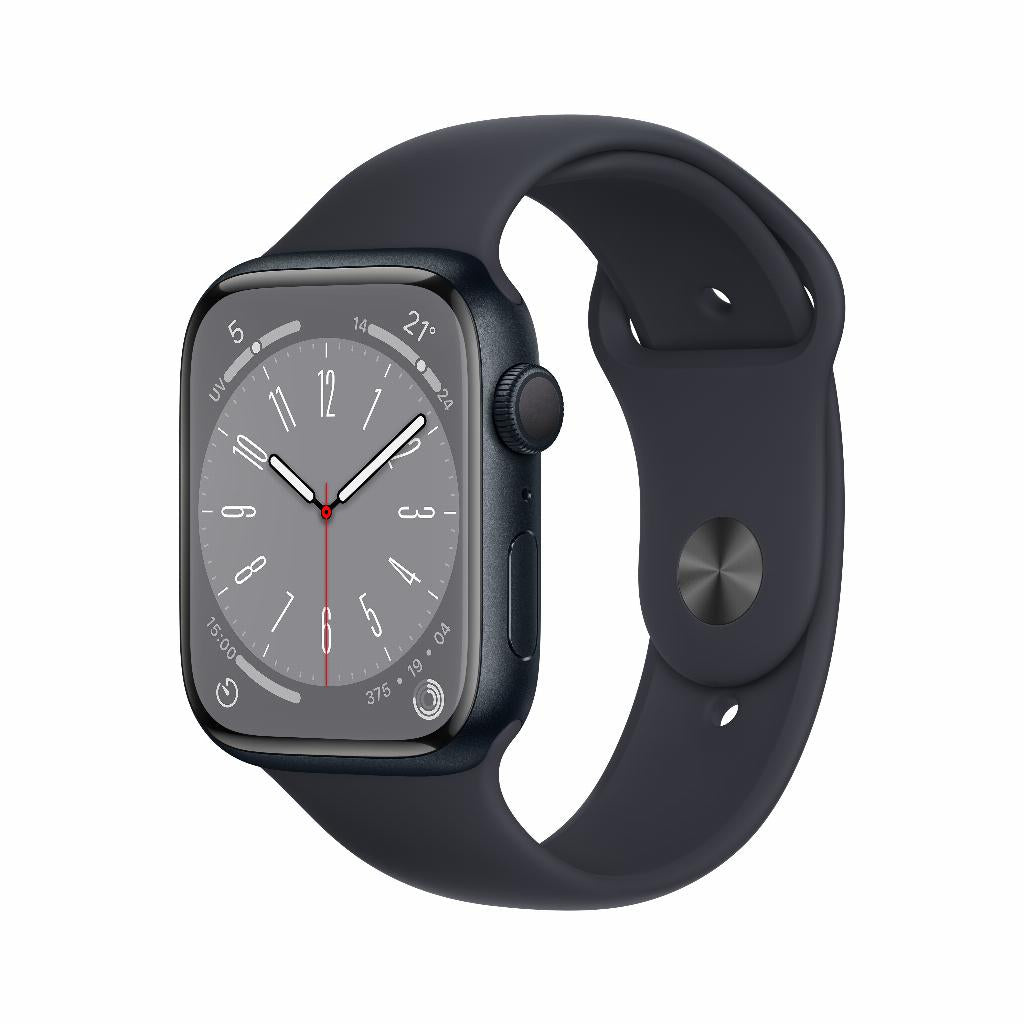
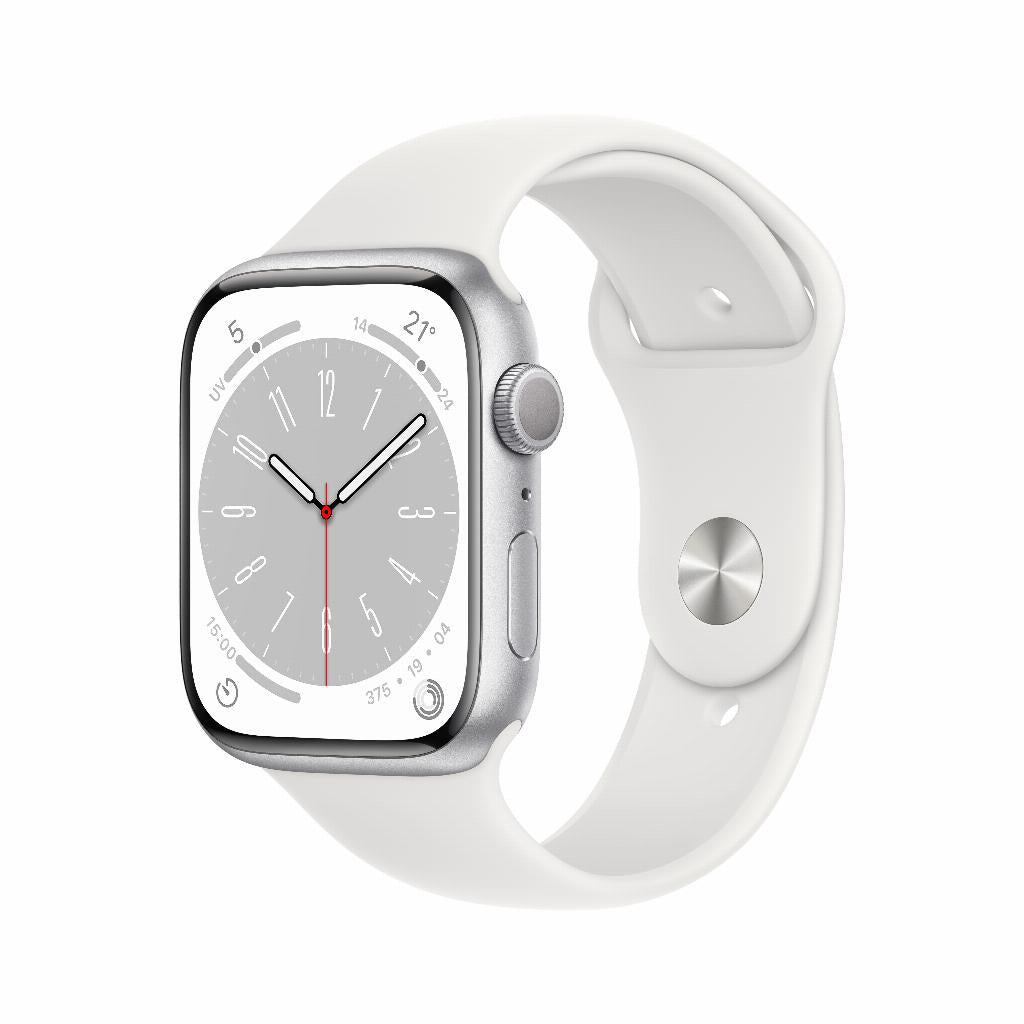
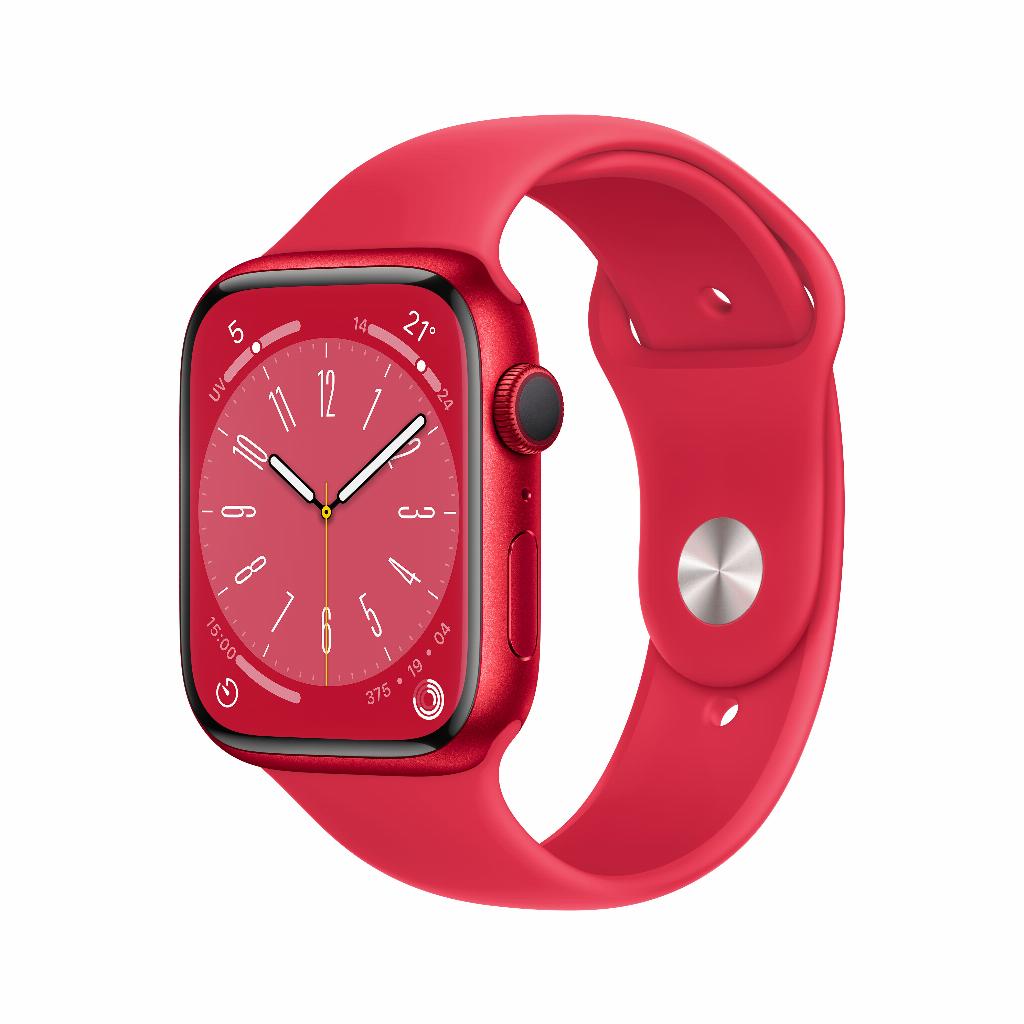
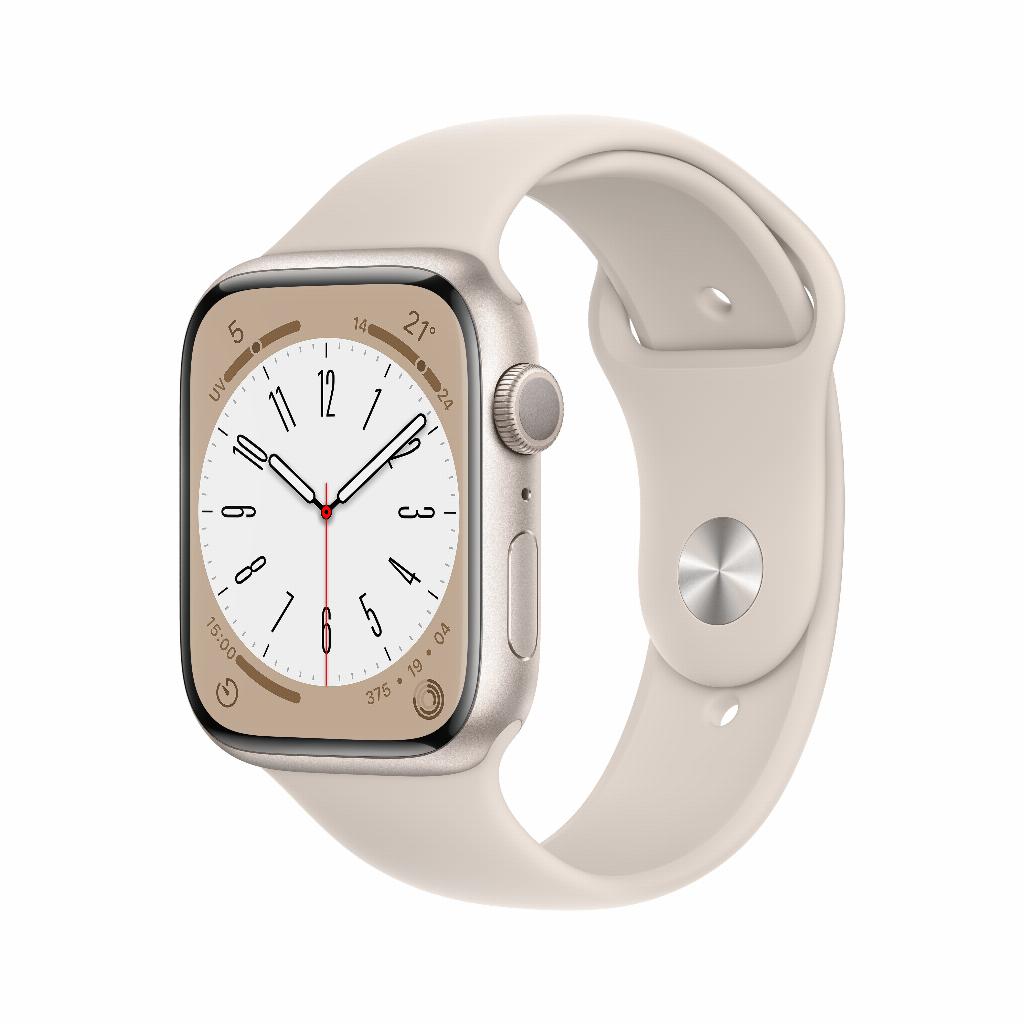
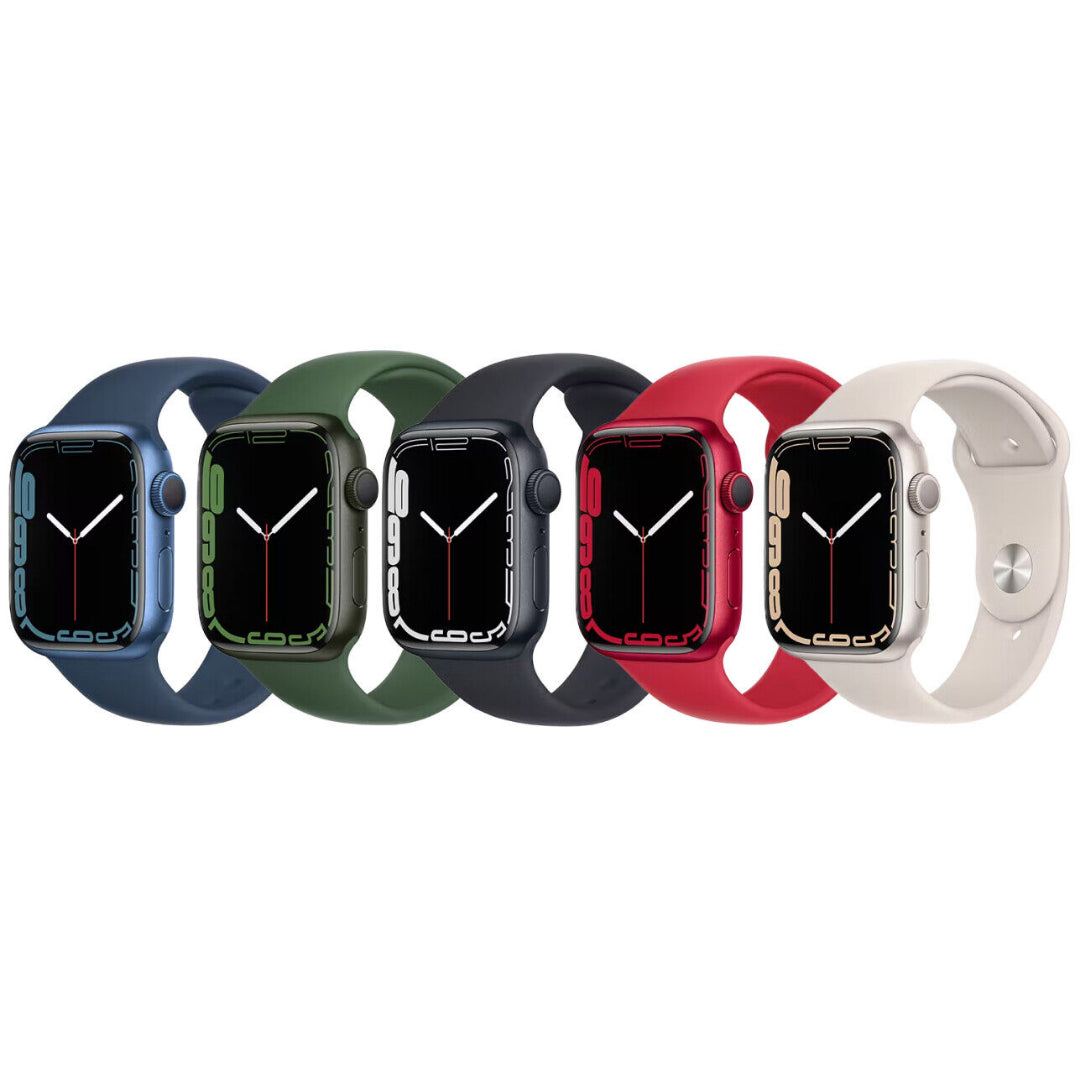
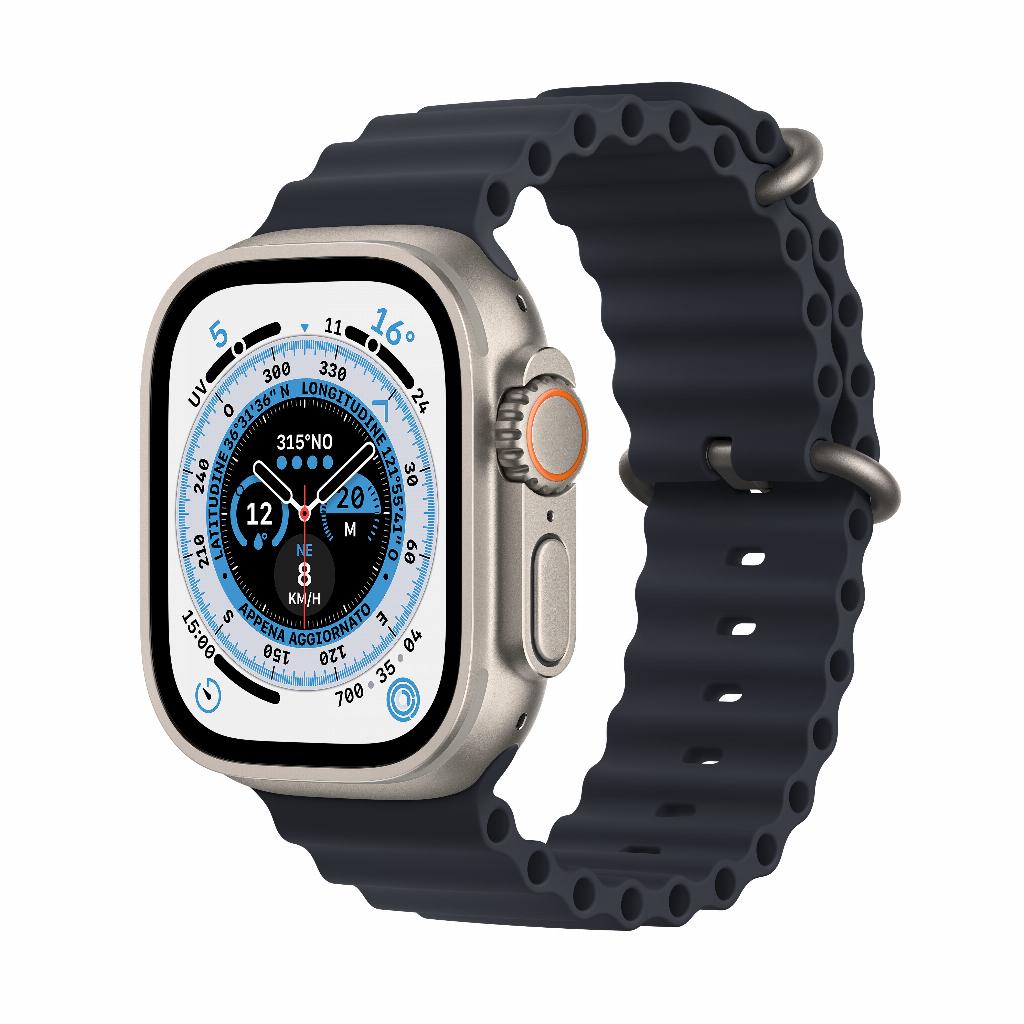
Before you begin, make sure everything is set up. You'll need an Apple Watch Series 3 or later, paired with an iPhone 6 or later. Both devices must be running the latest software. Your iPhone needs watchOS 8.3 or later, and your phone needs iOS 15.2 or later. If you haven't already done so, update your devices through their settings.
Your bank must support Apple Pay. In the Netherlands, ABN AMRO, ING, Rabobank, bunq, Revolut, and several other banks are participating. Check your bank's website for the latest status.
Step 2: Open the Watch app on your iPhone
Grab your iPhone and open the Watch app. You'll recognize this app by the black icon with a white Apple Watch. Tap "My Watch" at the bottom if you're not on the right screen.
Scroll down until you see "Wallet & Apple Pay." Tap this to open the payment settings menu.
Step 3: Add your bank card
On the Wallet screen, you'll see the "Add Card" option. Tap this to start the adding process. You'll now have three options:
- Use the same map as on your iPhone
- Add a new map
- Restore a map from a previous backup
Select the option that applies to you. For a new card, scan it with the camera or enter the information manually. The system automatically recognizes the card type and issuer.
Step 4: Verification with your bank
After adding the card, Apple will contact your bank. They will need to approve the card for use with Apple Pay. This process varies by bank:
- Some banks send an SMS with a verification code immediately
- Others ask you to log in to their app
- At other banks you have to call for activation
Follow the on-screen instructions. Verification usually only takes a few minutes. If you have any problems, please contact your bank's customer service.
Step 5: Set your default card
Have you added multiple cards? Then set your preferred card as the default. You can do this in the same Wallet menu by tapping "Default Card." Set the card you use most often as the default. Other cards remain available and can be selected during checkout.
Payment in practice
The actual payment process is surprisingly simple. At the checkout, quickly press the side button on your watch twice. Your default card will appear on the screen. Hold your wrist near the card reader. You'll feel a tap and hear a beep when the payment is successful.
For amounts over €50, the system sometimes requires additional verification. You'll then need to enter your Watch's access code. This happens automatically; you don't need to do anything extra.
Want to pay with a different card? After double-tapping, swipe left or right to see your other cards. Tap the card you want and hold your watch near the device.
Useful tips for daily use
Your watch doesn't need to be connected to your iPhone to pay. As long as your watch is unlocked, Apple Pay works. This is ideal for working out. You can run without your phone, but still grab a drink along the way.
Apple Pay also works perfectly on public transport. At NS (Dutch Railways) gates and on buses and trams, you can check in and out just like with a regular OV chip card. Note: always use the same card to check in and out.
Paying online via Safari on your Mac or iPad? If the webshop accepts Apple Pay, confirm the payment with your Watch. A notification will automatically appear on your wrist.
Troubleshooting common problems
Sometimes a payment is declined. This is usually due to one of these reasons:
- Your watch is locked: Take your watch off and put it back on, then enter your passcode. The watch must be unlocked to pay.
- Insufficient funds: Apple Pay doesn't check your balance. If there's insufficient funds, your bank will decline the transaction.
- Limit reached: Contactless payments have daily limits. Check your banking app for your current limit.
- Outdated map data: Was your card recently updated? Remove the old map and add the new one.
Security and privacy
Each transaction uses a unique code that only works once. Lose your Watch? Turn off Apple Pay immediately via Find My on your iPhone. You can also remotely erase your Watch.
Your payment history remains private. Apple doesn't store any transaction data that can be traced back to you. Your bank does see your purchases, just like with regular debit card payments.
Your Watch's passcode provides additional security. Without it, no one can pay with your watch. Set a passcode that's different from your iPhone's for optimal security.
Why Apple Pay on your Watch is so convenient
The big advantage is the speed. No searching for your wallet, no hassle with a protective case that keeps your card from coming out. Your watch is already on your wrist. Two taps and you're done.
You only really notice the convenience when you're exercising. No phone or wallet, but still quick to grab a bottle of water at the supermarket. Or a coffee after your run.
It also works well in busy situations. On a crowded tram, with shopping bags in your hands, and a child in your arms – your other hand is free and can easily pay.
Contactless payments via your Watch aren't just about convenience. They're also a piece of the future that already works. A technology that makes your daily life just a little bit smoother.
Why Apple Pay on your Watch is worth it
Setting up Apple Pay on your Apple Watch takes five minutes, but it saves you time and hassle every day. The five steps are simple: check your devices, open the Watch app, add your card, verify with your bank, and you're done. From then on, you can pay with just two taps on your wrist .
Safer than contactless card payments, more convenient during sports, and ideal in crowded situations. It's no longer revolutionary technology, but simply a practical solution that works. Try it for a week and you'll see why most users don't want to go back.