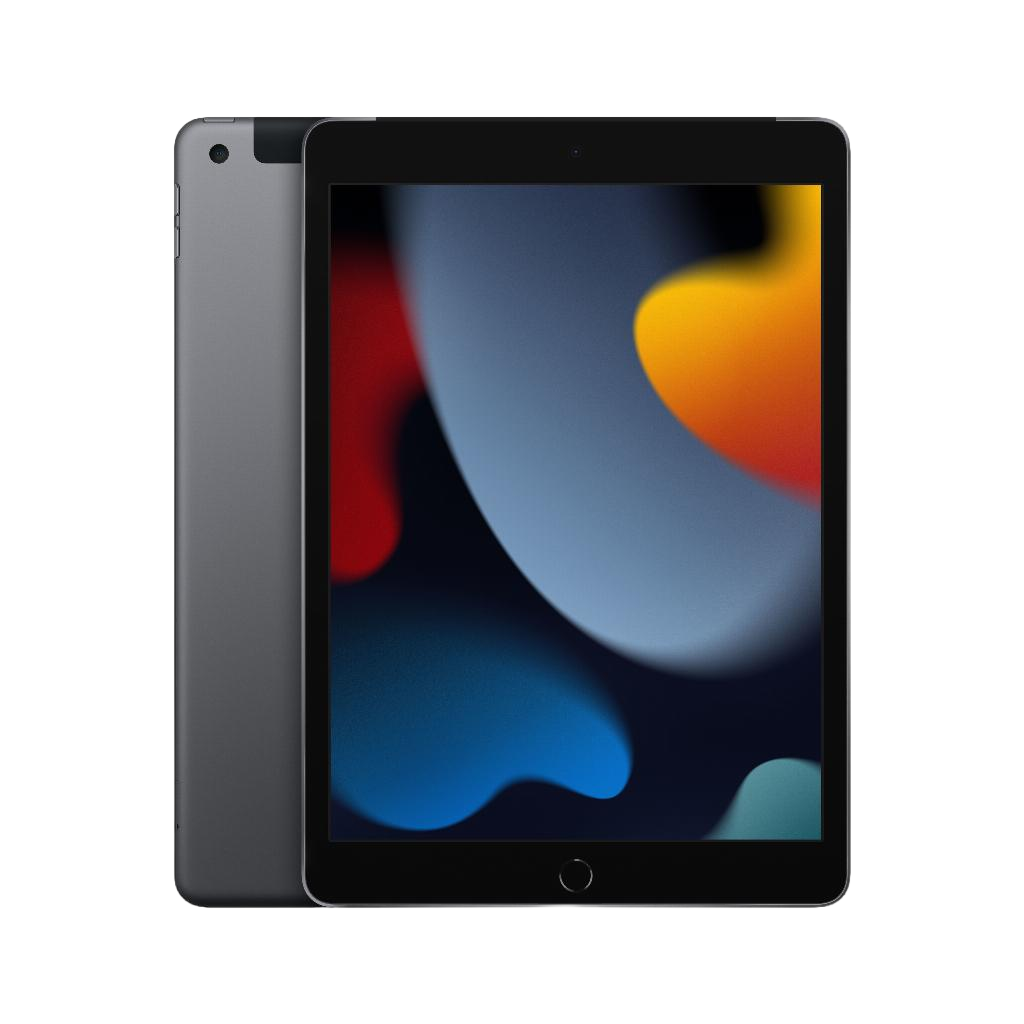
How to make screen recordings on your iPad: easier than you think
You want to capture something on your iPad screen. An error message for the help desk. A winning move in your favorite game. Or that one handy setting you'll soon forget. You search through the control panel. Swipe back and forth. Nothing.
Yet it's definitely there – screen recording is standard on every refurbished iPad . Apple has just hidden it so well that most users never find it. It's literally a matter of setting it up once and then recording with a single tap.
No apps to download, no cables to mess with, or extra software to worry about. Simply activate that hidden button in your settings, and your iPad transforms into a recording studio. In seven simple steps, you can capture everything that happens on your screen.
Useful links
Why record screens on your iPad?
Creating a screen recording on your tablet might sound technical, but it's surprisingly useful. Think of recording a video call with family abroad. Recording an online lesson you want to review later. Or documenting a technical issue for support. The great thing is that Apple has built this feature into iPadOS. You don't need to download any third-party apps or install any complicated software.
Screen recording works on all iPad models running iPadOS 11 or later. This means virtually every tablet from the past few years has this capability. Whether you're using an iPad Pro, Air, mini, or standard model, the steps are identical.
How to activate screen recording function in 7 steps
Before you can record, you first need to add the feature to your control panel. This is a one-time action that takes a maximum of two minutes:
- Open the Settings app – the gray gear icon on your home screen
- Tap 'Control Center' – You'll find this about halfway down the menu
- Select 'Customize controls' – Here you can add or remove functions
- Find 'Screen Recording' – It's in the list of available controls
- Tap the green plus sign – The feature will now appear at the top of your active controls
- Determine the order – Drag the icon to the desired position with the three lines
- Exit the settings – The change will be saved automatically
Start and stop a recording
Now that the feature is activated, you can start recording right away. You can open the Control Center in two ways, depending on your iPad model:
- On a tablet with a home button : Swipe up from the bottom of the screen
- On a model without a home button : Swipe down from the top right corner
You'll now see a round button with a circle inside it. This is your recording button. Tap it, and a three-second countdown will appear. Use this time to navigate to the correct app or webpage. Once the countdown reaches zero, recording will begin. A red bar or clock at the top of your screen indicates that the device is recording.
To stop, tap this red indicator and select "Stop." Alternatively, reopen the control panel and tap the record button again. The video will automatically save to the Photos app.
Record sound while screen recording
By default, your tablet only records system sounds—think notifications and app sounds. Want to add your own voice, for example, for a tutorial? Then press and hold the record button in the Control Center. A menu will appear where you can enable the microphone. The microphone icon turns red when it's active.
Note: Some apps block audio recording for privacy reasons. Netflix, Spotify, and certain banking apps are examples of this. While the video is recorded, the audio is missing from the final video.
Find and edit your recordings
All screen recordings are saved in the Photos app, in the "Screen Recordings" album. From there, you can view, share, or edit the videos. The built-in editing tools let you:
- Trim – Remove the beginning or end of the recording
- Crop – Zoom in on a specific part of the screen
- Rotate – Rotate the video if it is upside down
- Apply Filters – Adjust Colors and Brightness
For more extensive editing, such as adding text, transitions, or music, you can use apps like iMovie or LumaFusion. These are specifically optimized for the device and offer professional features.
Practical applications for screen recording
The possibilities are endless, but here are some popular scenarios:
Education and Training – Teachers record presentations for students who missed a class. Students record difficult assignments to review later. Companies create instructional videos for new employees.
Technical support – Instead of explaining the problem, demonstrate it. The helpdesk can see exactly what's wrong and provide more targeted assistance. This saves time and frustration for both parties.
Gaming and entertainment – Gamers share their best moments or create walkthroughs for others. Content creators use it for reaction videos or app reviews.
Personal use – Save video calls with loved ones. Capture recipes while cooking. Document important settings before changing them.
Troubleshooting common problems
Sometimes screen recording doesn't work as expected. Here are the most common issues and solutions:
The Record button is missing from Control Center – Make sure you have iPadOS 11 or later by going to Settings > General > Software Update. Older versions don't support this feature.
Recordings aren't saving – Check your storage in Settings > General > iPad Storage. Videos are taking up a lot of space. Free up space by deleting old photos or apps.
No sound in the recording – Make sure the volume is turned up and the microphone is turned on. Some apps block audio recording for copyright reasons.
The red bar doesn't appear – This sometimes happens with certain apps. Recording continues as normal. Open the control panel to check if the timer is running.
Tips for better screen recordings
These pointers will help you get the most out of the feature:
- Turn on Do Not Disturb to prevent notifications while recording
- Close unnecessary apps for better performance during long recordings
- Use a stand or holder for stable recordings during presentations
- First test with a short recording whether everything works as expected
- Keep recordings short and sweet – viewers are more likely to tune out of long videos
The screen recording feature on your tablet is more powerful than many users realize. With the right settings and a little practice, you can create professional-looking videos without any additional tools. Whether you're creating teaching materials, documenting technical issues, or simply sharing fun moments – it's all possible with this built-in feature.
Screen recordings: set once, use always
Screen recording on your iPad is much simpler than you think. Set it up once in Control Center, and from then on, you can record everything that happens on your screen with a single tap.
Whether you want to log a problem for the help desk, save an online lesson, or share gameplay—it's all possible without any additional apps or cables. The built-in editing tools make it complete.
Just try it out. After your first recording, you'll wonder why you didn't discover this sooner.


