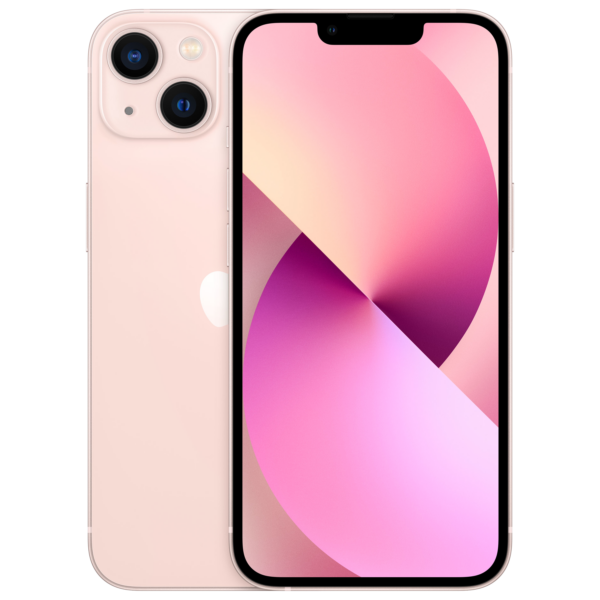
Transfer contacts to your new iPhone
Bought a new iPhone. Transferring contacts. It sounds simple, but you know the feeling: that panic when you think about having to enter hundreds of contacts manually. Or that fear of losing important numbers during the switch.
Yet transferring contacts turns out to be the most underestimated time-waster with a new phone. Even though the solution is literally in your pocket. Because what no one tells you: Apple solved this problem years ago with three simple taps on your screen.
No cables, no computers, no hassle. Your old contacts are on your new device in under two minutes—including profile pictures and birthdays. What's more, with the right accessories, you can even continue making calls with your AirPods during the transfer. How exactly does that work? Read on below.
Useful links
Why transferring contacts is essential
Transferring contacts to your new iPhone may seem like a small detail, but it's crucial for a smooth transition. Your contacts list often contains years of accumulated data: phone numbers, email addresses, work details, and personal notes. Manually entering this information not only takes hours but also increases the risk of errors.
Fortunately, Apple has developed several methods to simplify the process. Whether you're coming from an Android device or an older iPhone, there's always a solution that suits your situation. The most important thing is to choose the right method for your specific situation.
The fastest method: Quick Start
For users switching from one iPhone to another, Quick Start is an absolute favorite. This feature works from iOS 12.4 and later. Simply place both devices side by side during the setup process of your new device. An animation will appear on the screen of your old phone, which you can scan with the camera of your new model. Within minutes, not only your contacts but also apps, photos, and settings will be transferred.
The beauty of this method is that both devices communicate wirelessly. You don't need any cables or a computer. Just make sure both devices have sufficient battery power or are charging during the process.
iCloud: the flexible solution
iCloud remains a reliable choice for contact syncing. The big advantage is that your contacts automatically stay up-to-date on all your Apple devices. When you add a number on your iPhone, it also appears on your iPad and Mac.
To enable iCloud for Contacts, go to Settings, tap your name at the top, select iCloud, and enable the Contacts option. On your new device, sign in with the same Apple ID and enable the same option. Syncing will start automatically when you're connected to Wi-Fi.
A practical tip: first check how much storage you're using in iCloud. The free 5 GB can quickly fill up with photos and backups. However, you hardly need any space for contacts alone.
iTunes and Finder: The Classic Approach
Although Apple has replaced iTunes on Mac with Finder, syncing via computer remains available. This option is especially useful when you don't have a stable internet connection or if you prefer to create a local backup.
Connect your old device to your computer and create a full backup first. Then connect your new device and restore the backup. This process takes longer than Quick Start or iCloud, but it gives you complete control over what's transferred.
Switching from Android
Apple has developed the "Switch to iOS" app specifically for Android users. This free app in the Google Play Store guides you step-by-step through the migration process. In addition to contacts, it also transfers messages, photos, email accounts, and calendars.
The app works best during the initial setup of your new iPhone. If you miss this step, you can still transfer contacts manually via your Google account. First, sync your Android contacts with your Google account, then add this account to your iPhone via Settings > Contacts > Accounts.
Troubleshooting Transferring Issues
Sometimes transferring doesn't go as planned. Duplicate contacts are a common problem, especially when you have multiple accounts linked. Your iPhone can automatically merge duplicates via Contacts > Maps > All Linked.
Are contacts still missing? Then check if all accounts are set up correctly. Go to Settings > Contacts > Accounts and verify that each account has the correct sync settings. Sometimes an account is accidentally set to "local only" instead of syncing.
Security and privacy considerations
When transferring contacts, it's important to consider privacy. Always use secure Wi-Fi networks when syncing via iCloud. Avoid public networks whenever possible, especially in cafes or airports.
Back up your contacts regularly. You can do this via iCloud, or by exporting them as a vCard file. You can save this file on an external drive or another cloud service for added security.
Tips for organizing after the crossing
Now that your contacts have been successfully transferred, it's a good time to clean up your list. Delete old numbers you no longer use and update outdated information. The search function in the Contacts app helps you quickly find specific people, even in a long list.
Also consider using groups for better organization. For example, you can create separate groups for work, family, and friends. This makes sending group messages or emails much more efficient.
Easily transfer contacts without hassle
Transferring contacts to your new iPhone does n't have to be a headache . Whether you choose Quick Start, iCloud, or the Android app, all your contacts will be on your new device within minutes.
All you need is some preparation and, if necessary, a little patience during the syncing process. Don't forget to clean up your contacts list and create a backup after the transfer. This way, you're guaranteed a fresh start with your new iPhone without losing any important numbers.


