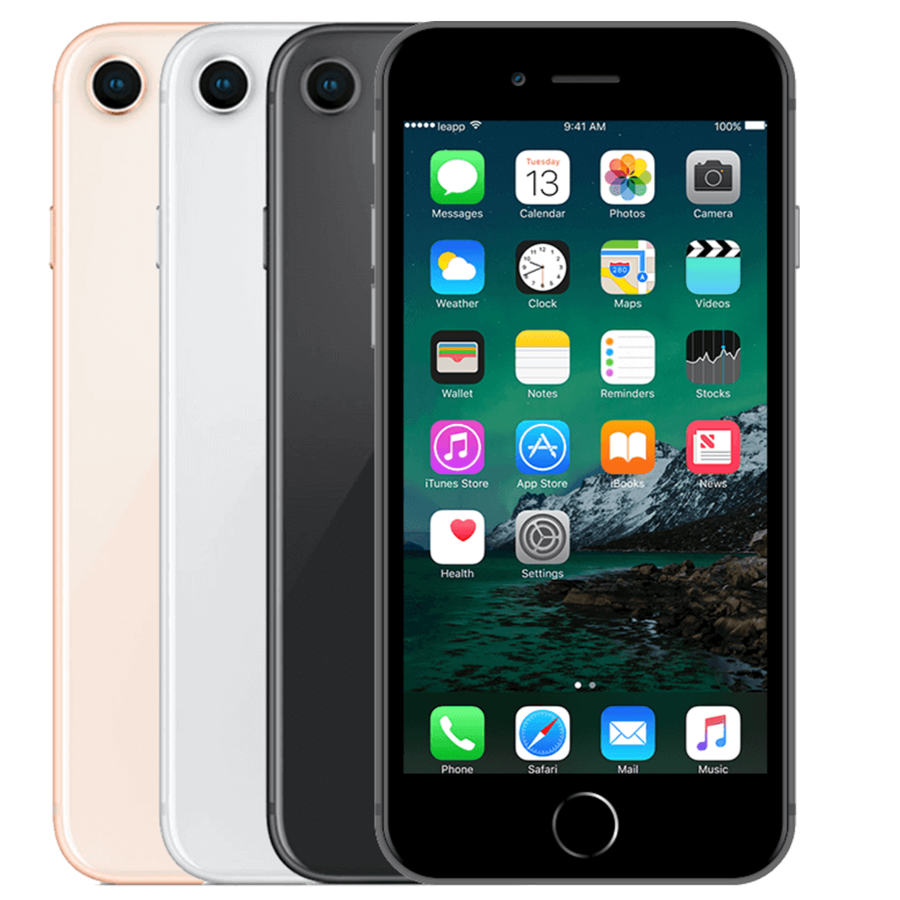
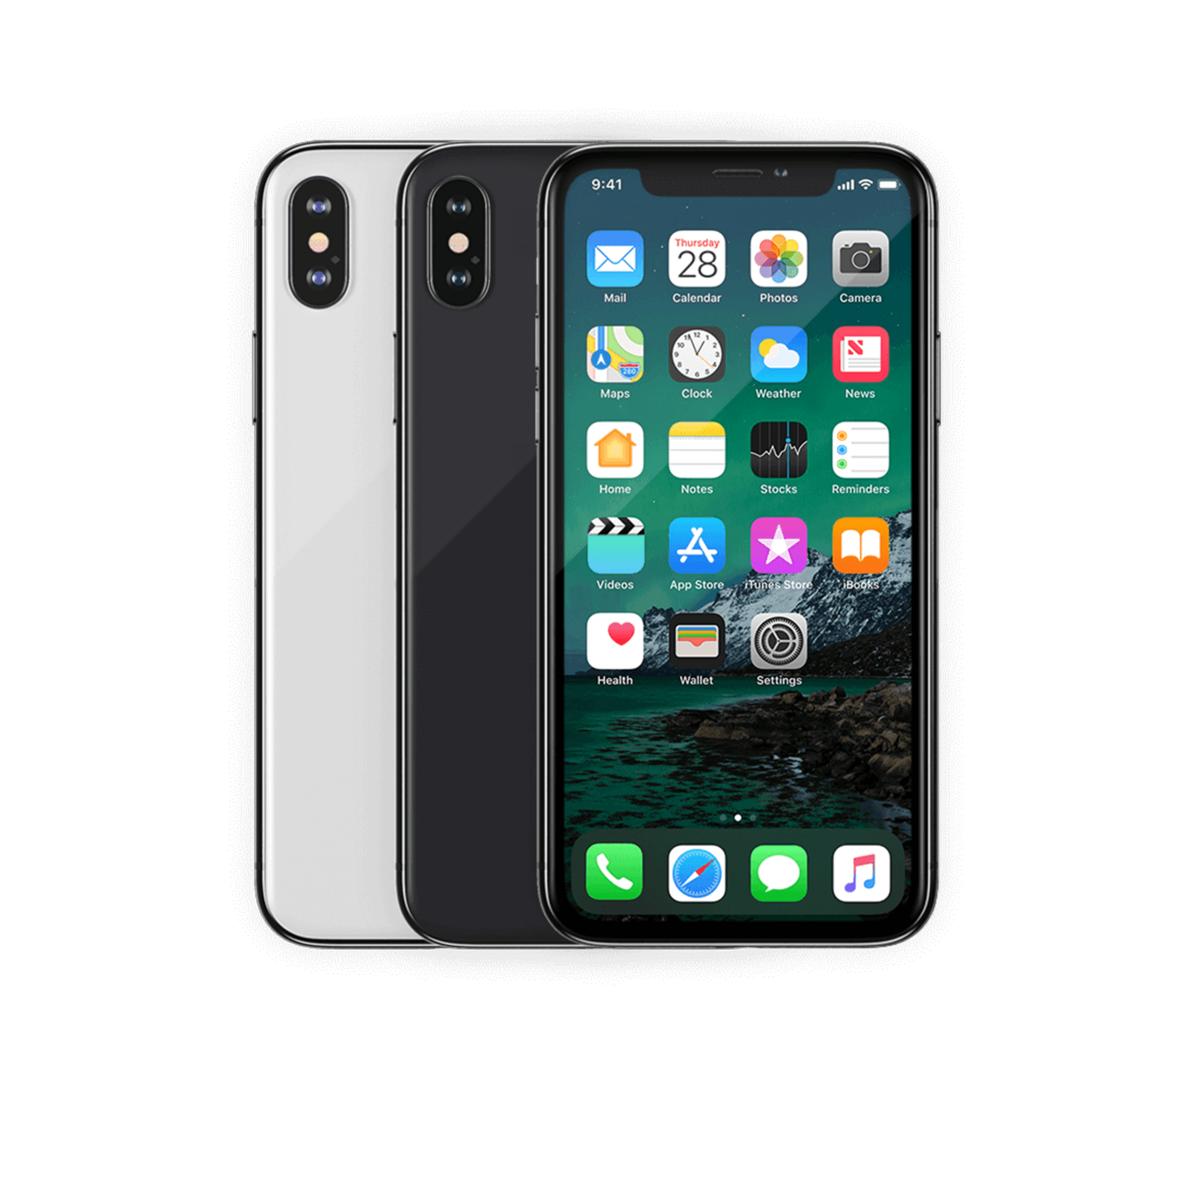
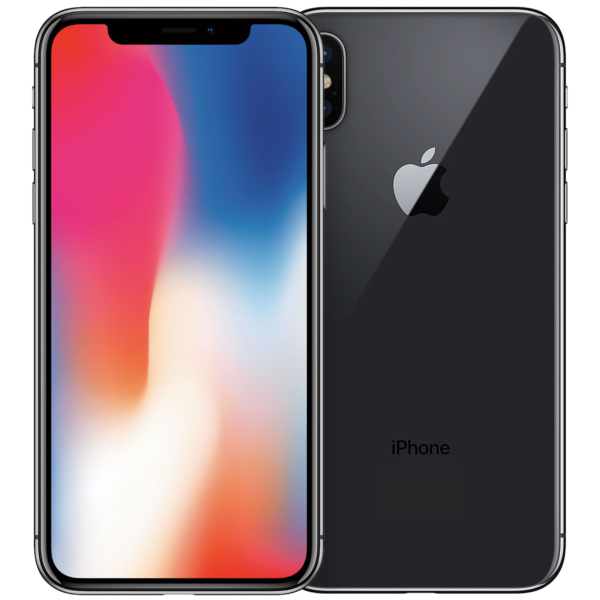
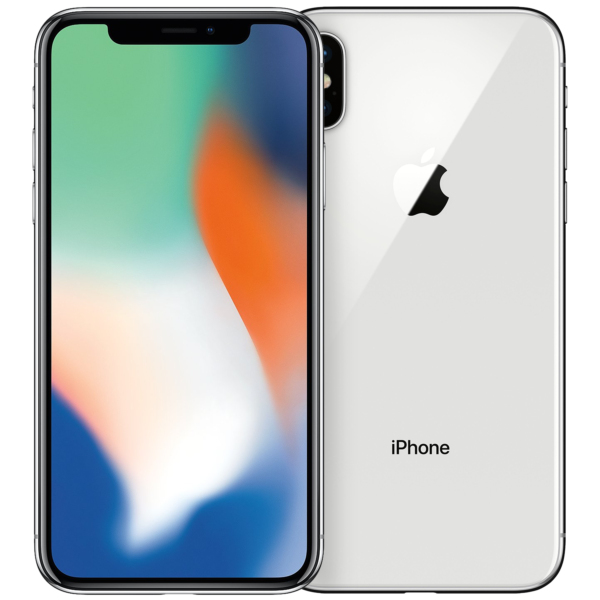
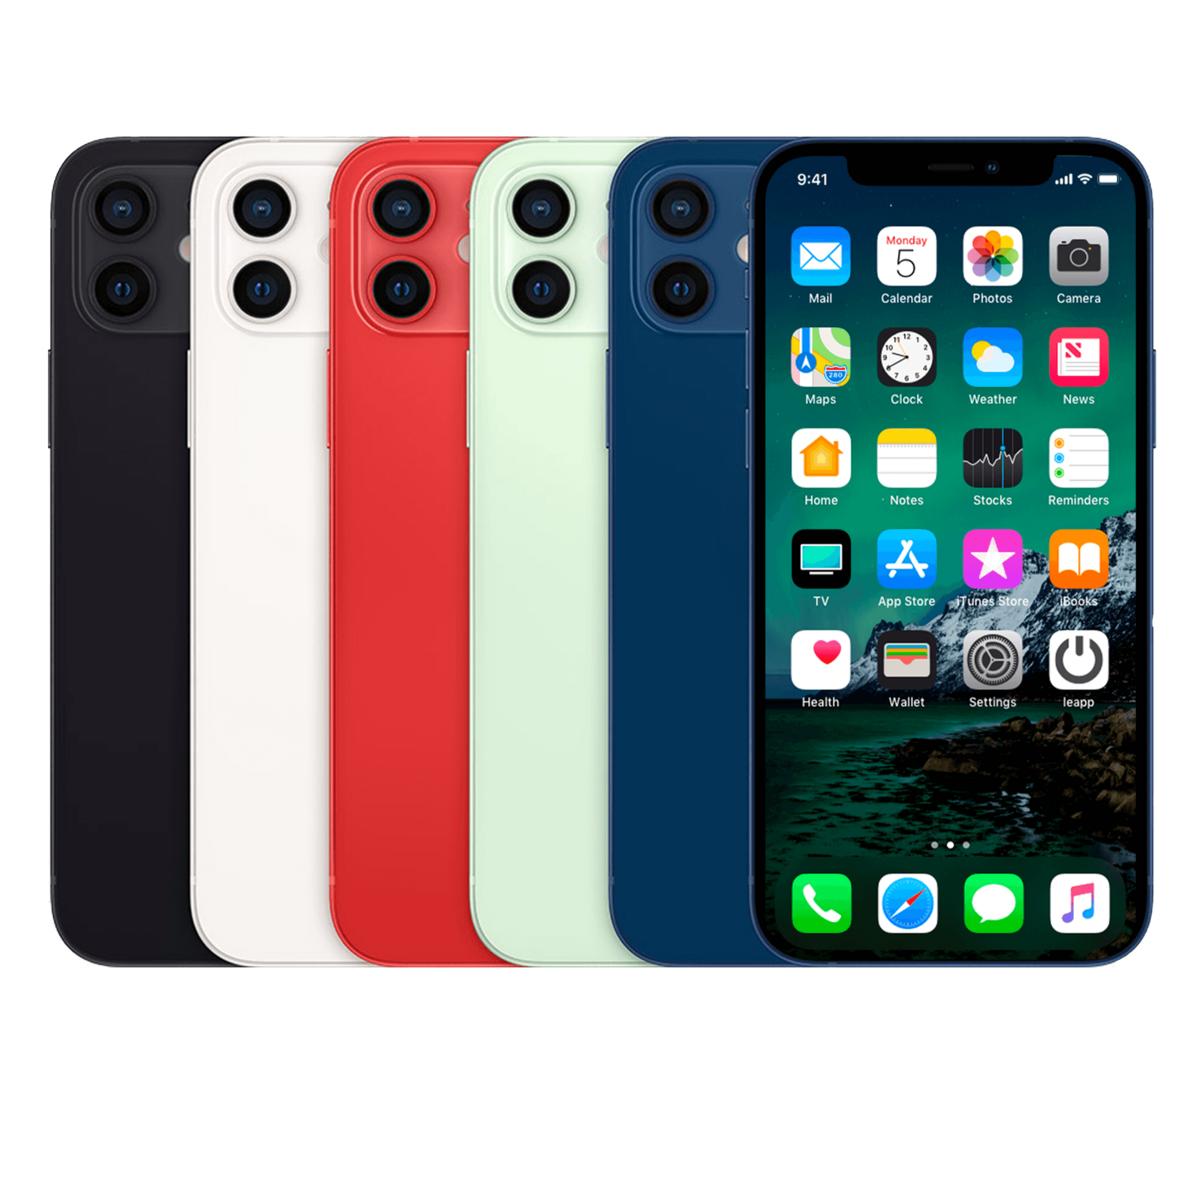
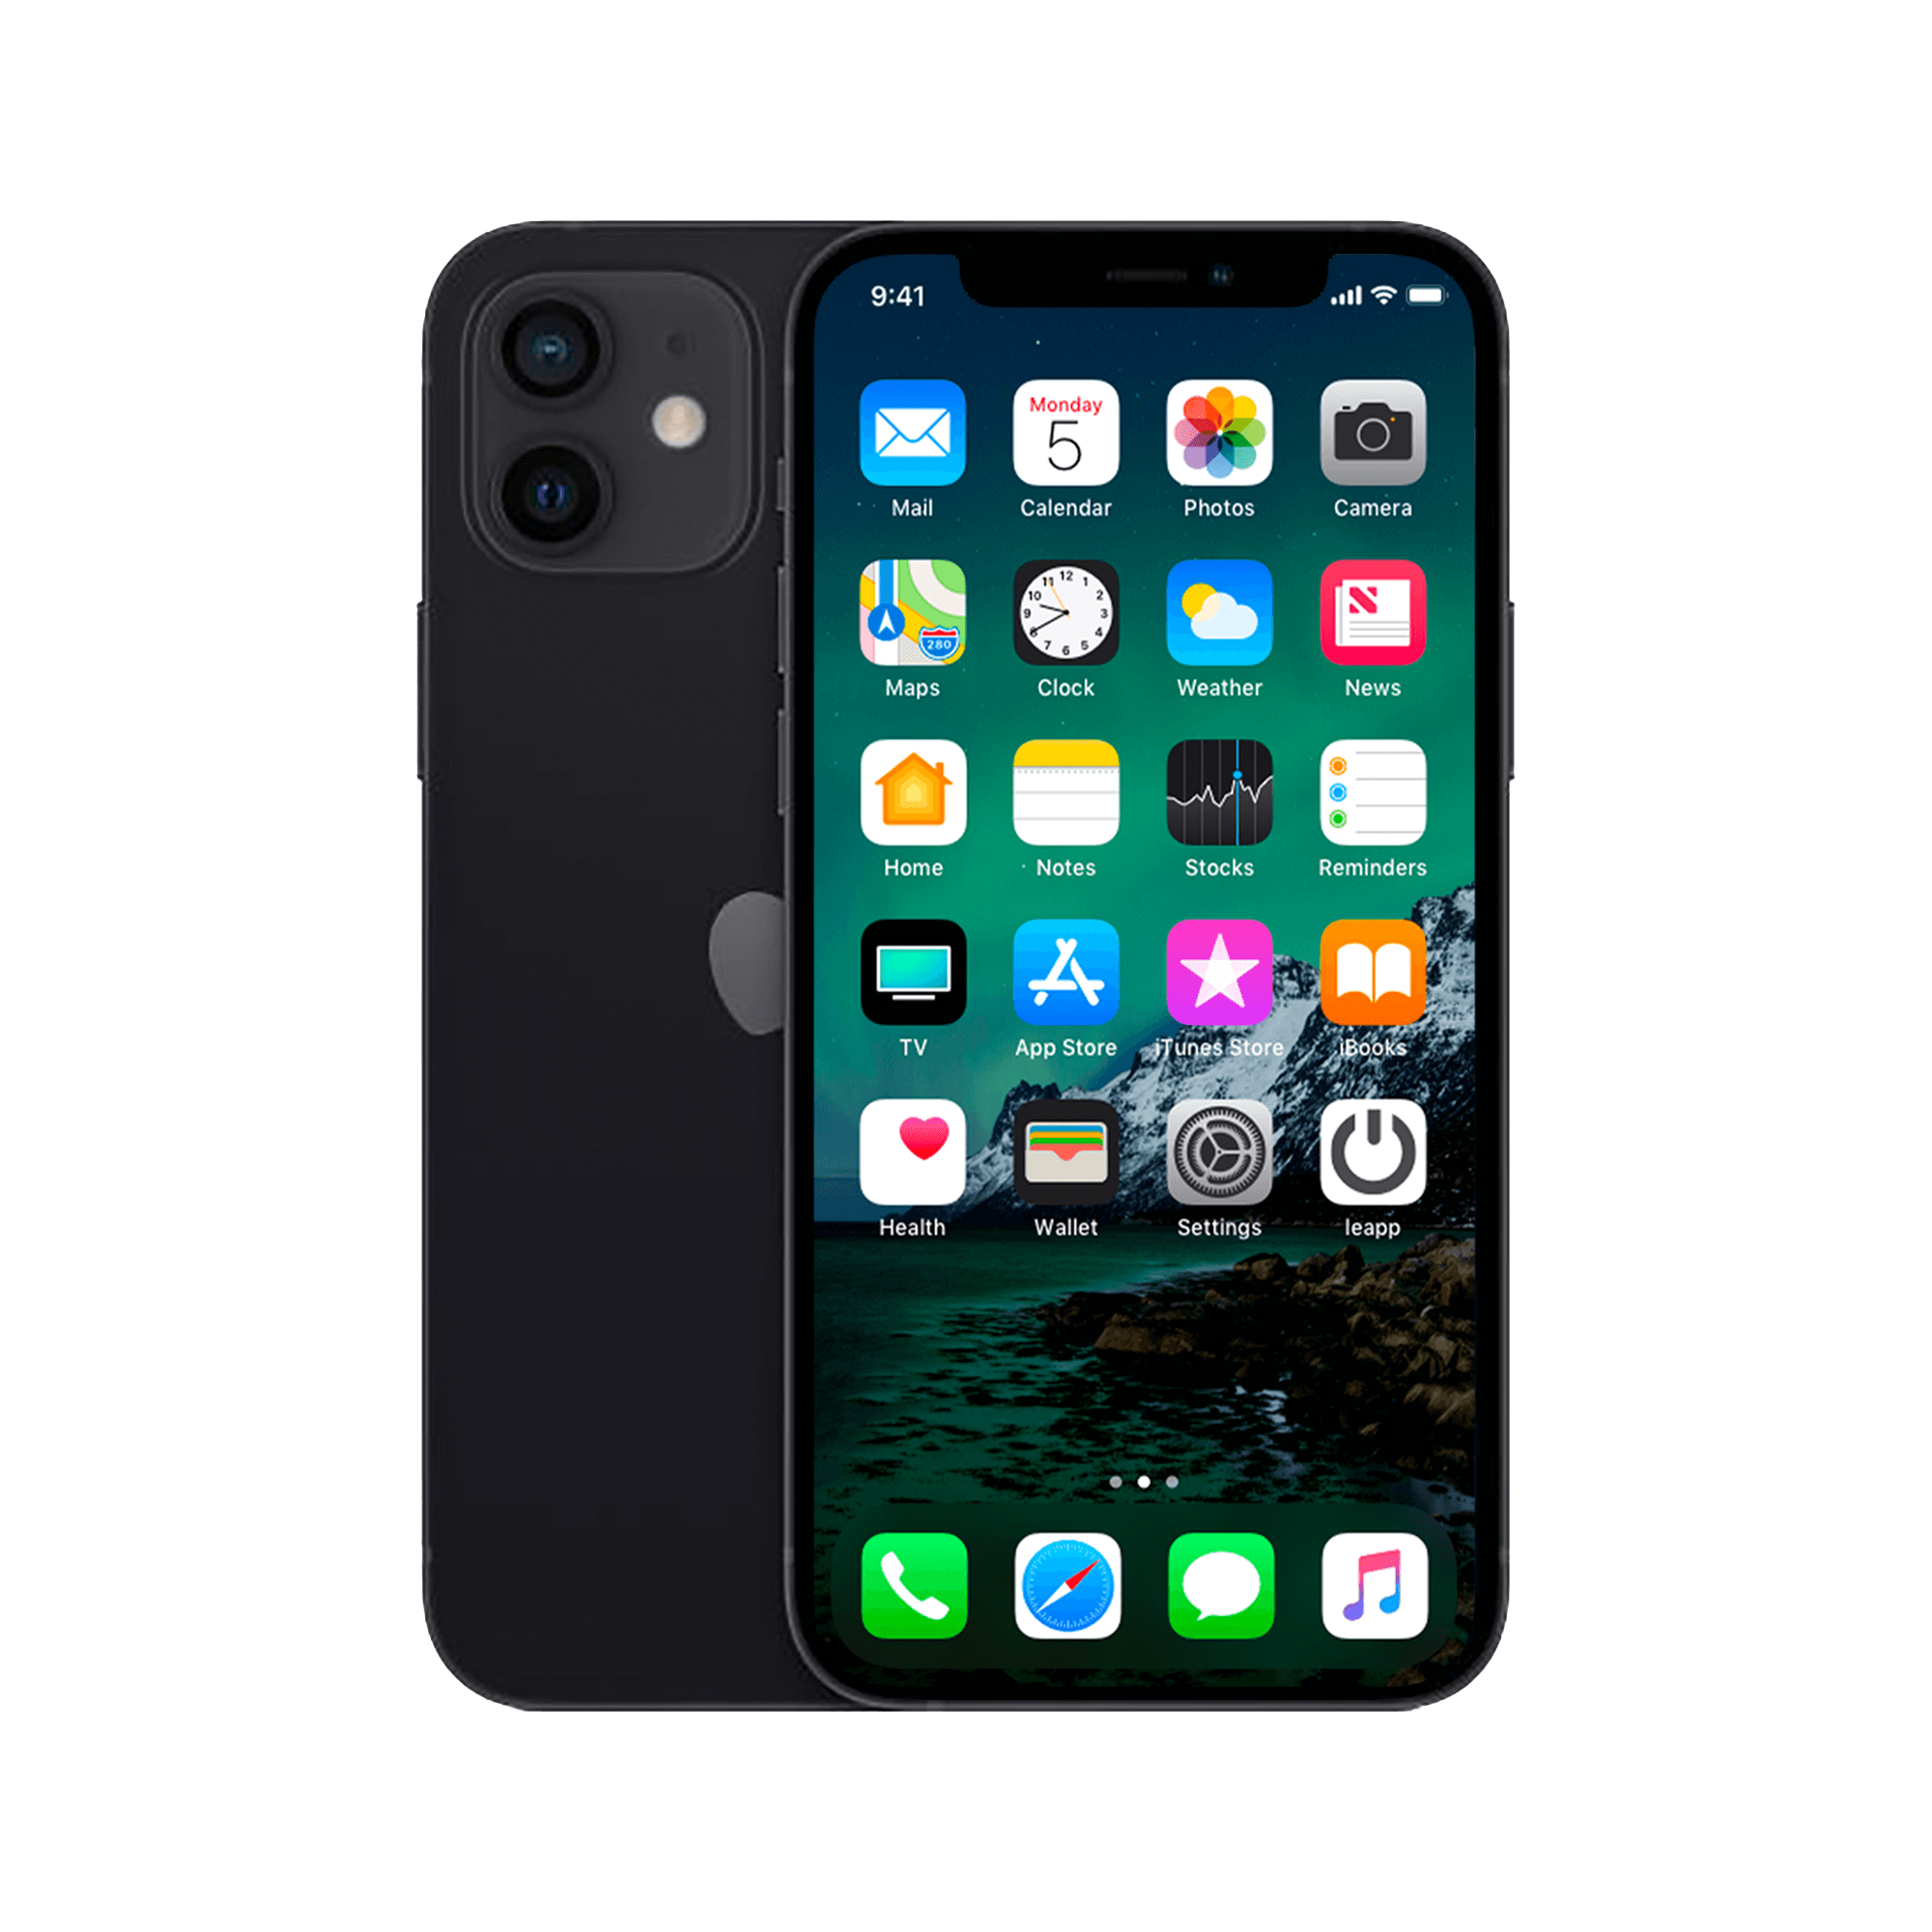
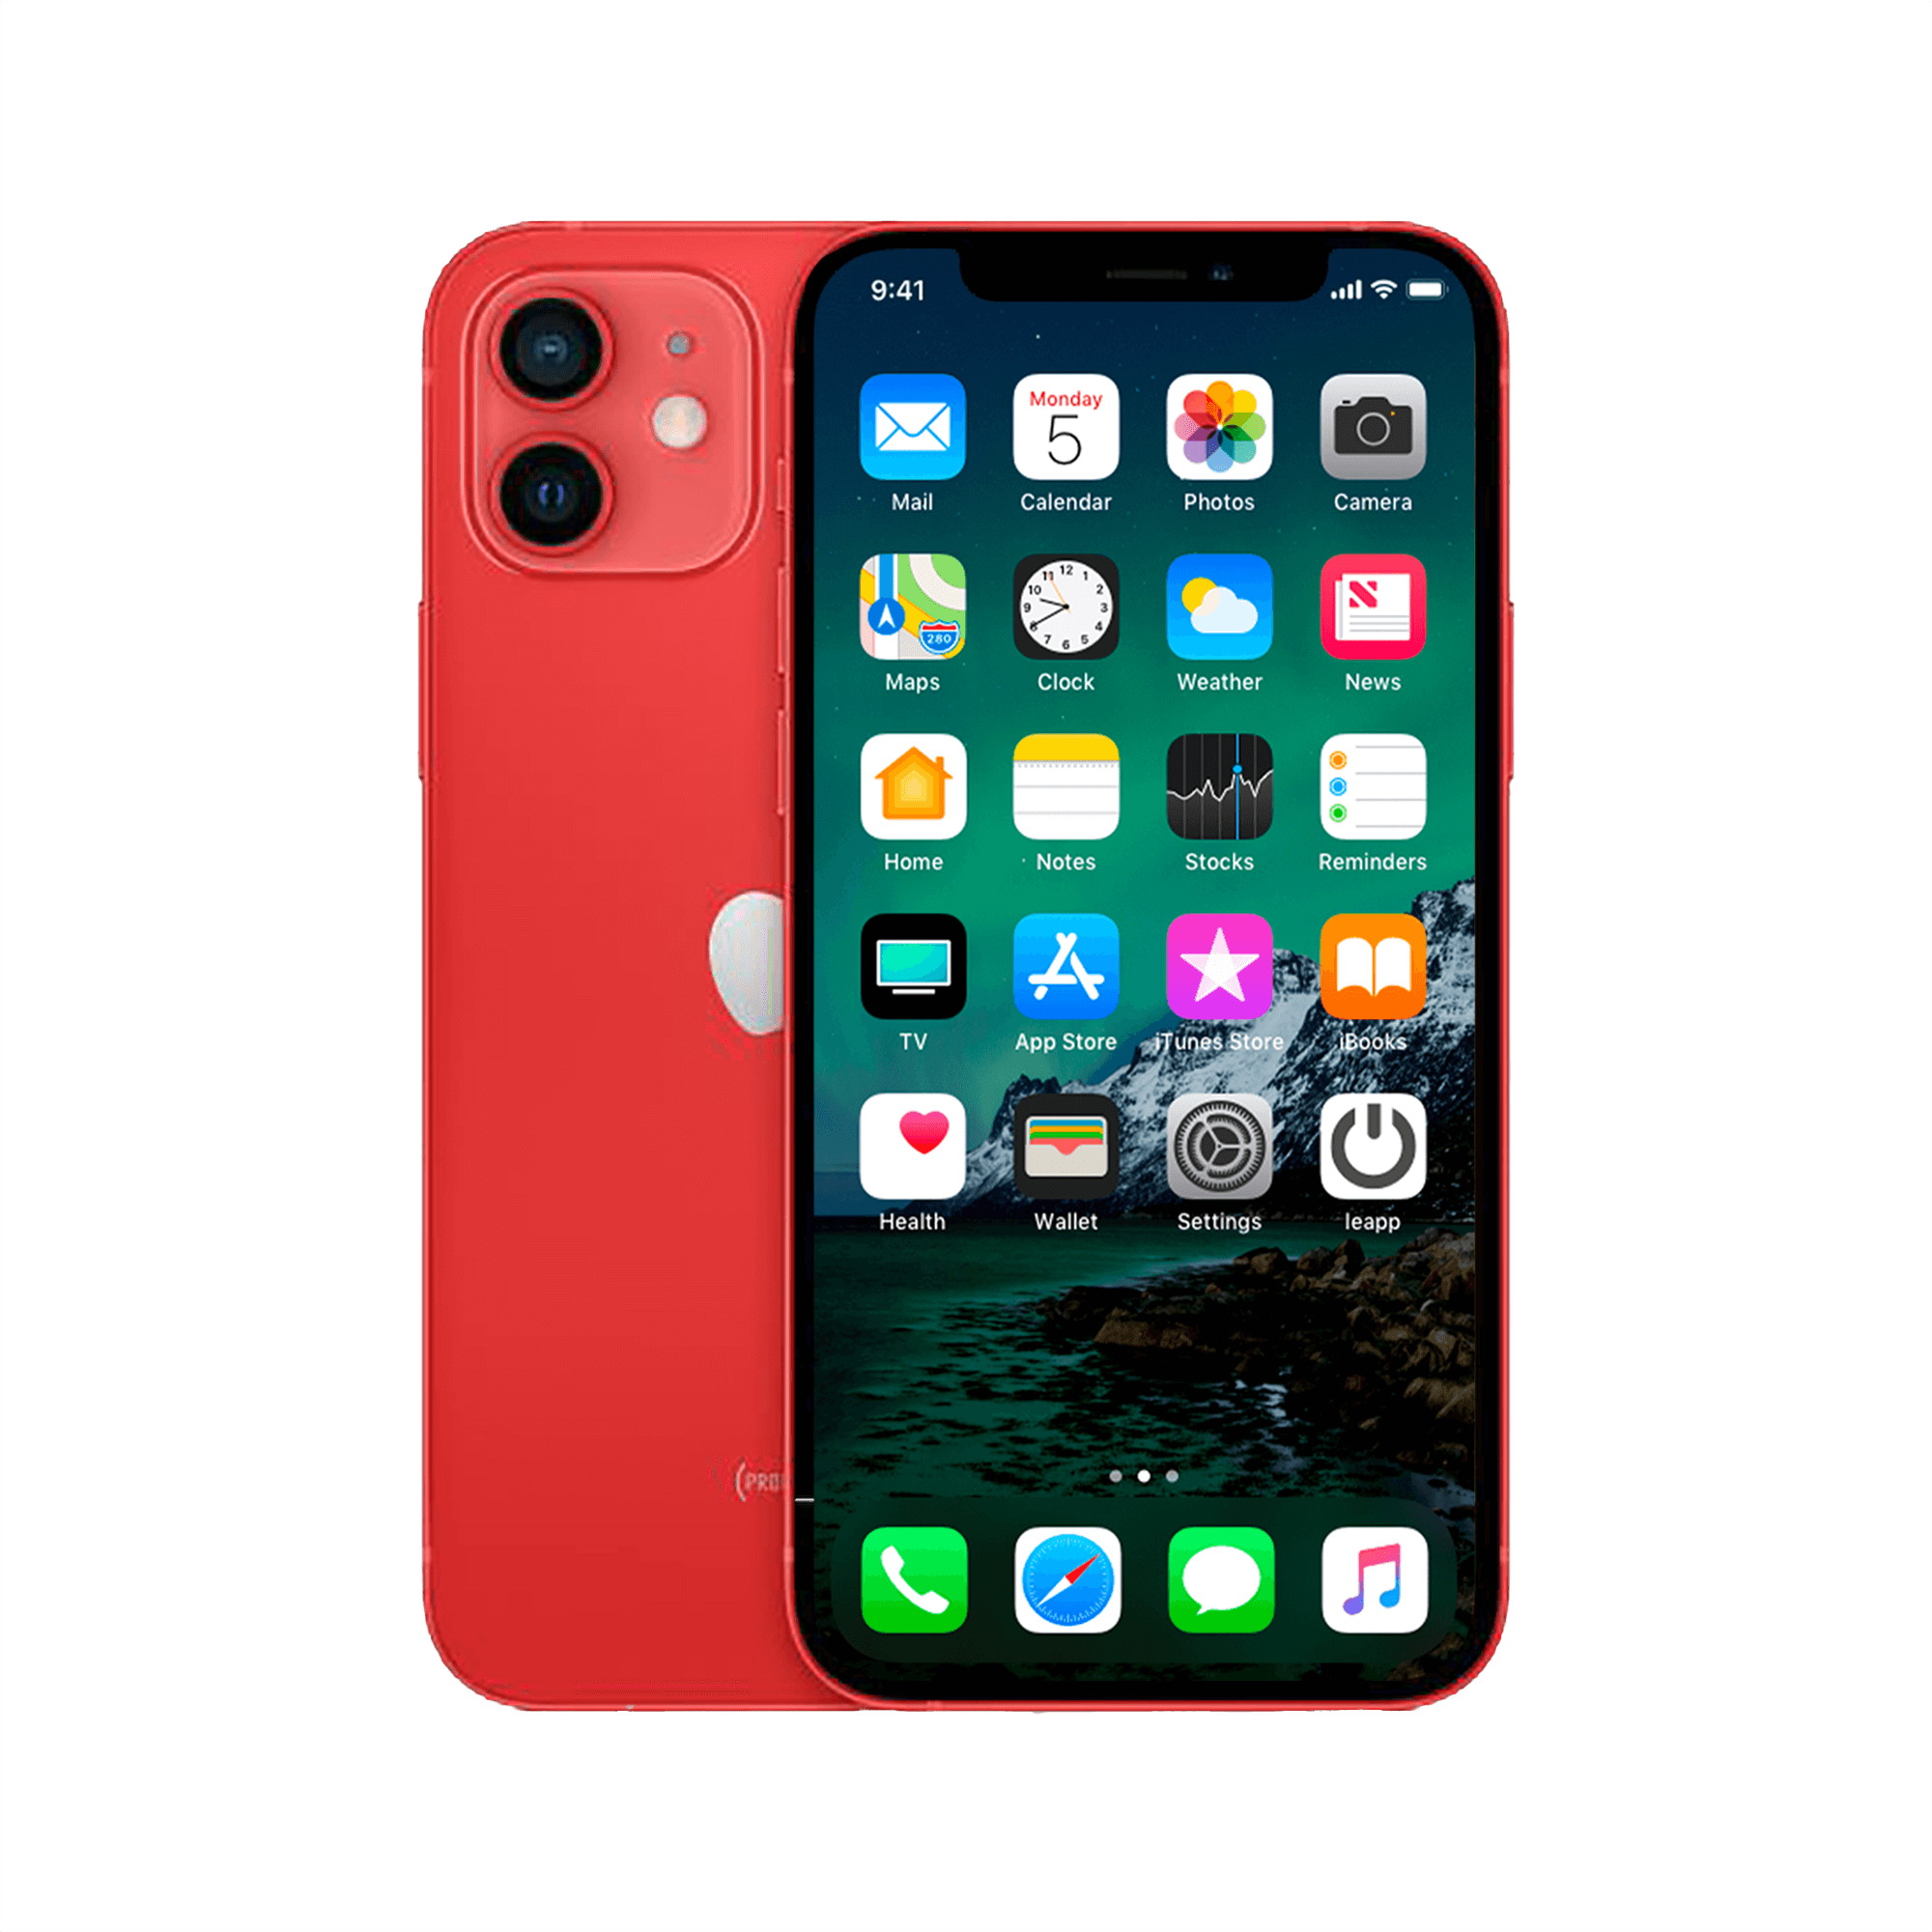
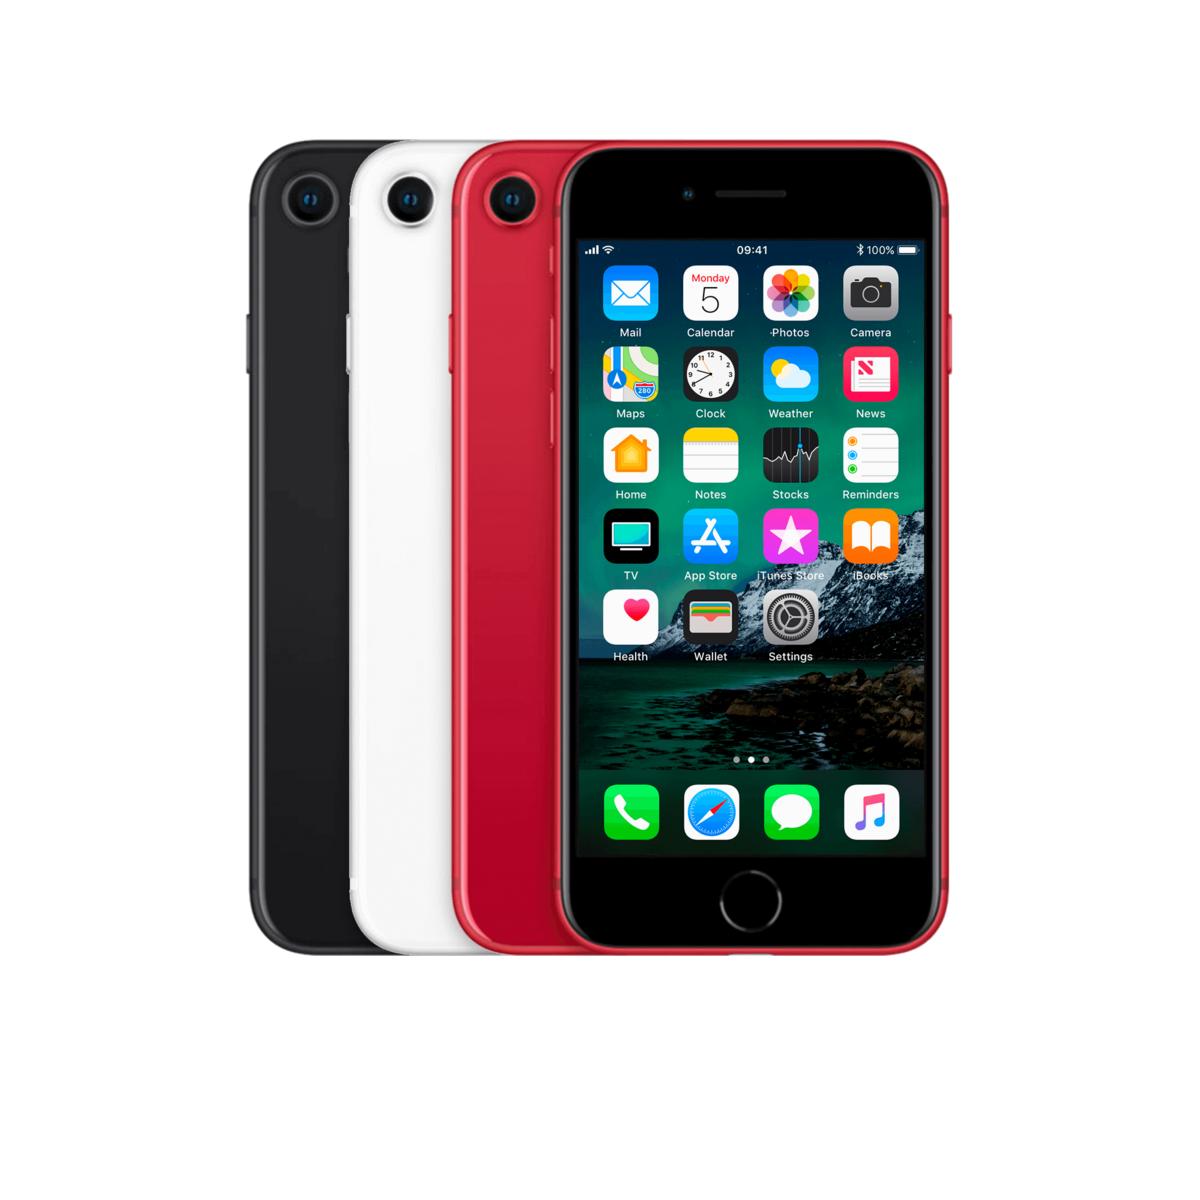
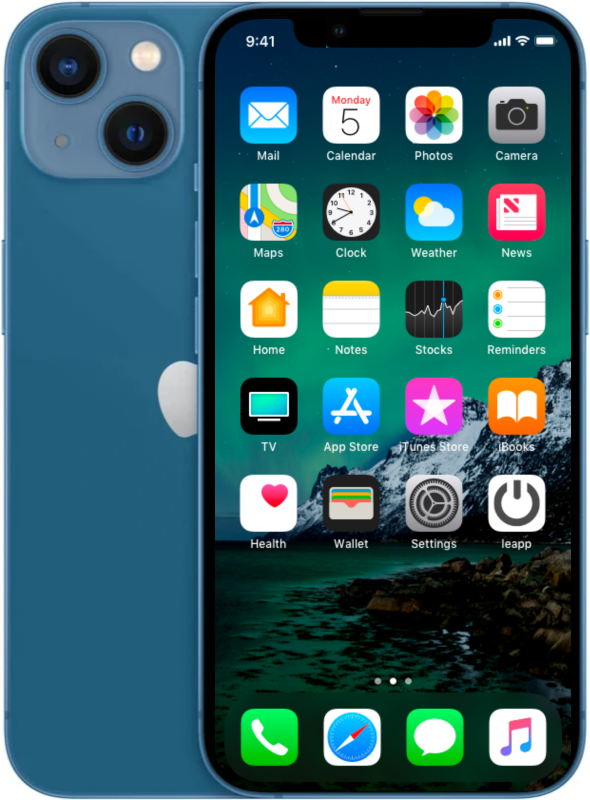
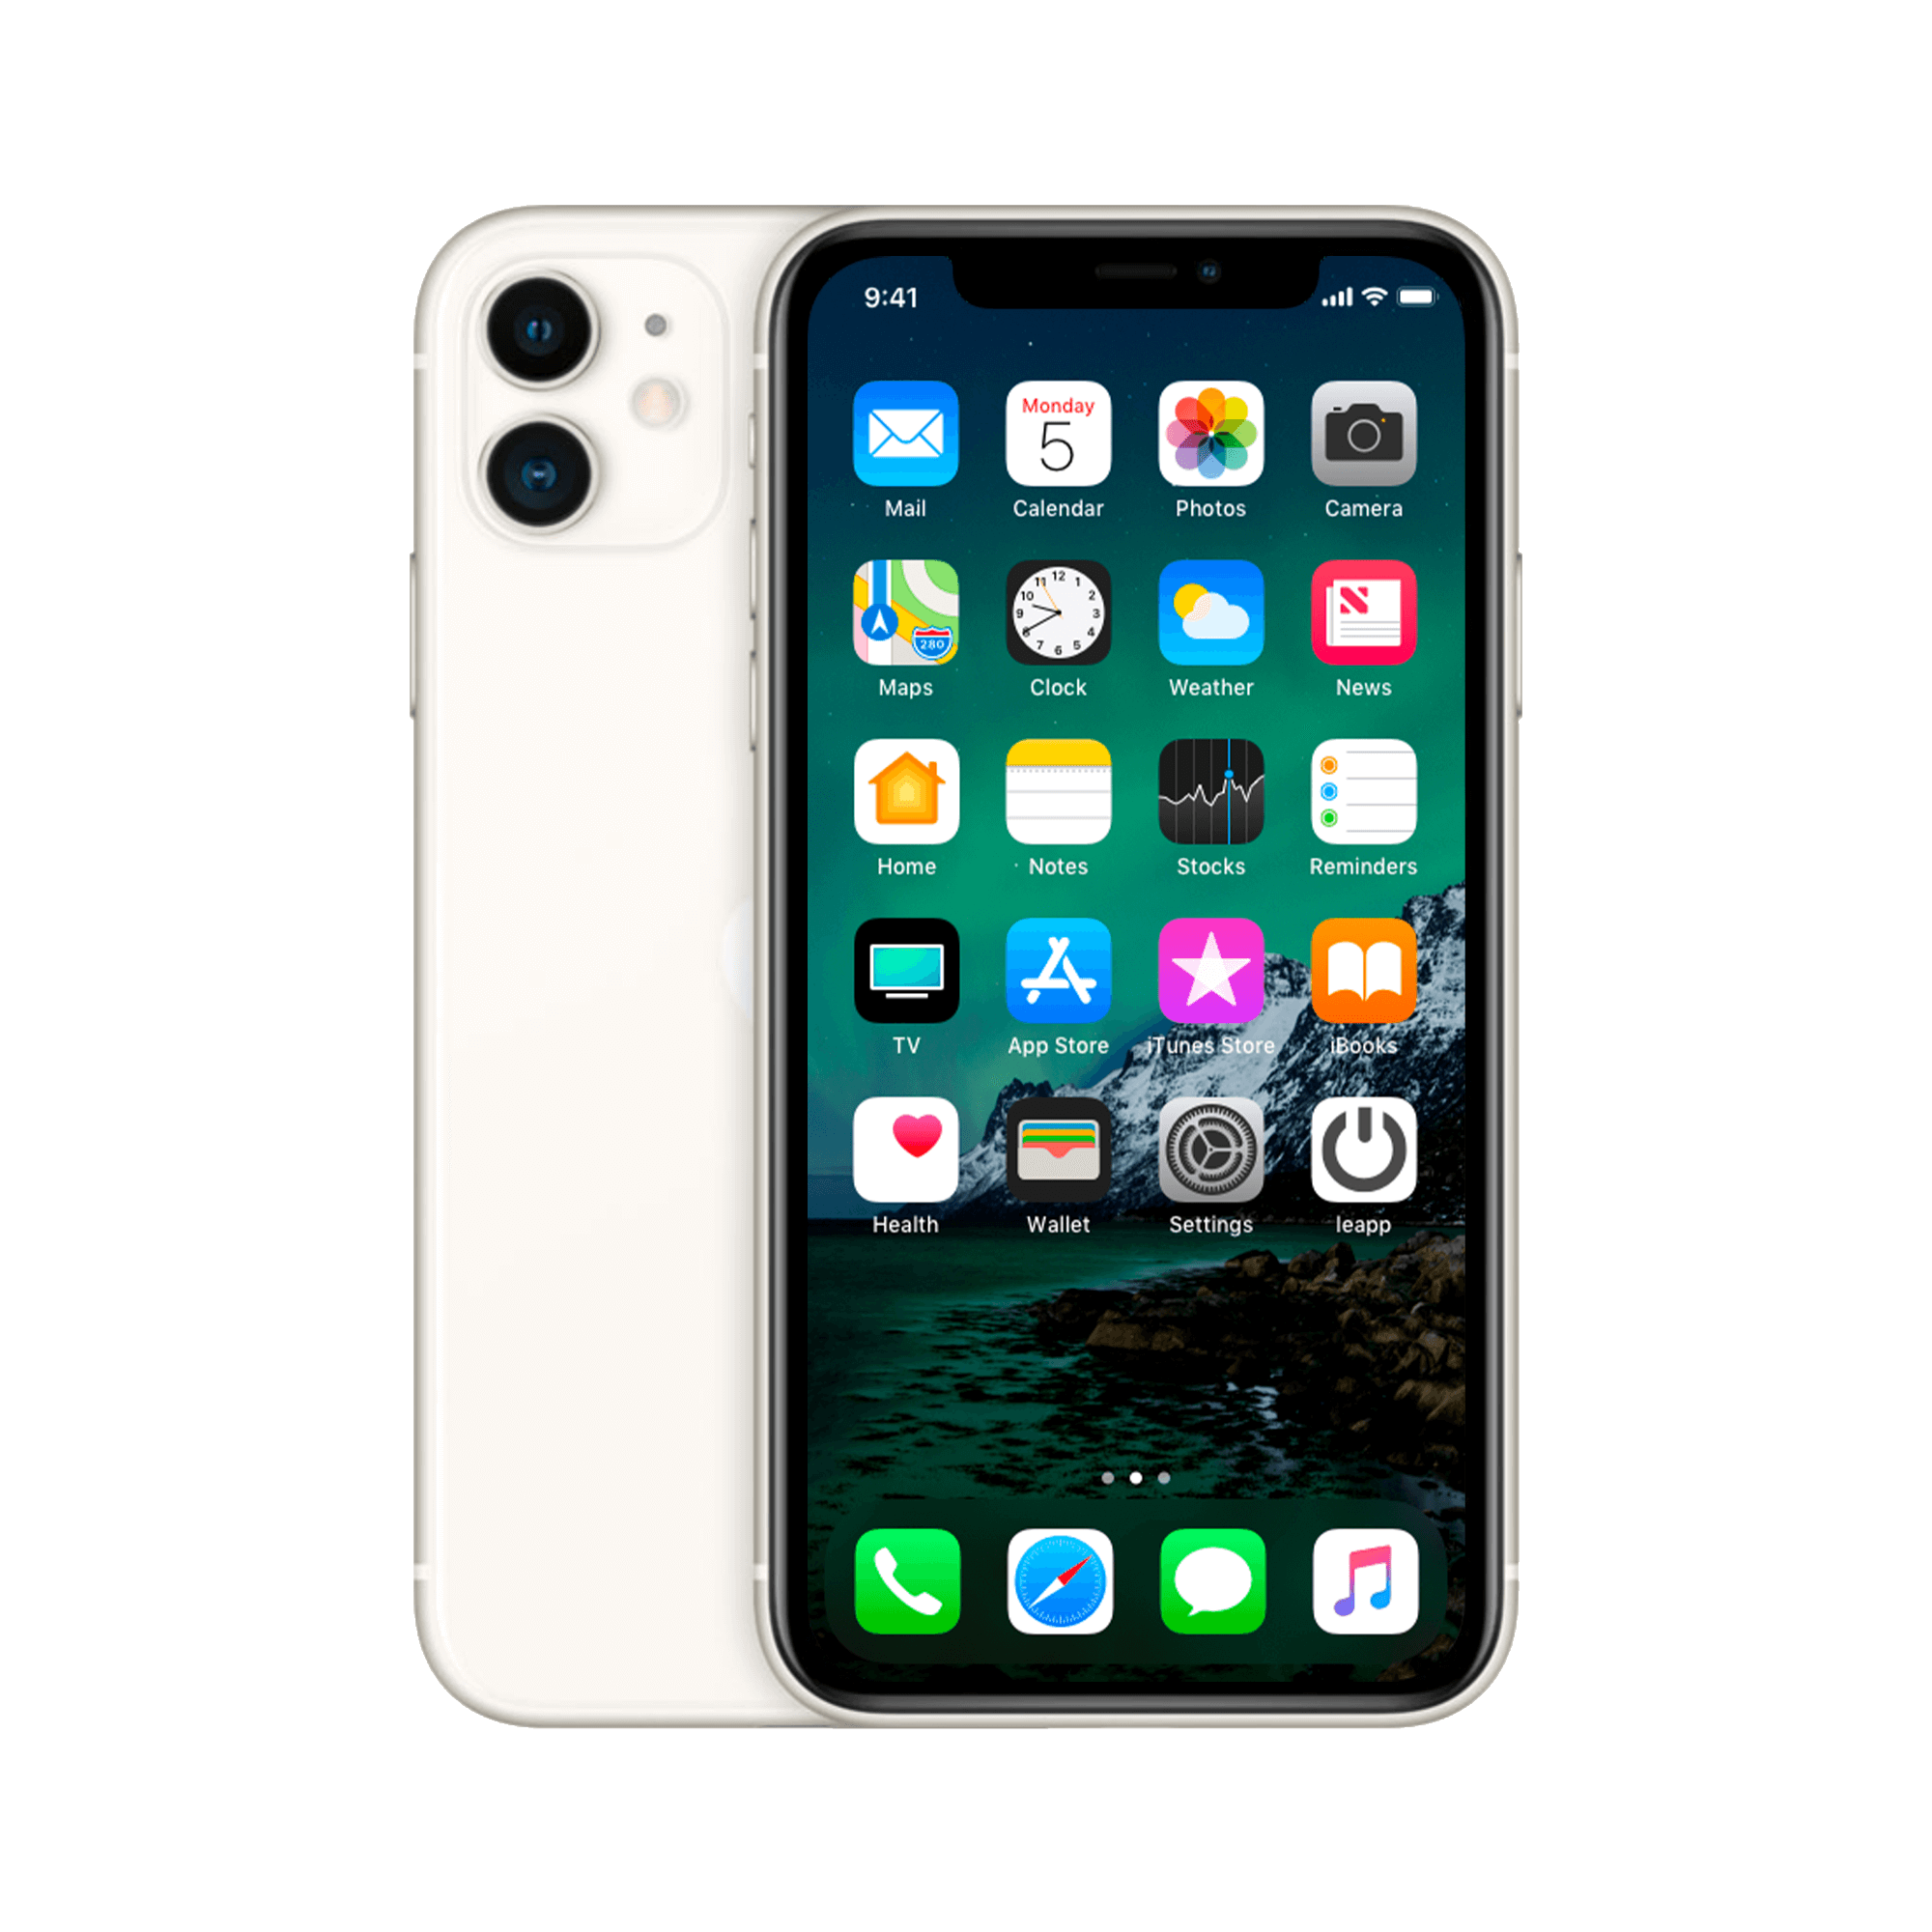
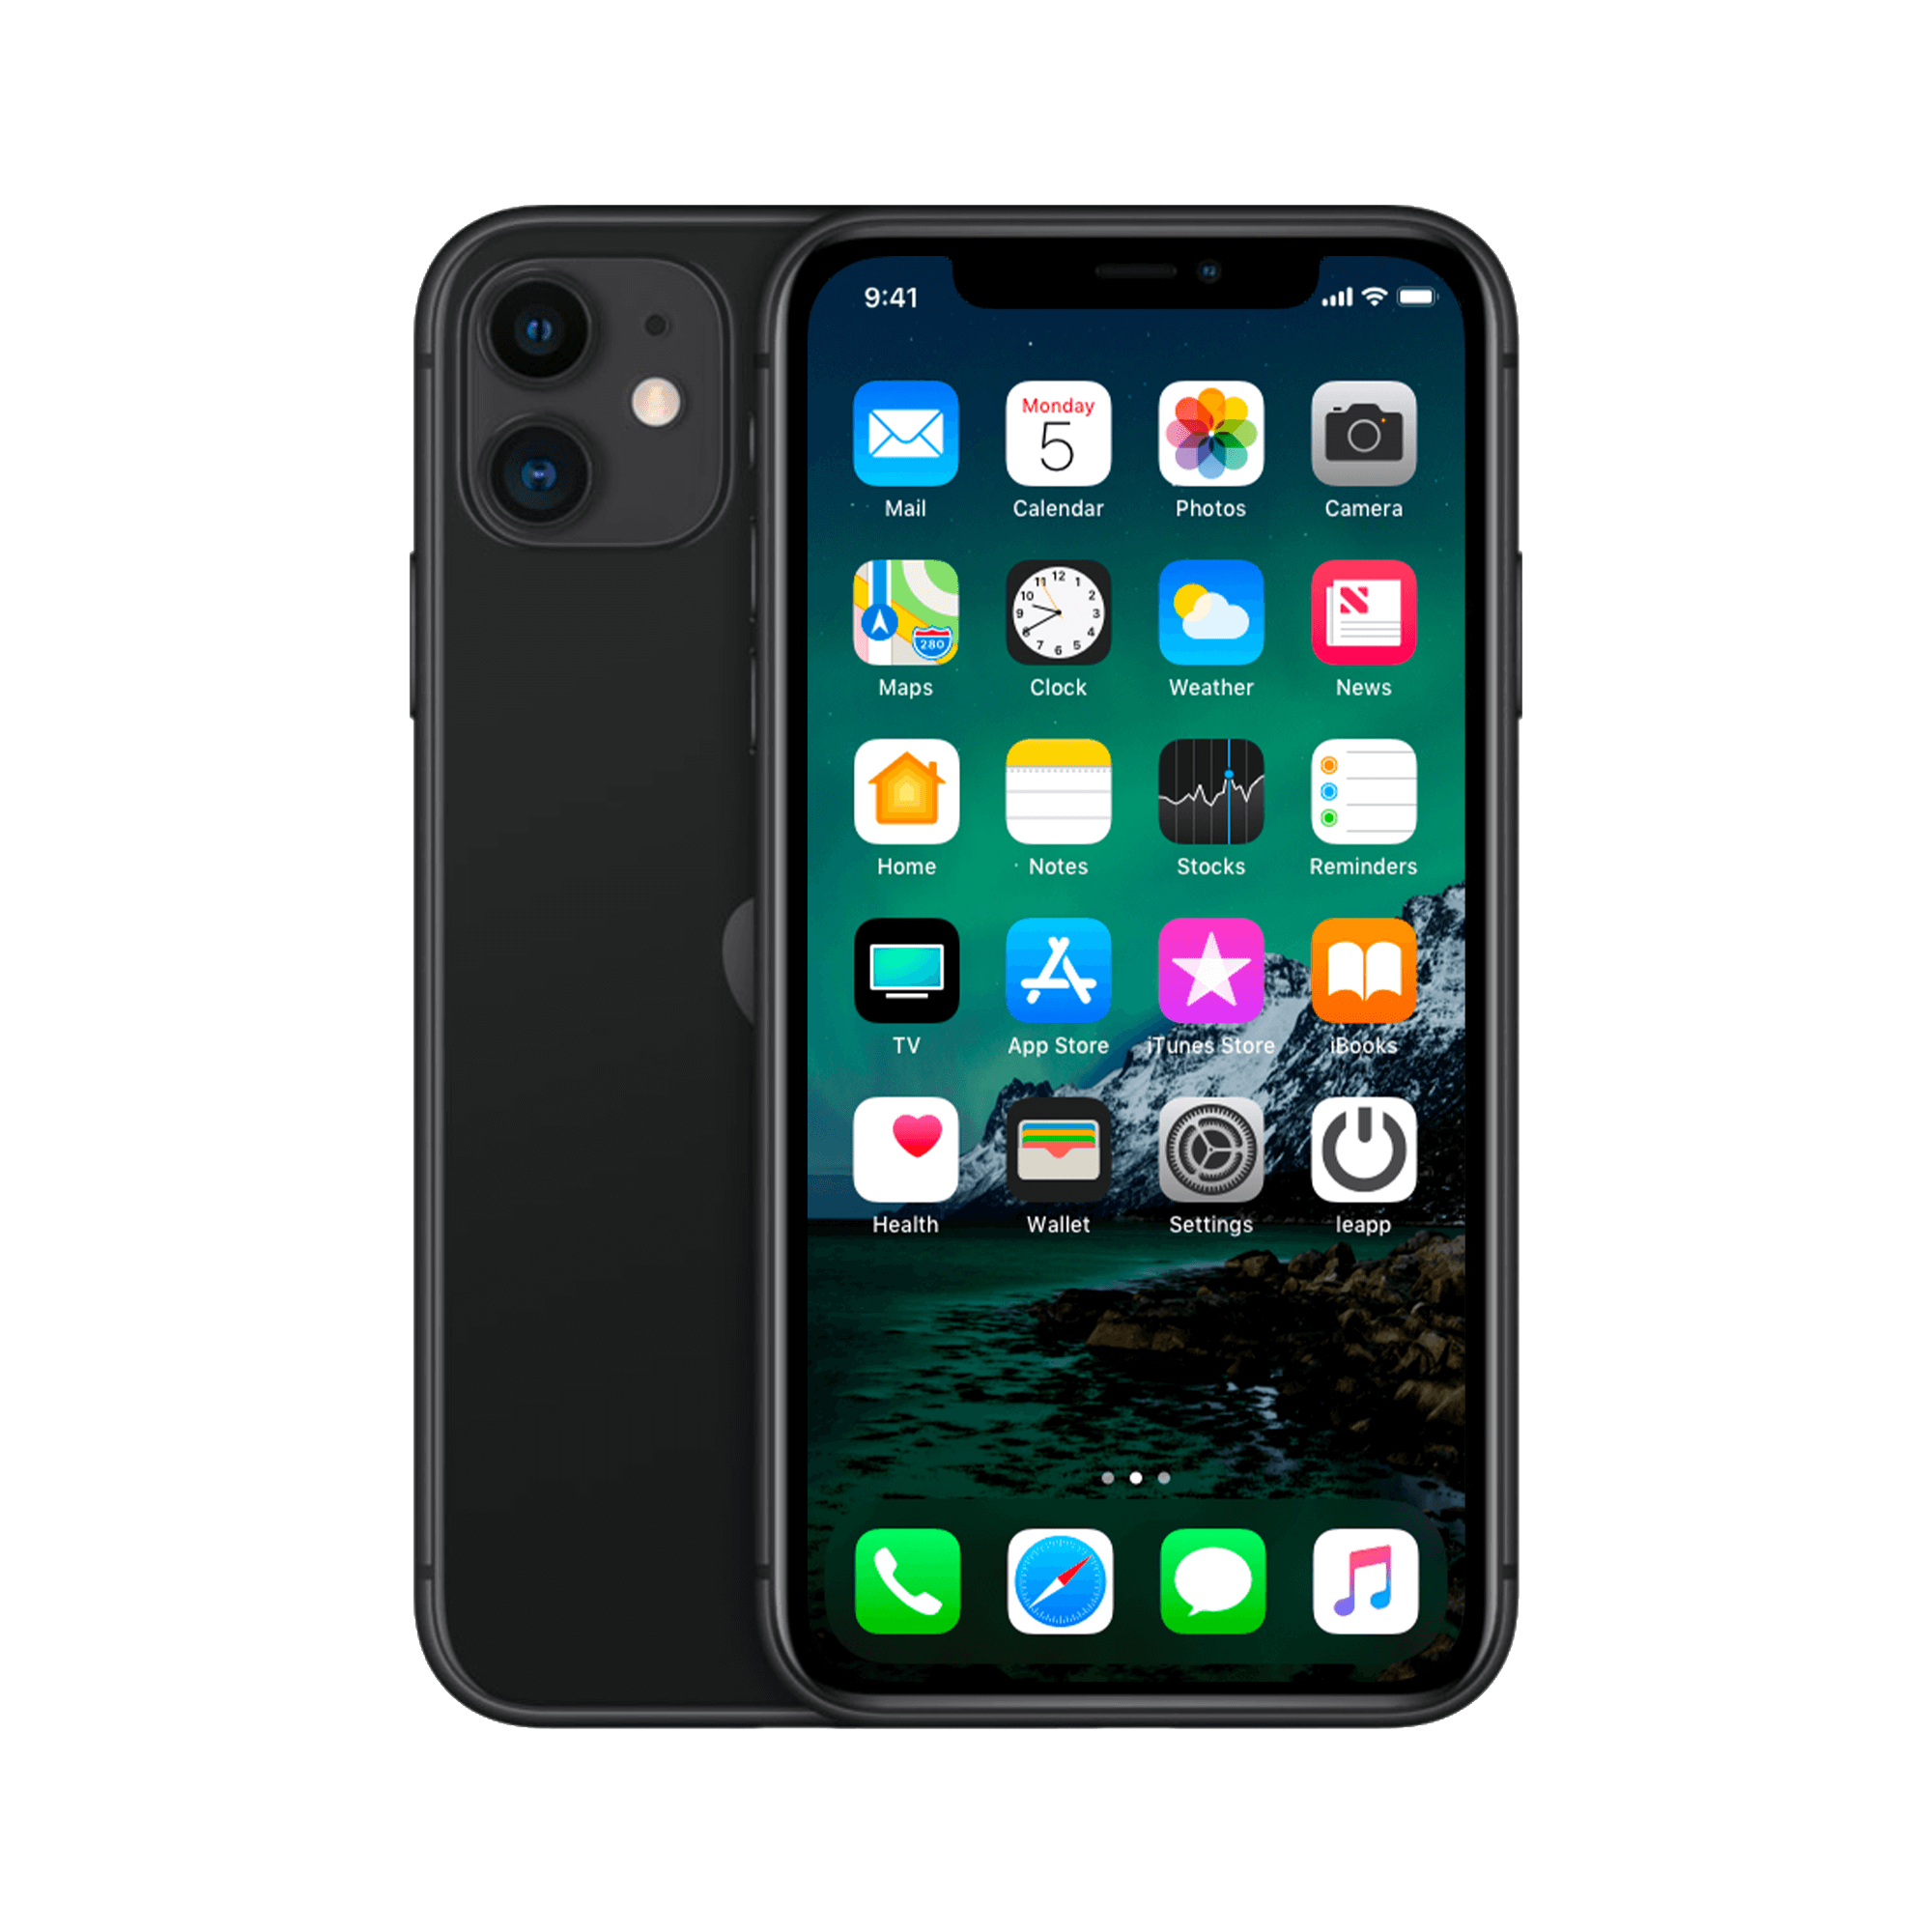
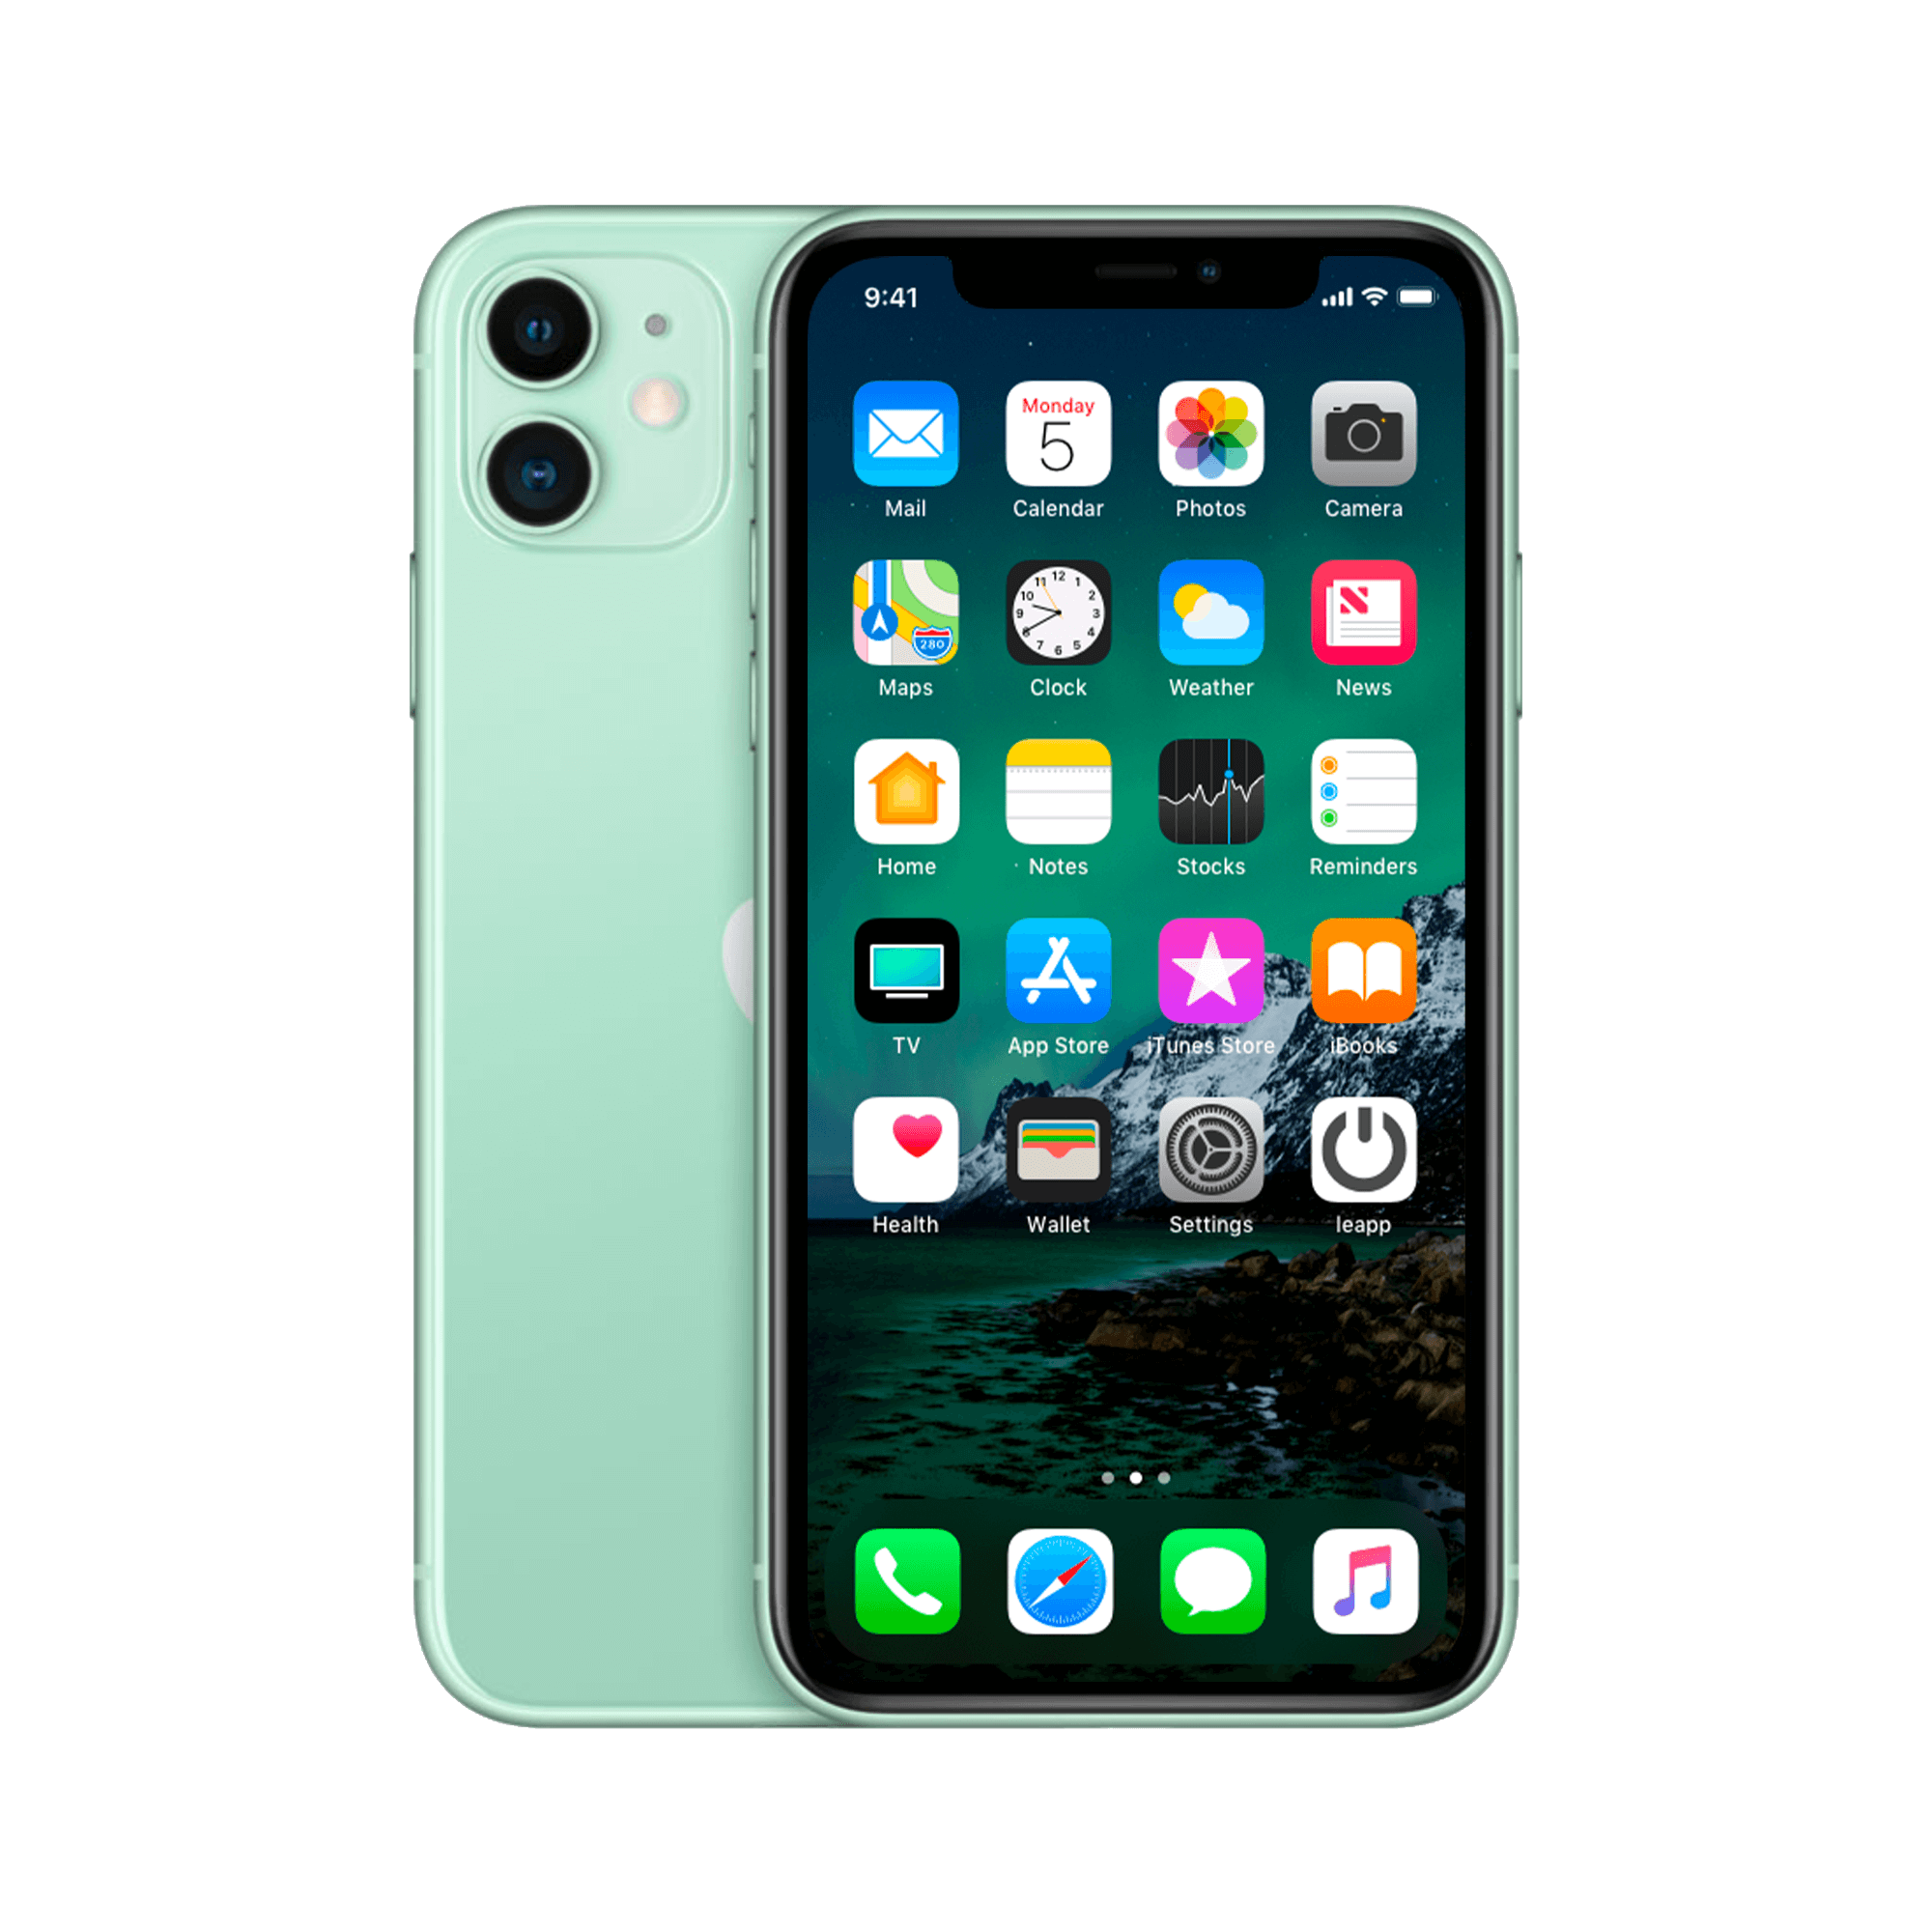
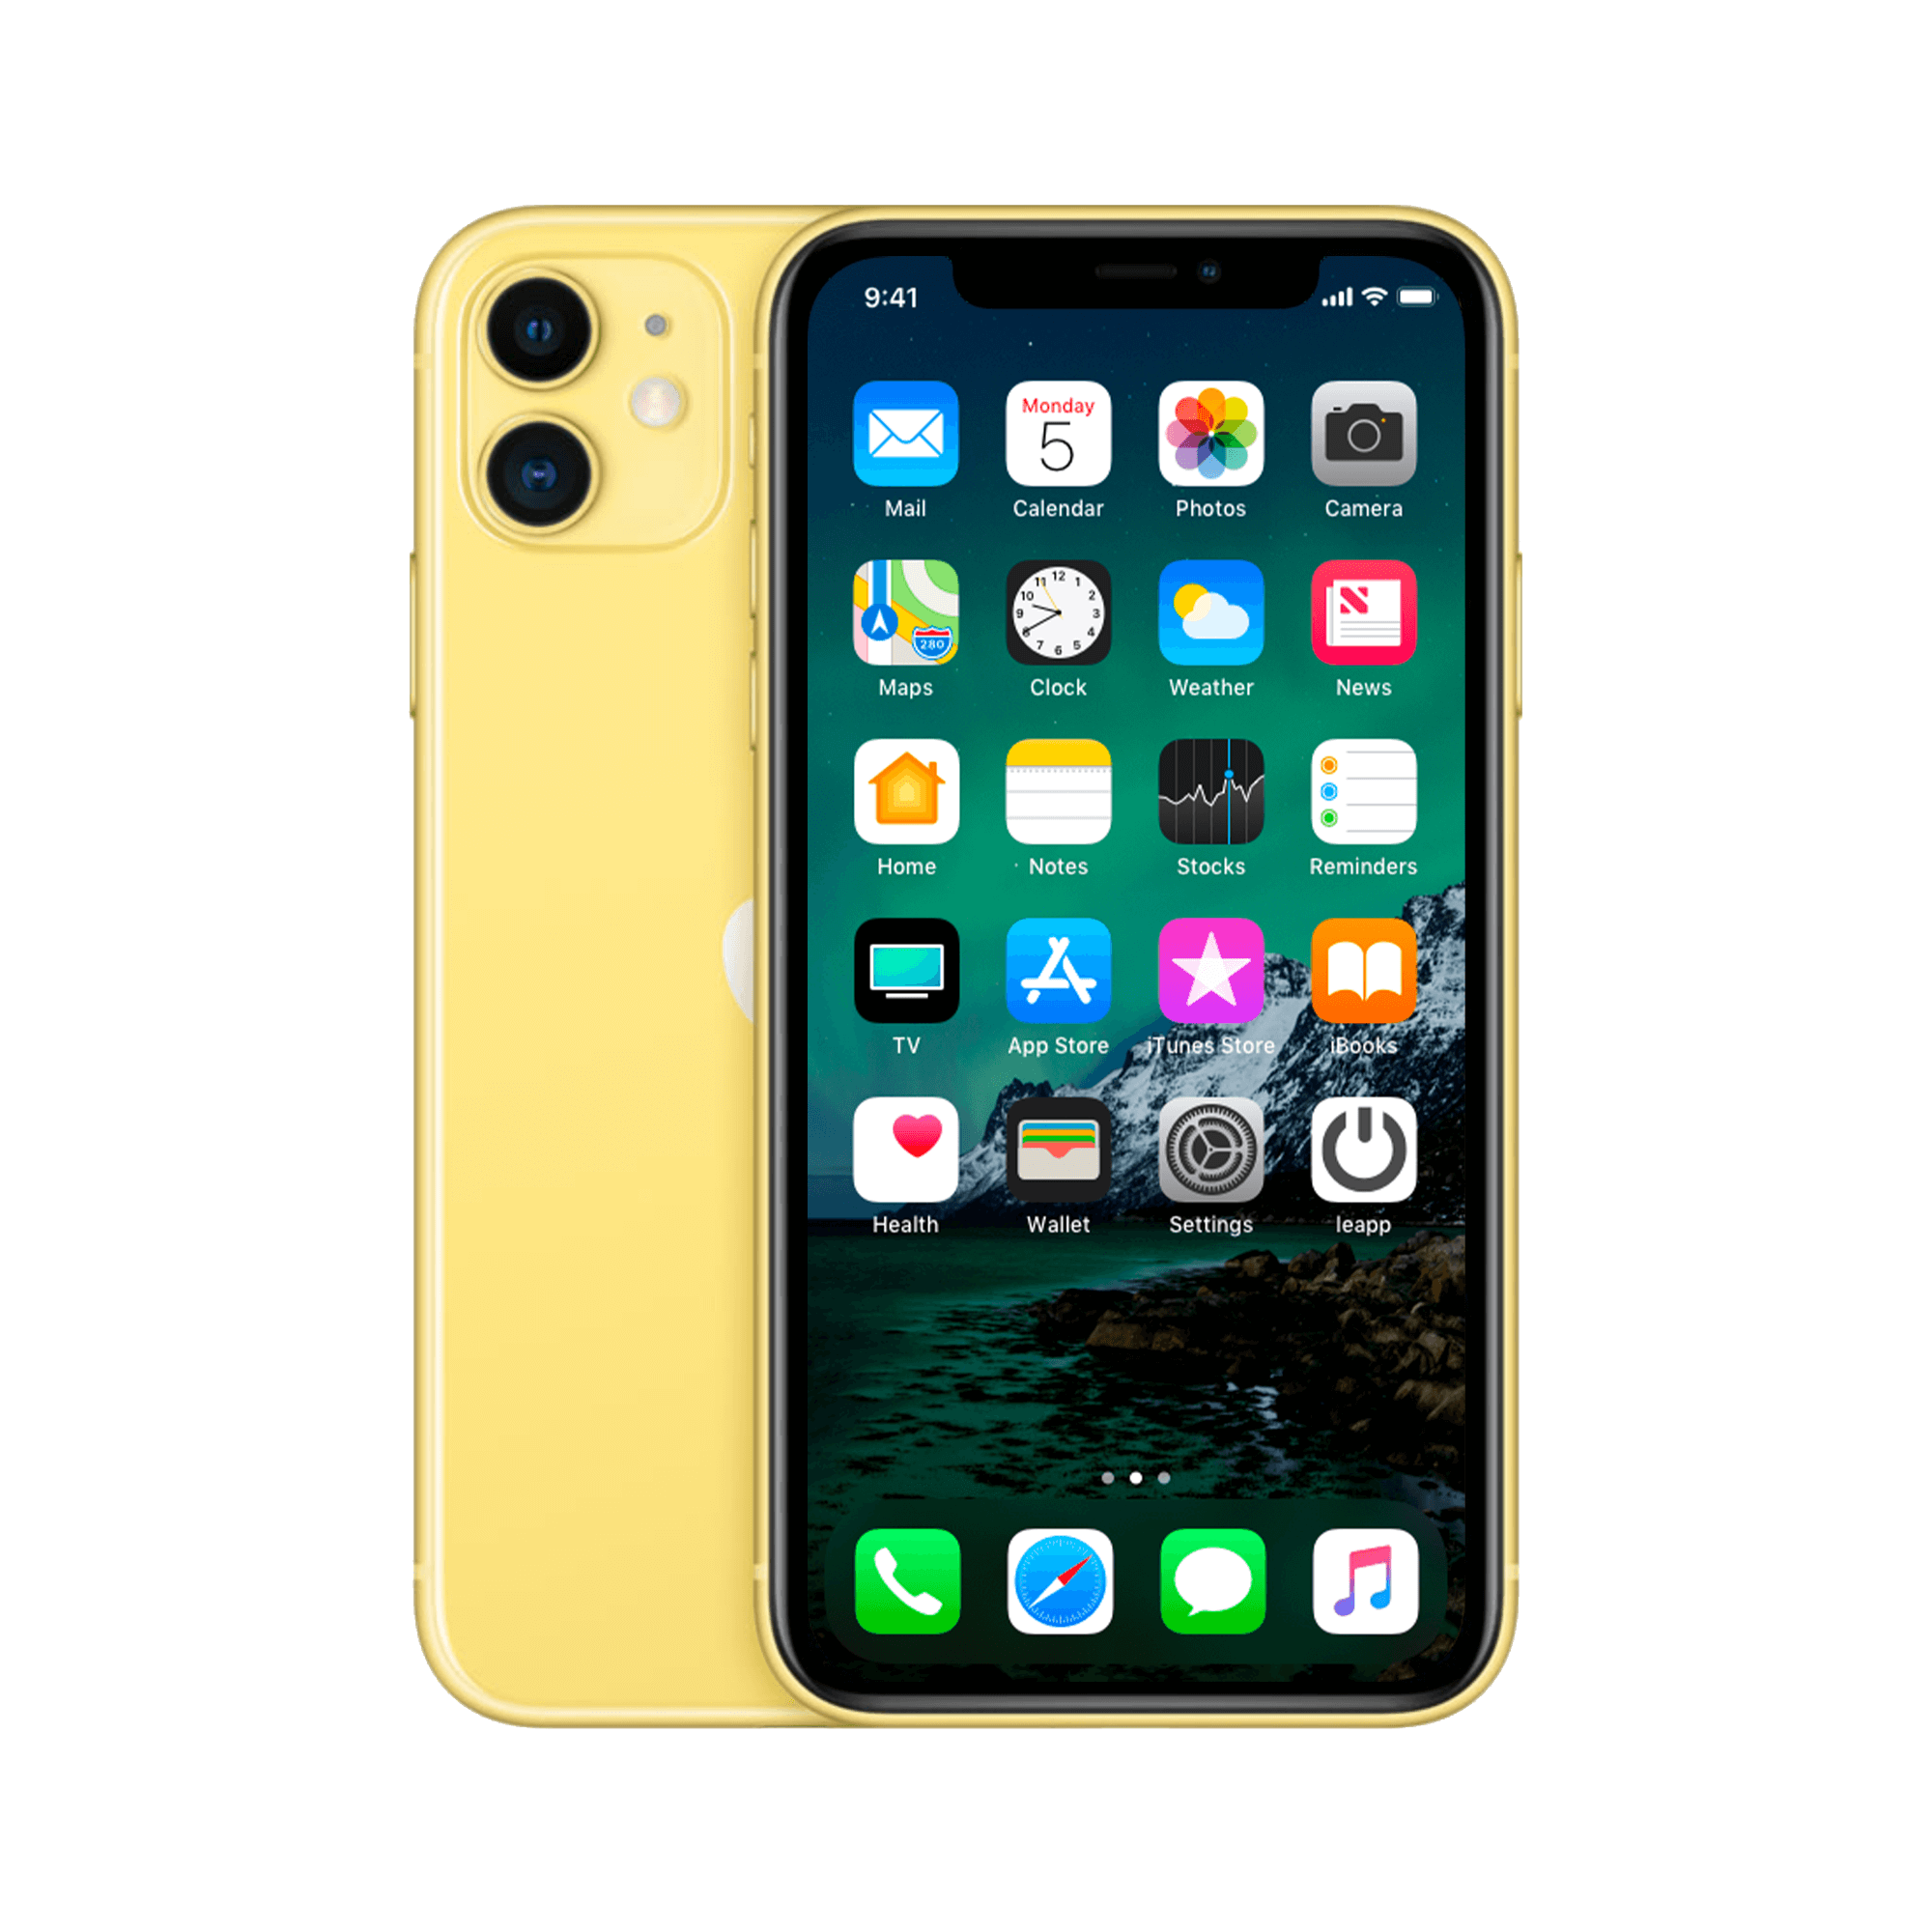
Why contactless payments with your iPhone are safer than you think
Leave your wallet at home. Pay with just your phone. For many people, it still feels awkward. Too modern. Too complicated, perhaps. Or simply not secure enough—what if your phone dies? But here's what no one tells you: contactless payments with your iPhone are often more secure than your physical debit card . No skimming. No stolen PINs. And that argument about a dead battery? Express Cards even works when your iPhone is turned off.
While everyone's preoccupied with the technology, they're missing the real problem: we're using it wrong. Most people just tap their phones against the terminal. But combine it with the right accessories —a smart case with a card holder as a backup, or AirPods for hands-free connectivity—and you have a payment system that makes your debit card completely redundant.
Useful links
- Refurbished iPhone collection - for an affordable upgrade to a model with Apple Pay
- iPhone screen protectors - protect your investment during daily use
How to set up Apple Pay on your iPhone
Setting up contactless payments on your iPhone is surprisingly easy. All you need is a compatible iPhone (model 6 or later), a bank card from a supporting bank, and the latest iOS version. Most Dutch banks now work seamlessly with Apple Pay.
Open the Wallet app on your phone and tap the plus sign in the top right corner. Scan your debit card with the camera or enter the information manually. Your bank will then send a verification code via text message or the banking app. Once approved, your card is ready to use.
Important note: You can add multiple cards. Set your most frequently used card as the default by dragging it to the front of the Wallet app. This way, you don't have to select the correct card first when paying.
Payment in practice: three ways
Most people use Face ID for payments. Double-click the side button, glance at your screen for verification, and then hold your phone against the terminal. It takes literally two seconds.
With older models, you use Touch ID. Place your finger on the sensor while holding the top of your iPhone near the payment terminal. The system recognizes your fingerprint and automatically completes the payment.
Online payments within apps are becoming increasingly popular. You'll often see the Apple Pay option at checkout. One click, verification via Face ID or Touch ID, and your order is paid. No need to enter credit card information or remember passwords.
Security: better than your physical bank card
Your card number is never stored on your phone. Apple uses tokenization: each transaction is assigned a unique, encrypted number valid only for that one payment. Hackers can't use this, even if they intercept it.
Every payment requires biometric verification. No one can pay with your phone without your face or fingerprint. With a stolen debit card, thieves only need to guess your PIN—often within a few tries.
Apple doesn't store any transaction data. Your bank can certainly see what you spend, but Apple has no idea where you shop. This is a significant advantage for privacy-conscious users.
Express Cards: paying with an empty battery
An often-unknown feature is Express Cards. For certain payment cards, you can configure them to work without authentication up to a certain amount. Useful for public transportation or small purchases.
Even better: Express Cards work for up to five hours after your battery runs out. Your iPhone switches to a minimum power mode specifically for this function. So, those fears of a dead phone at the checkout are unfounded.
Troubleshooting and alternatives
Sometimes the terminal doesn't work. Older payment terminals don't always recognize Apple Pay. Try looking for the contactless symbol on the terminal—if it's not there, Apple Pay probably isn't working.
When traveling internationally, it's best to check beforehand which countries support Apple Pay. In many Asian countries, the system isn't yet universally available. A physical bank card as a backup is still recommended for travel.
Smart accessories as a backup
An iPhone case with a card holder combines the best of both worlds. You always have a physical debit card with you for emergencies, but you use Apple Pay as standard for convenience.
Also consider an Apple Watch if you frequently use contactless payments. It works independently of your iPhone once you've set it up. Ideal while exercising or when your phone is in your bag.
Daily tips for users
Set limits for contactless payments without authentication. In the Wallet app, you can specify the amount you're willing to pay for each card without Face ID. Convenient for small purchases, safe for your bank account.
Use transaction notifications. You'll receive an immediate notification for every payment. This way, you'll immediately see if anything is amiss and can take swift action in the event of fraud.
Save digital receipts in the Wallet app. More and more stores are offering this option. Your receipt automatically appears alongside your payment card in the app. No more searching for paper receipts for warranty claims.
The future of payments
Contactless payments are evolving rapidly. Soon, you might be able to add your driver's license and ID card to the Wallet app. Several US states are already experimenting with this.
Peer-to-peer payments between iPhone users are likely coming to the Netherlands. Instead of sending a Tikkie, you can pay friends directly via iMessage.
Integration with loyalty programs is constantly improving. Your loyalty points are automatically credited without having to scan a separate card. Albert Heijn and other major chains are already working on this.
Conclusion: practical and safe
Contactless payments with your iPhone aren't a pipe dream, but a daily reality. It's safer than traditional debit cards, faster than cash, and more convenient than a wallet full of cards.
Start small: add one card and try it out at your local supermarket. After a week, you'll never want anything else. The combination of speed, security, and convenience makes it a logical choice for everyday use.
Always keep a backup. Whether it's a physical bank card in your phone case or an Apple Watch on your wrist, make sure you're not completely dependent on just one device. This balance between innovation and practical thinking will help you get the most out of contactless payments.
Switching to digital payments is easier than you think
Contactless payments with your iPhone ultimately prove simpler and more secure than that stack of cards in your wallet. The technology works, even when your battery is dead, and fraud is practically impossible thanks to the smart security. Start with one card in your Wallet app and keep a case with a card holder as a backup.
After a few weeks, you'll be paying everywhere with your phone without a second thought—and wondering why you didn't switch sooner. That old wallet is finally ready to go.


