Why Your iPhone's Night Photos Fail (and How to Fix It)
Dark photos. Grainy images. Missed moments. Who hasn't experienced it? You're in a beautiful place at night, but your iPhone photos turn a bleak gray. The flash doesn't help—it just ruins the atmosphere. Yet, millions of people take incredibly sharp night photos every day with the exact same iPhone you have in your pocket. The difference? They know a trick that Apple doesn't shout from the rooftops. Night mode is hidden behind an inconspicuous moon in your camera app. No expensive accessories needed, no complicated settings. Just a feature that's been waiting in your phone for years, waiting for you to discover it. And the best part: once you figure out how it works, even your grandma can photograph the stars.
Useful links:
What exactly is night mode?
Night mode on your iPhone is a smart camera feature that automatically activates when it gets dark. The system takes multiple photos at different exposures in just a few seconds. These images are then combined into a single, bright, sharp photo without too much noise.
The difference from a regular photo? Where you normally get a dark, grainy image, Night Mode delivers a bright result while preserving the natural atmosphere. The software analyzes every pixel and selects the best parts of each shot. Moving objects are detected and displayed sharply, while the background remains stable.
Which iPhones have this feature?
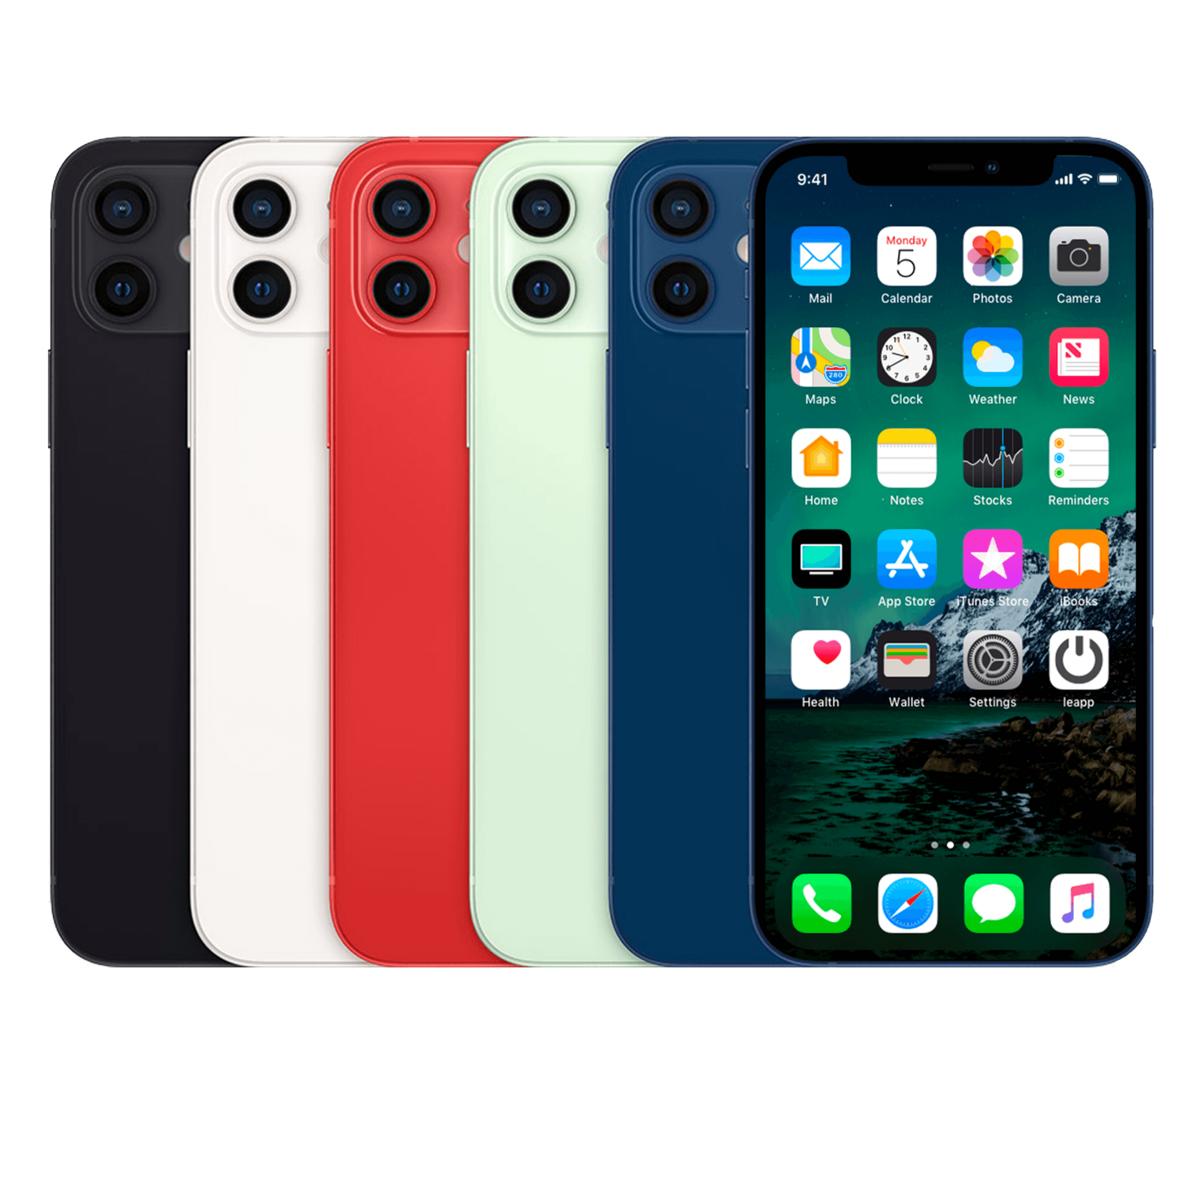
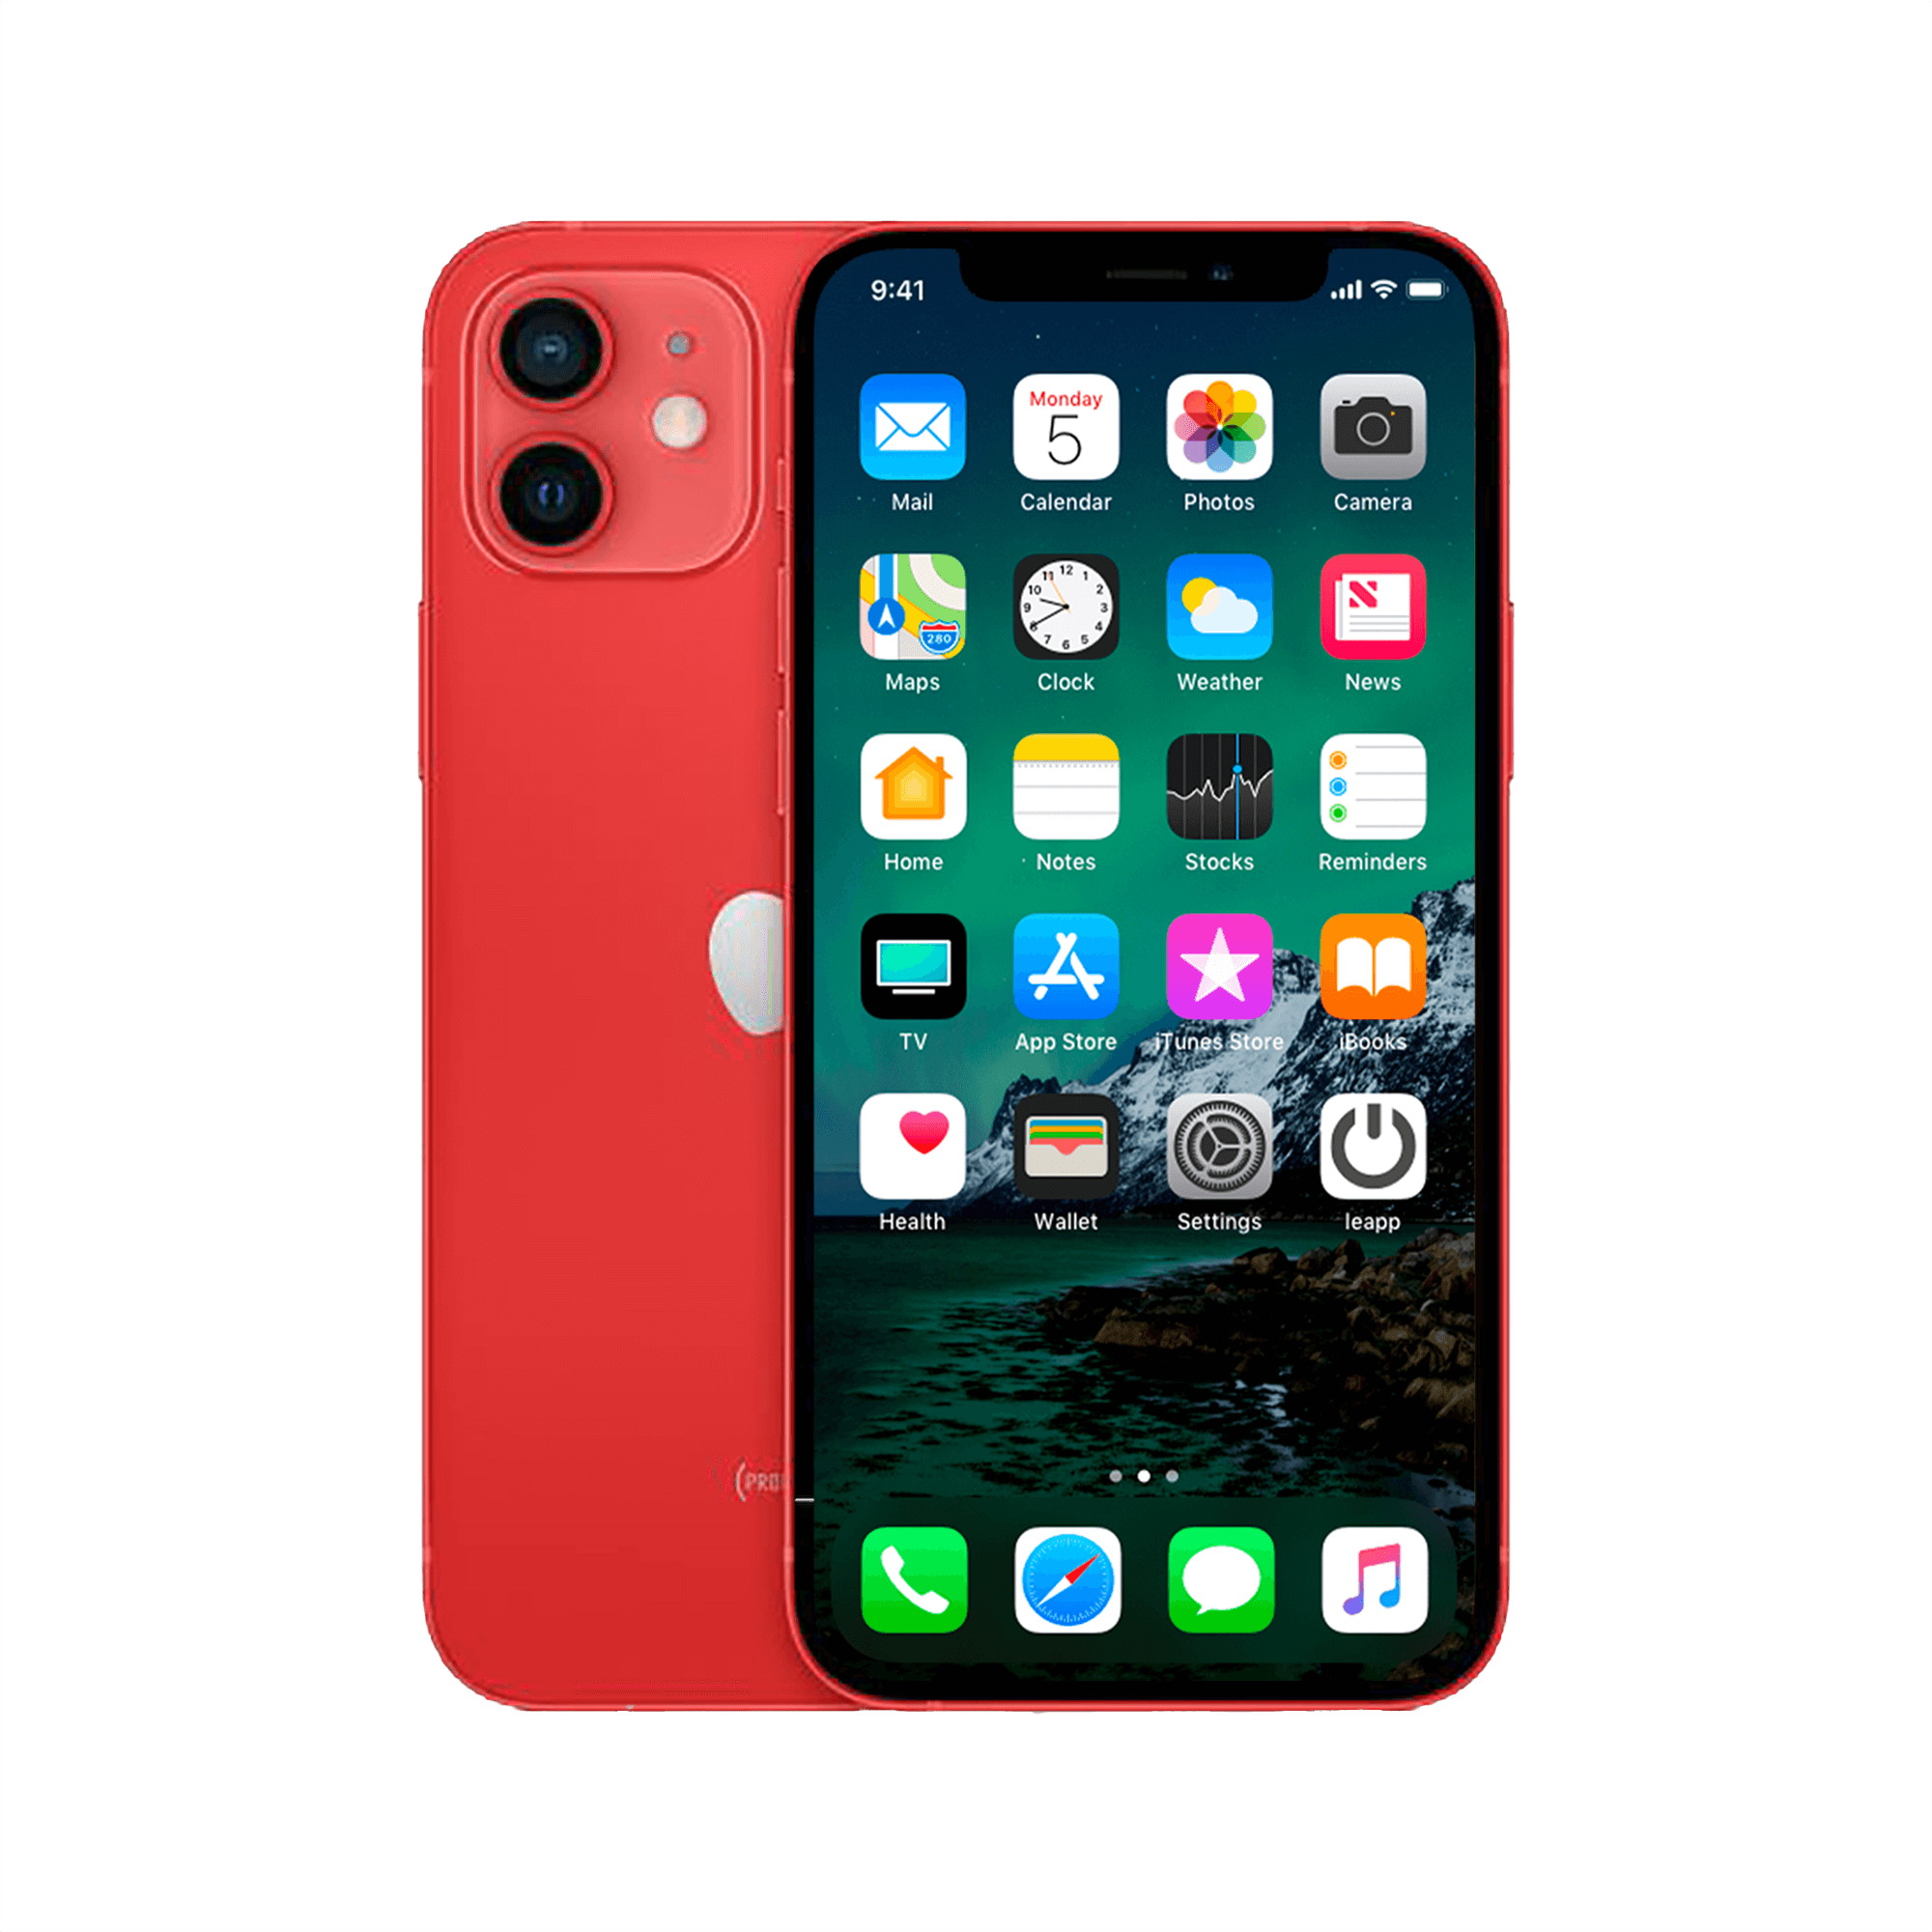
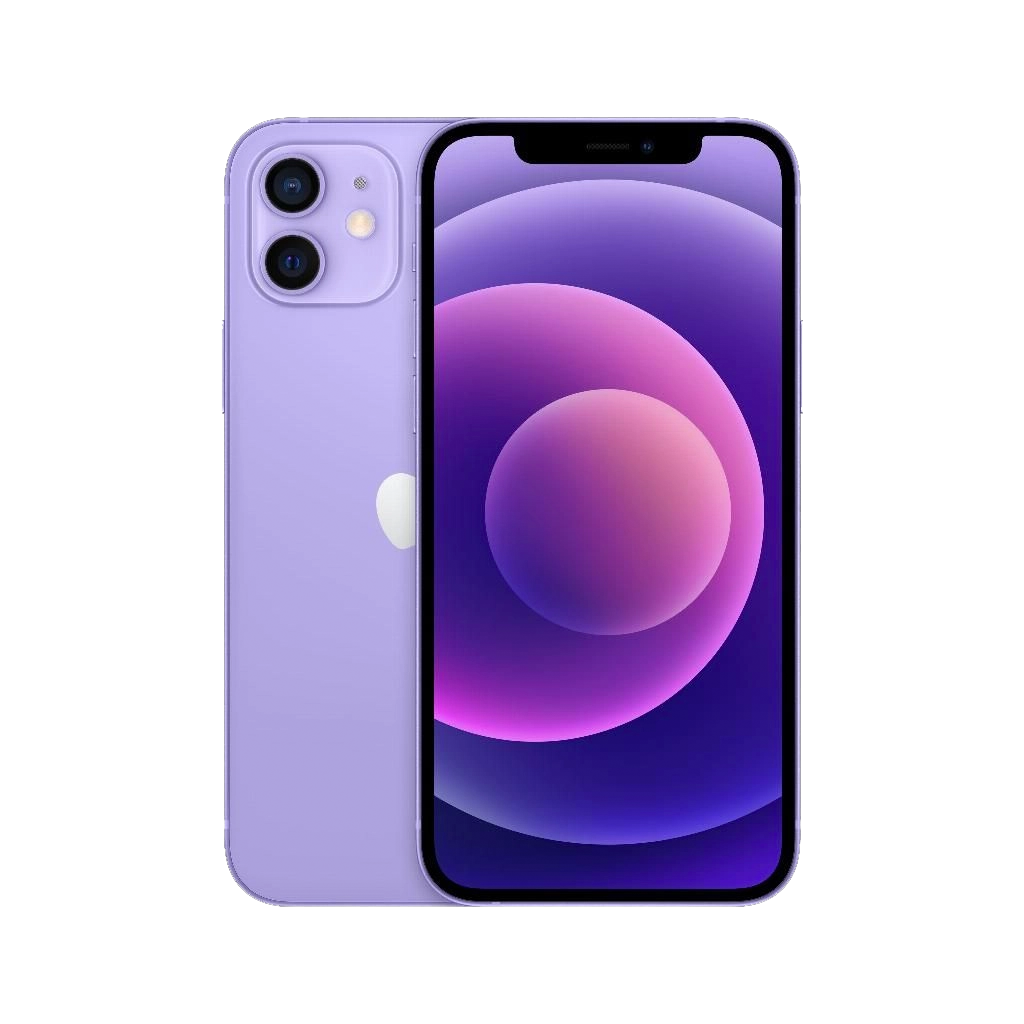
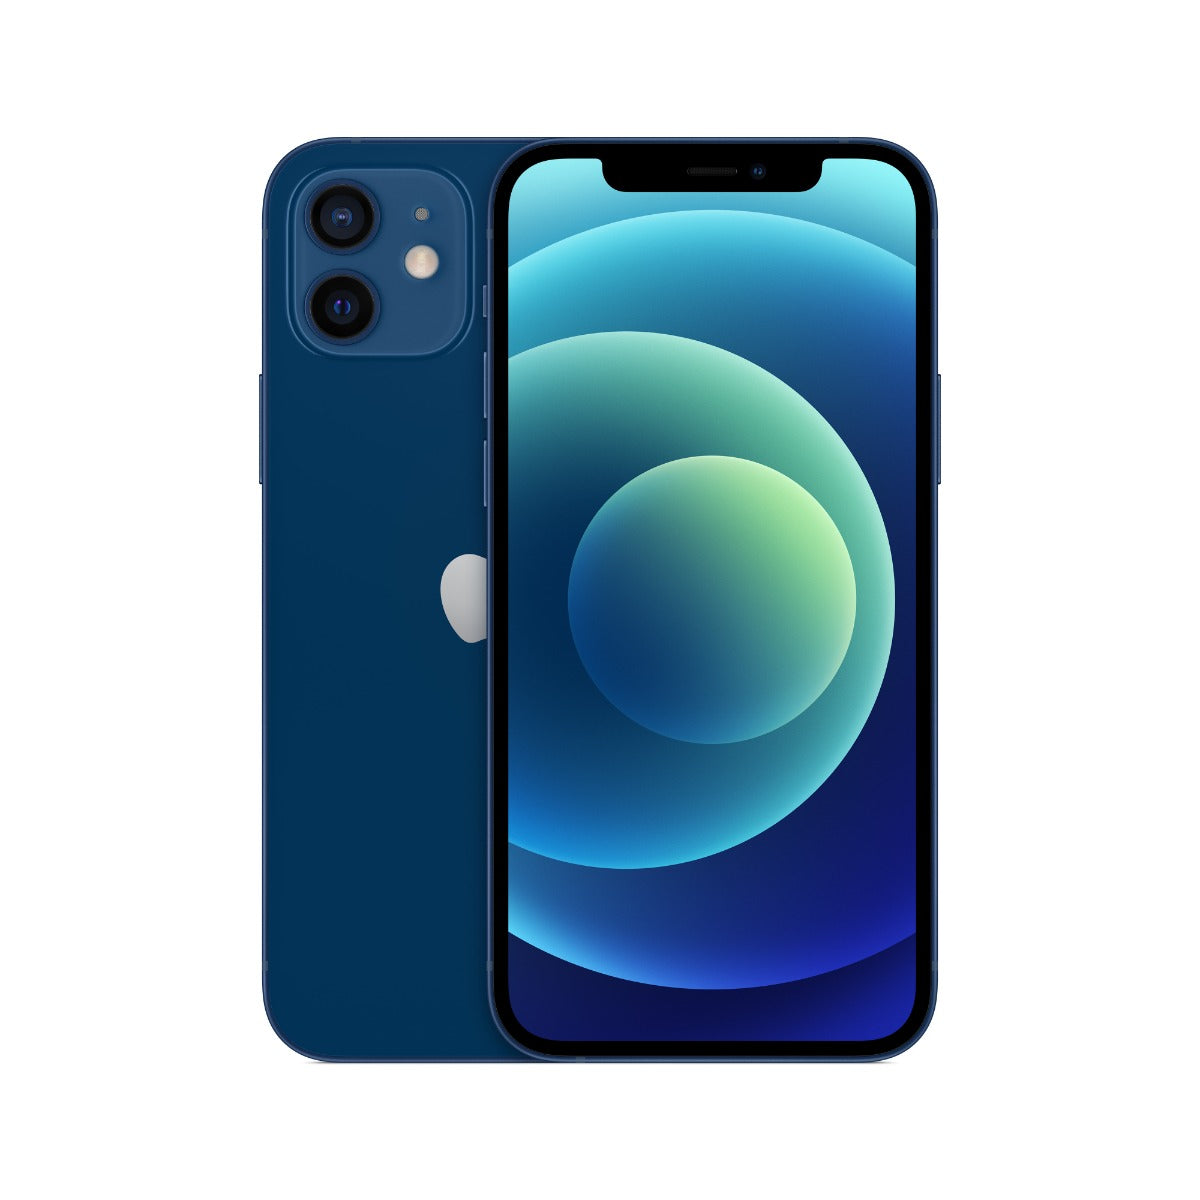
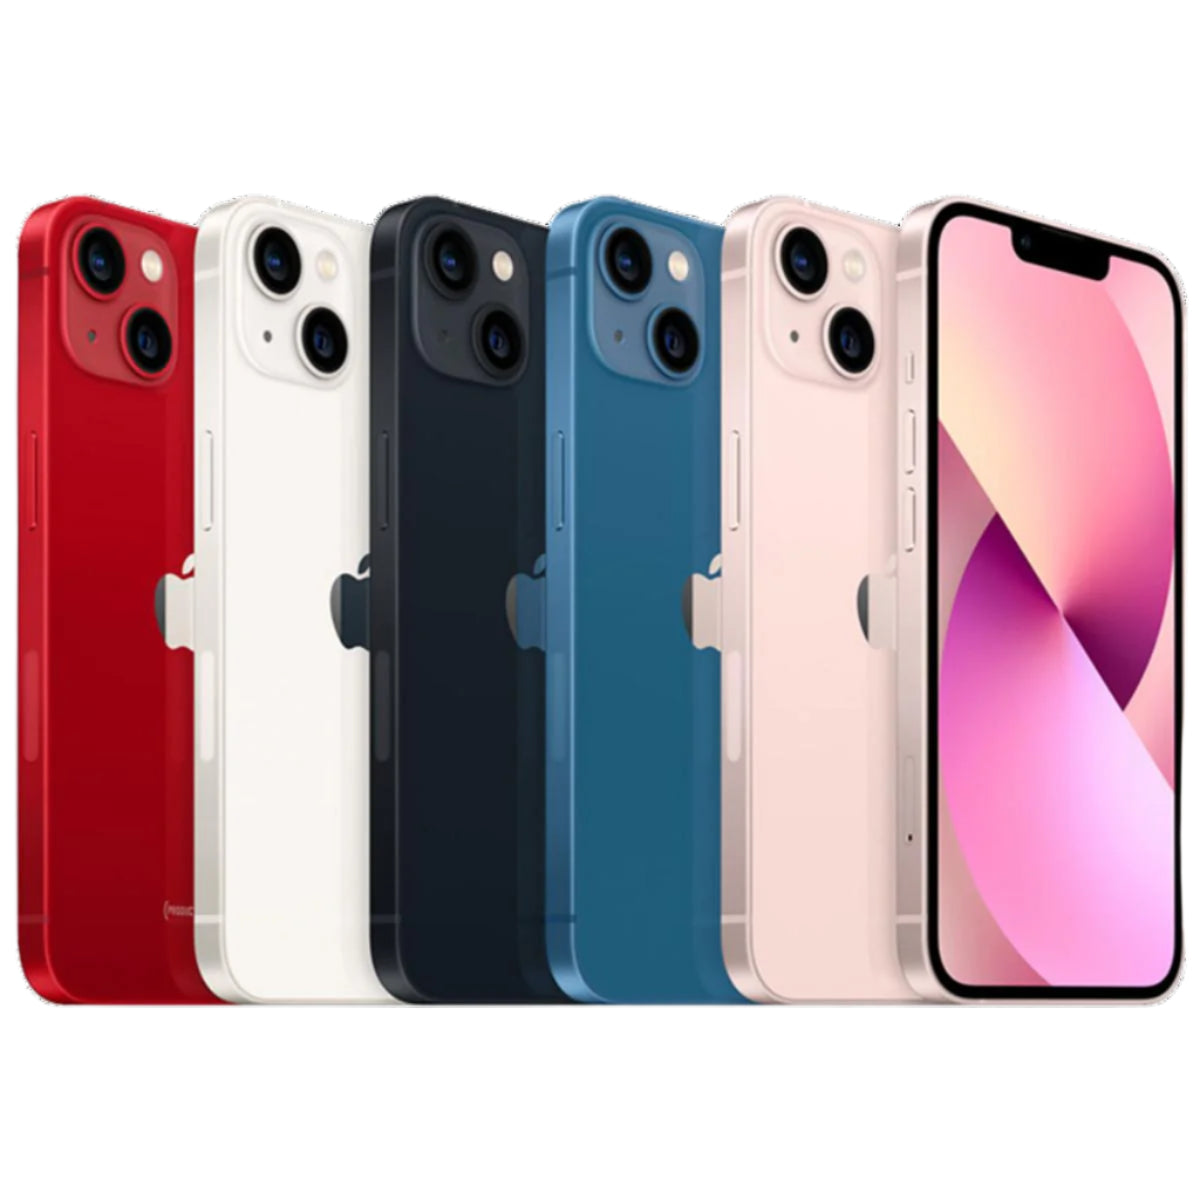
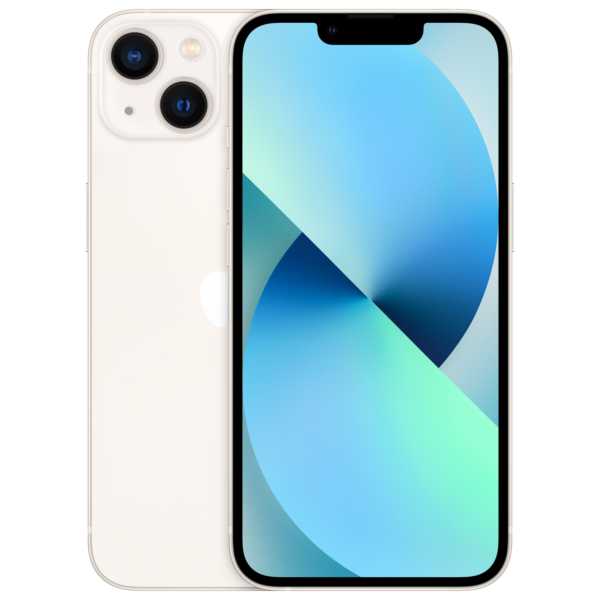
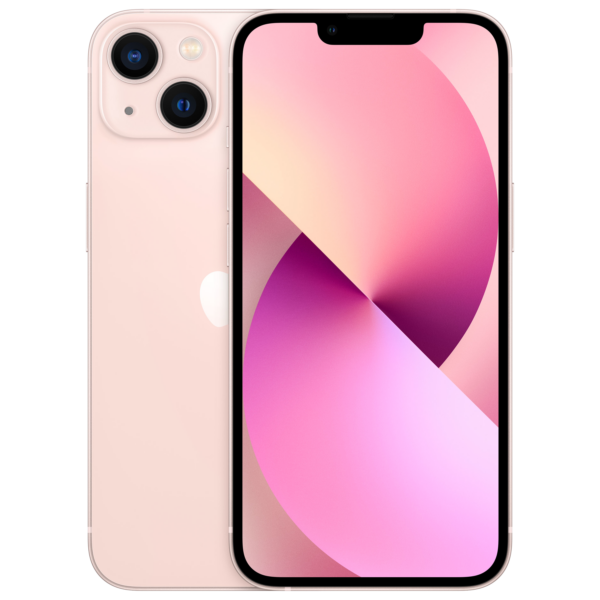
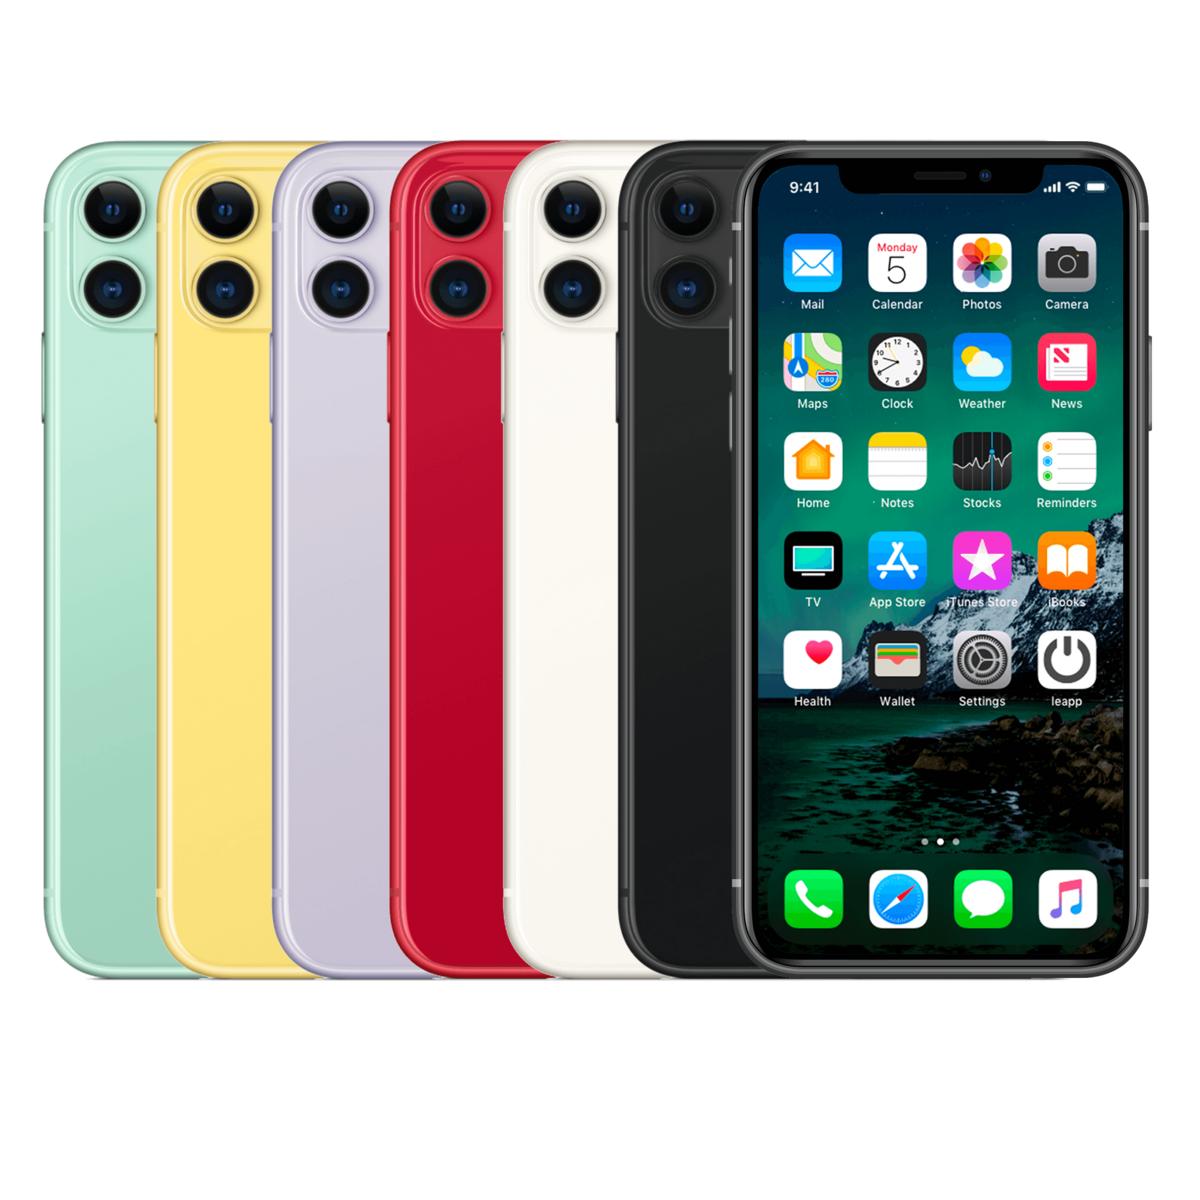
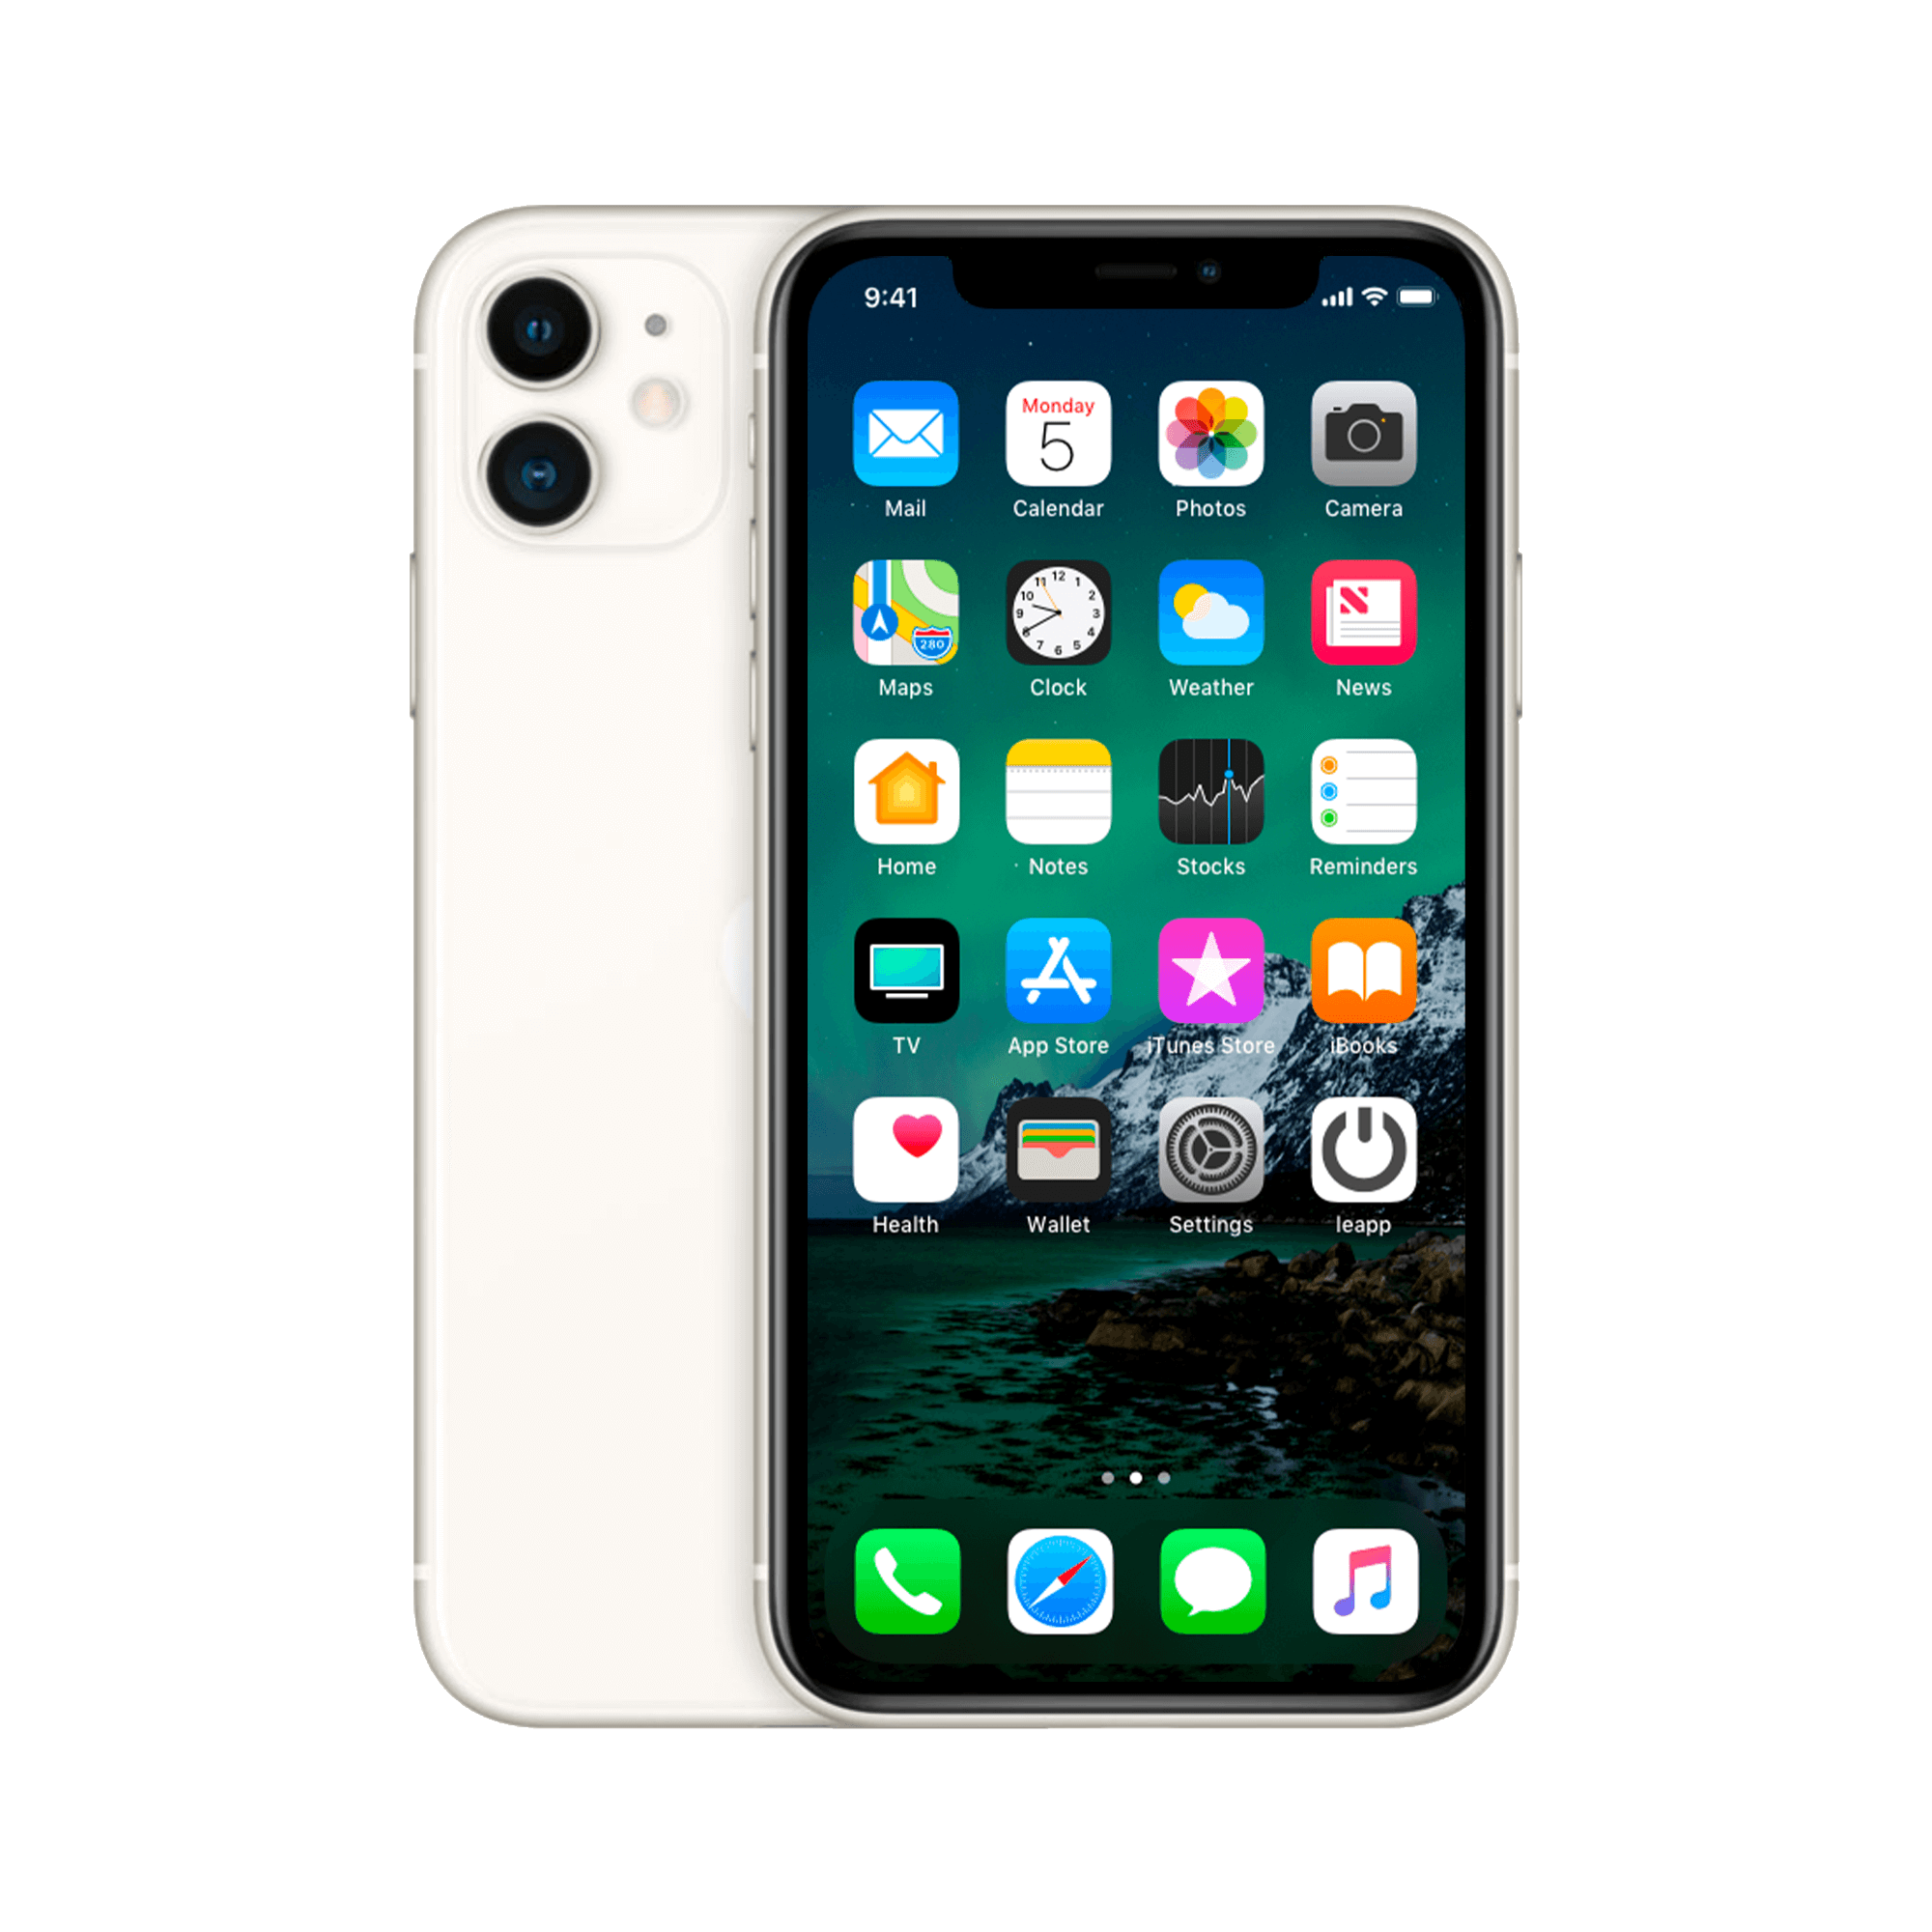
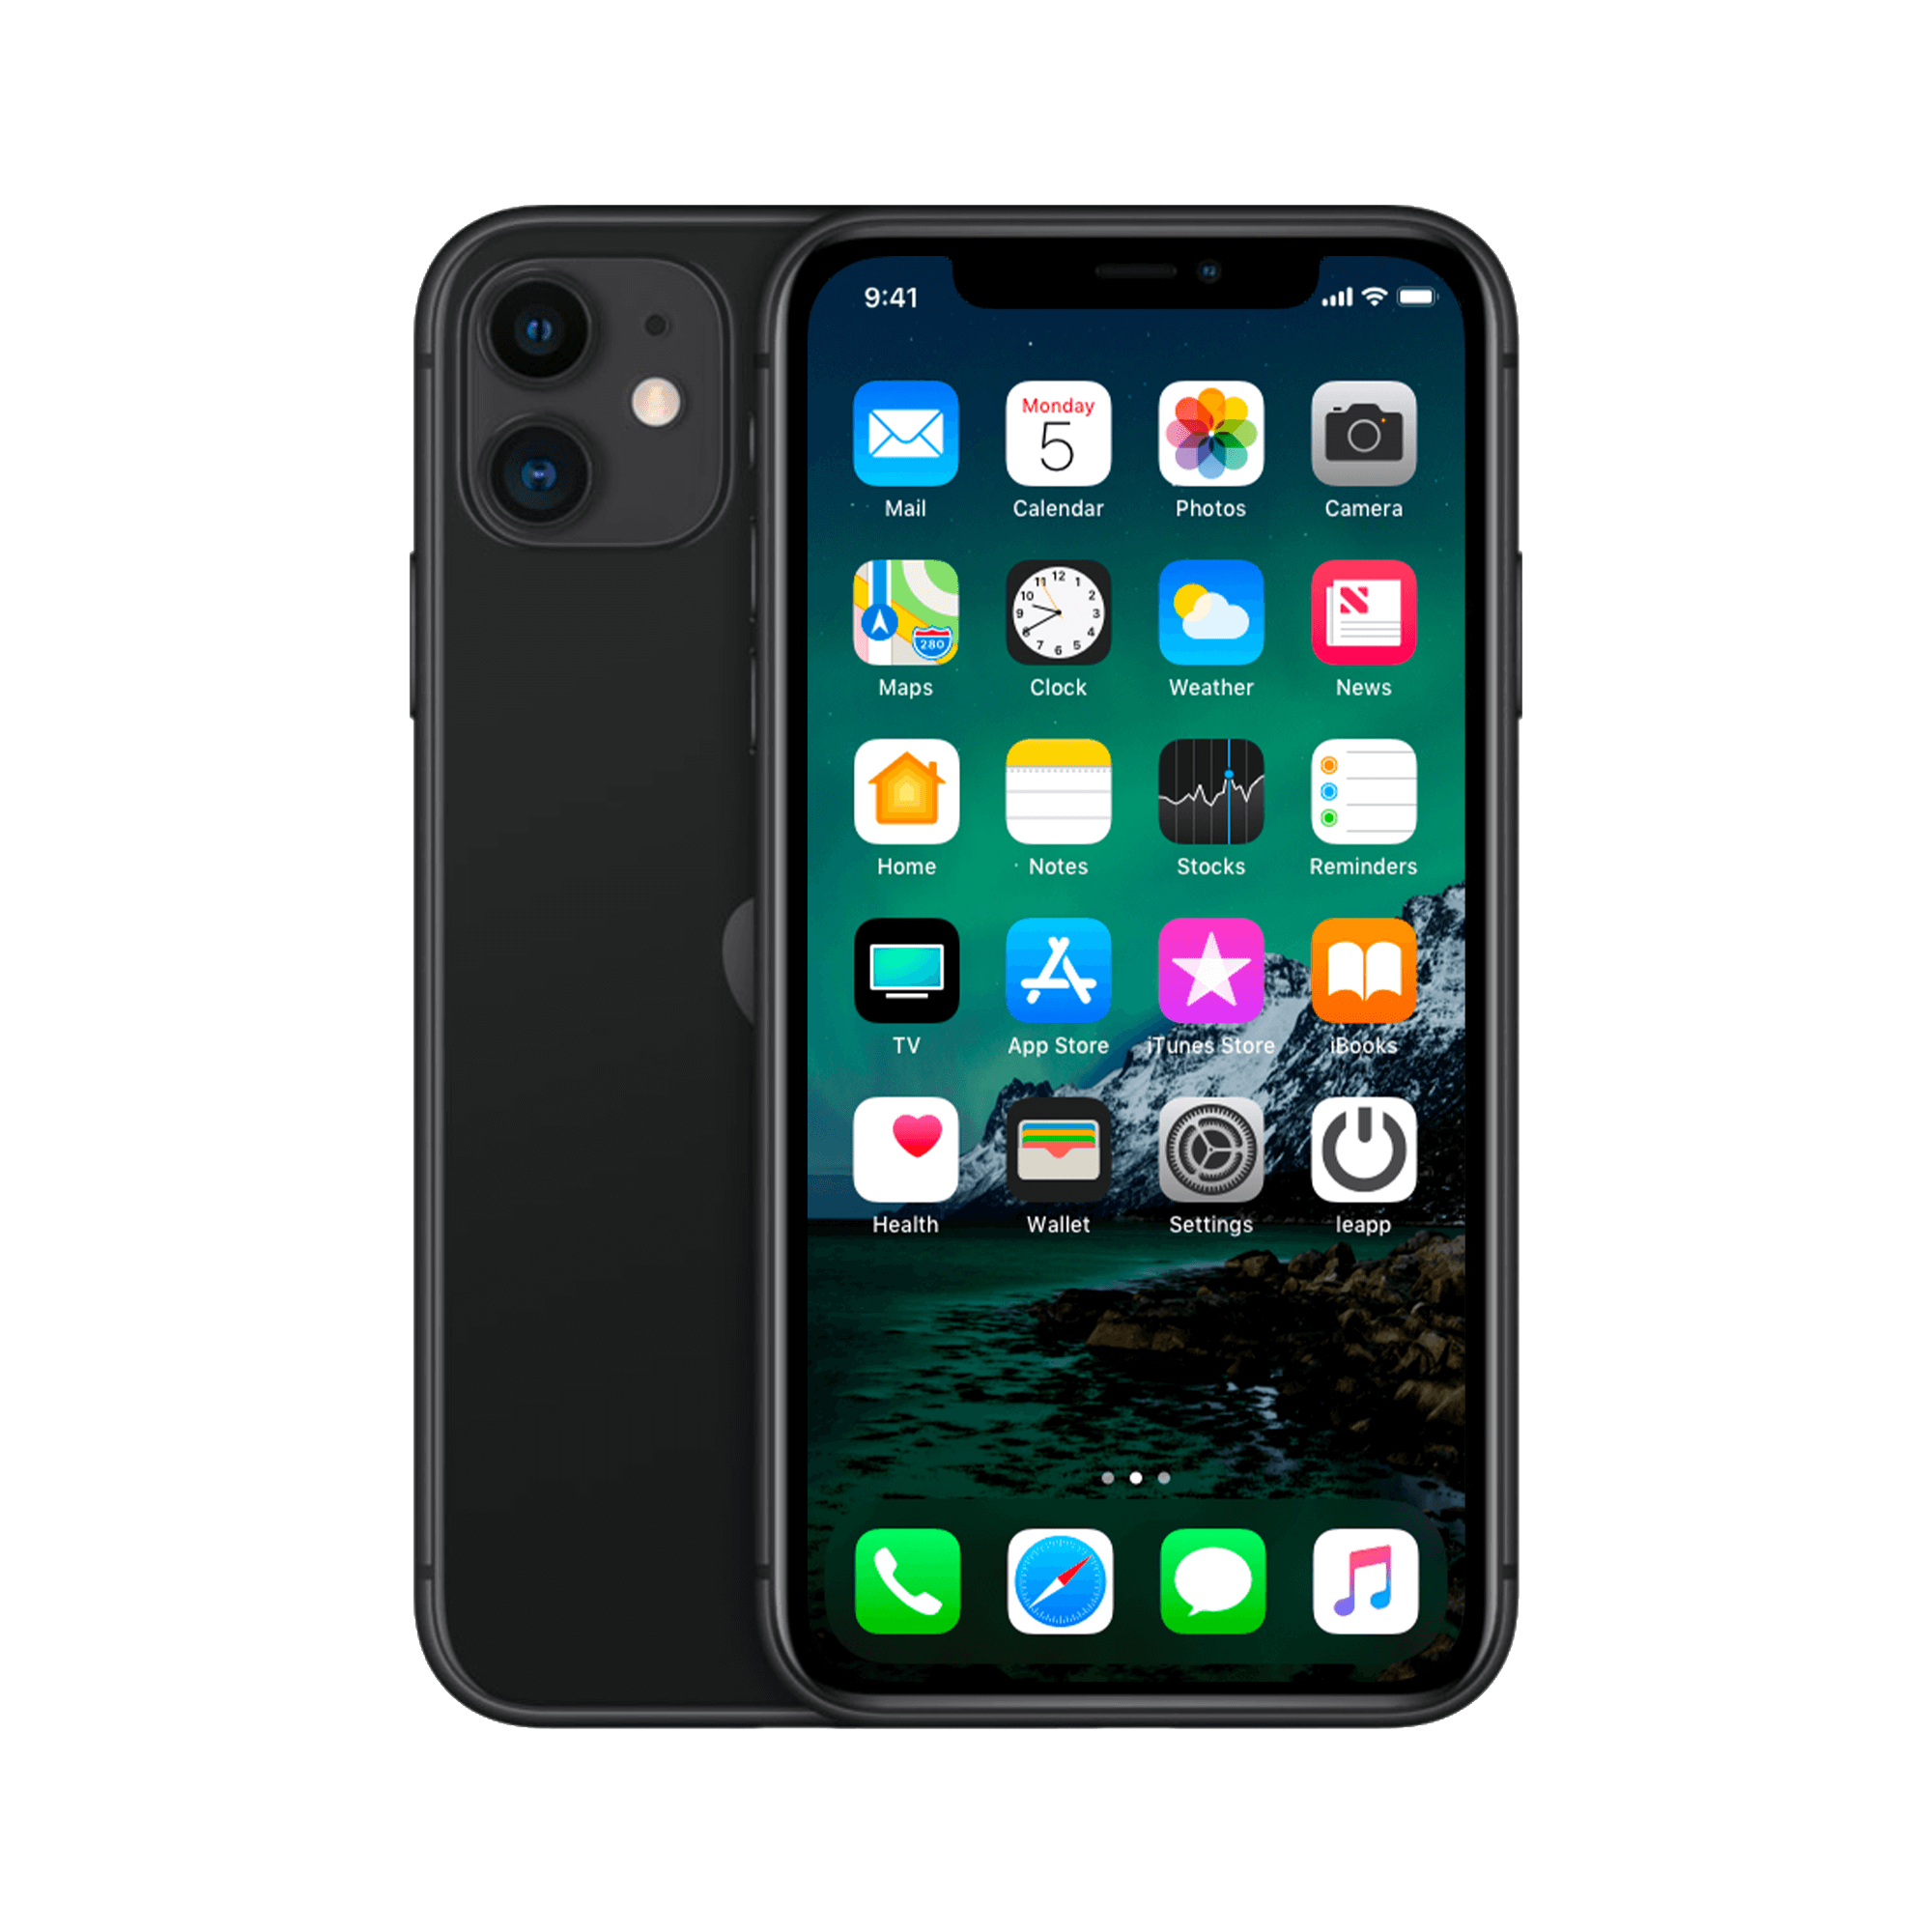
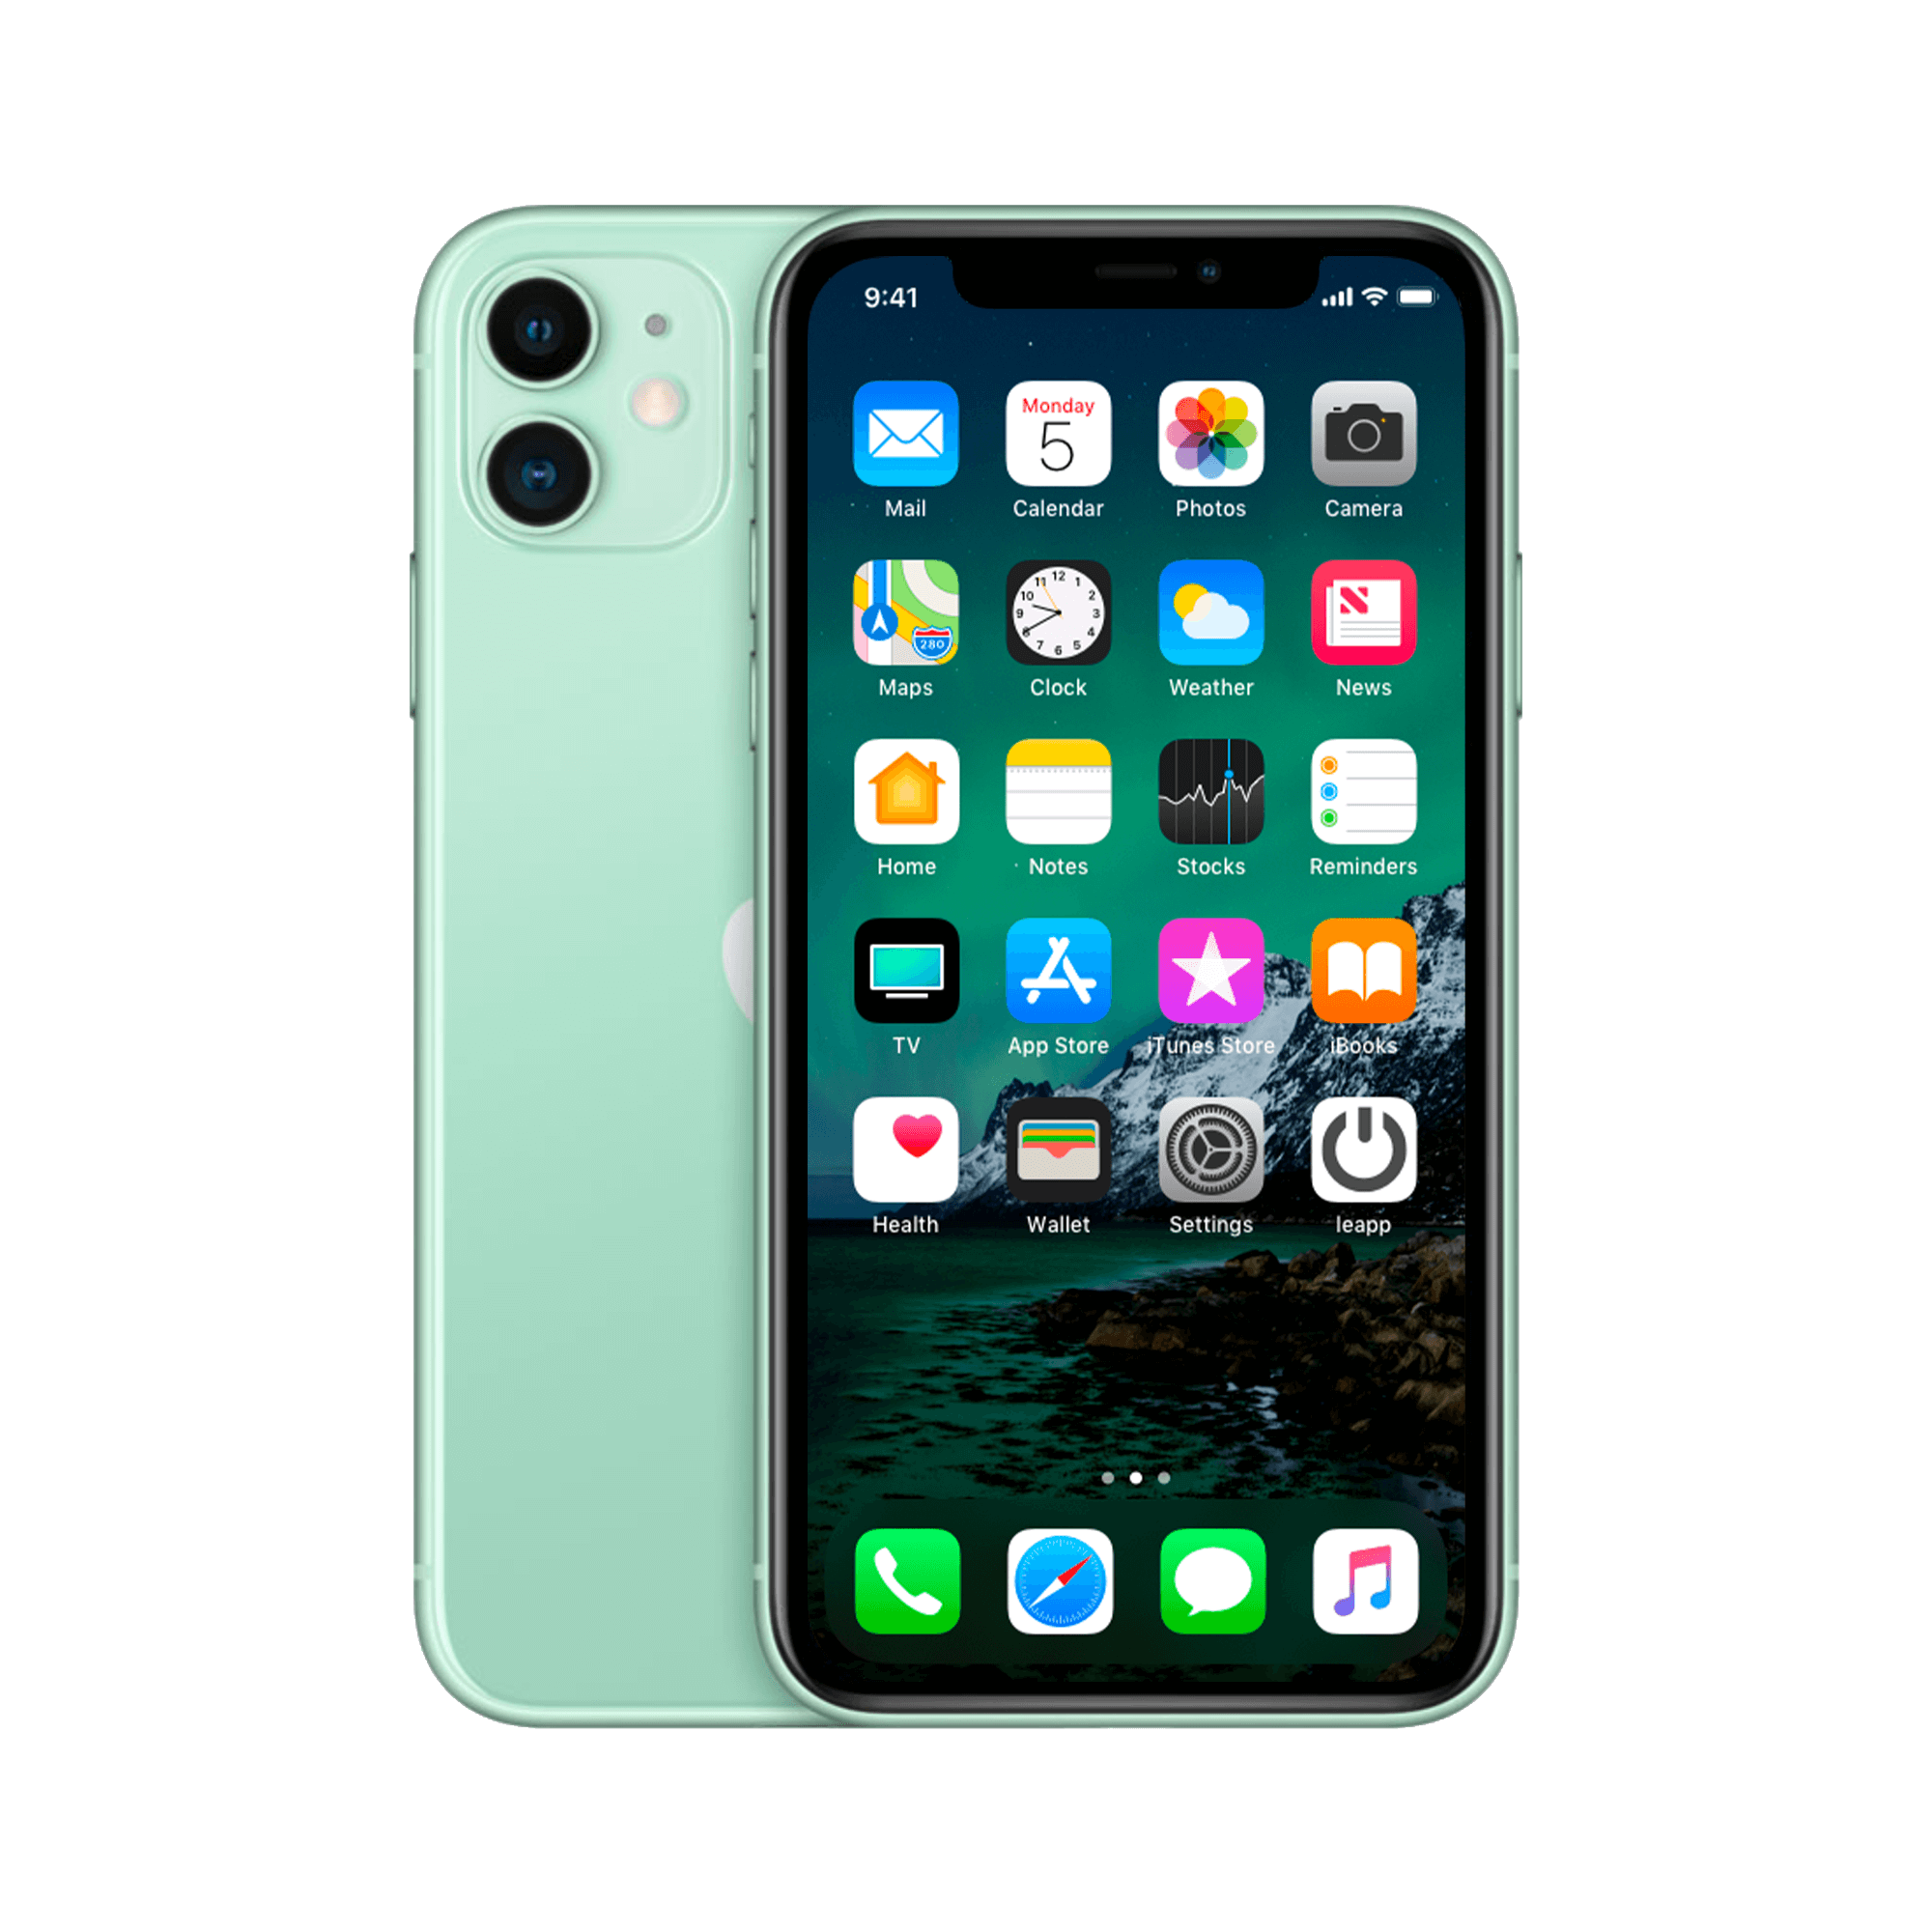
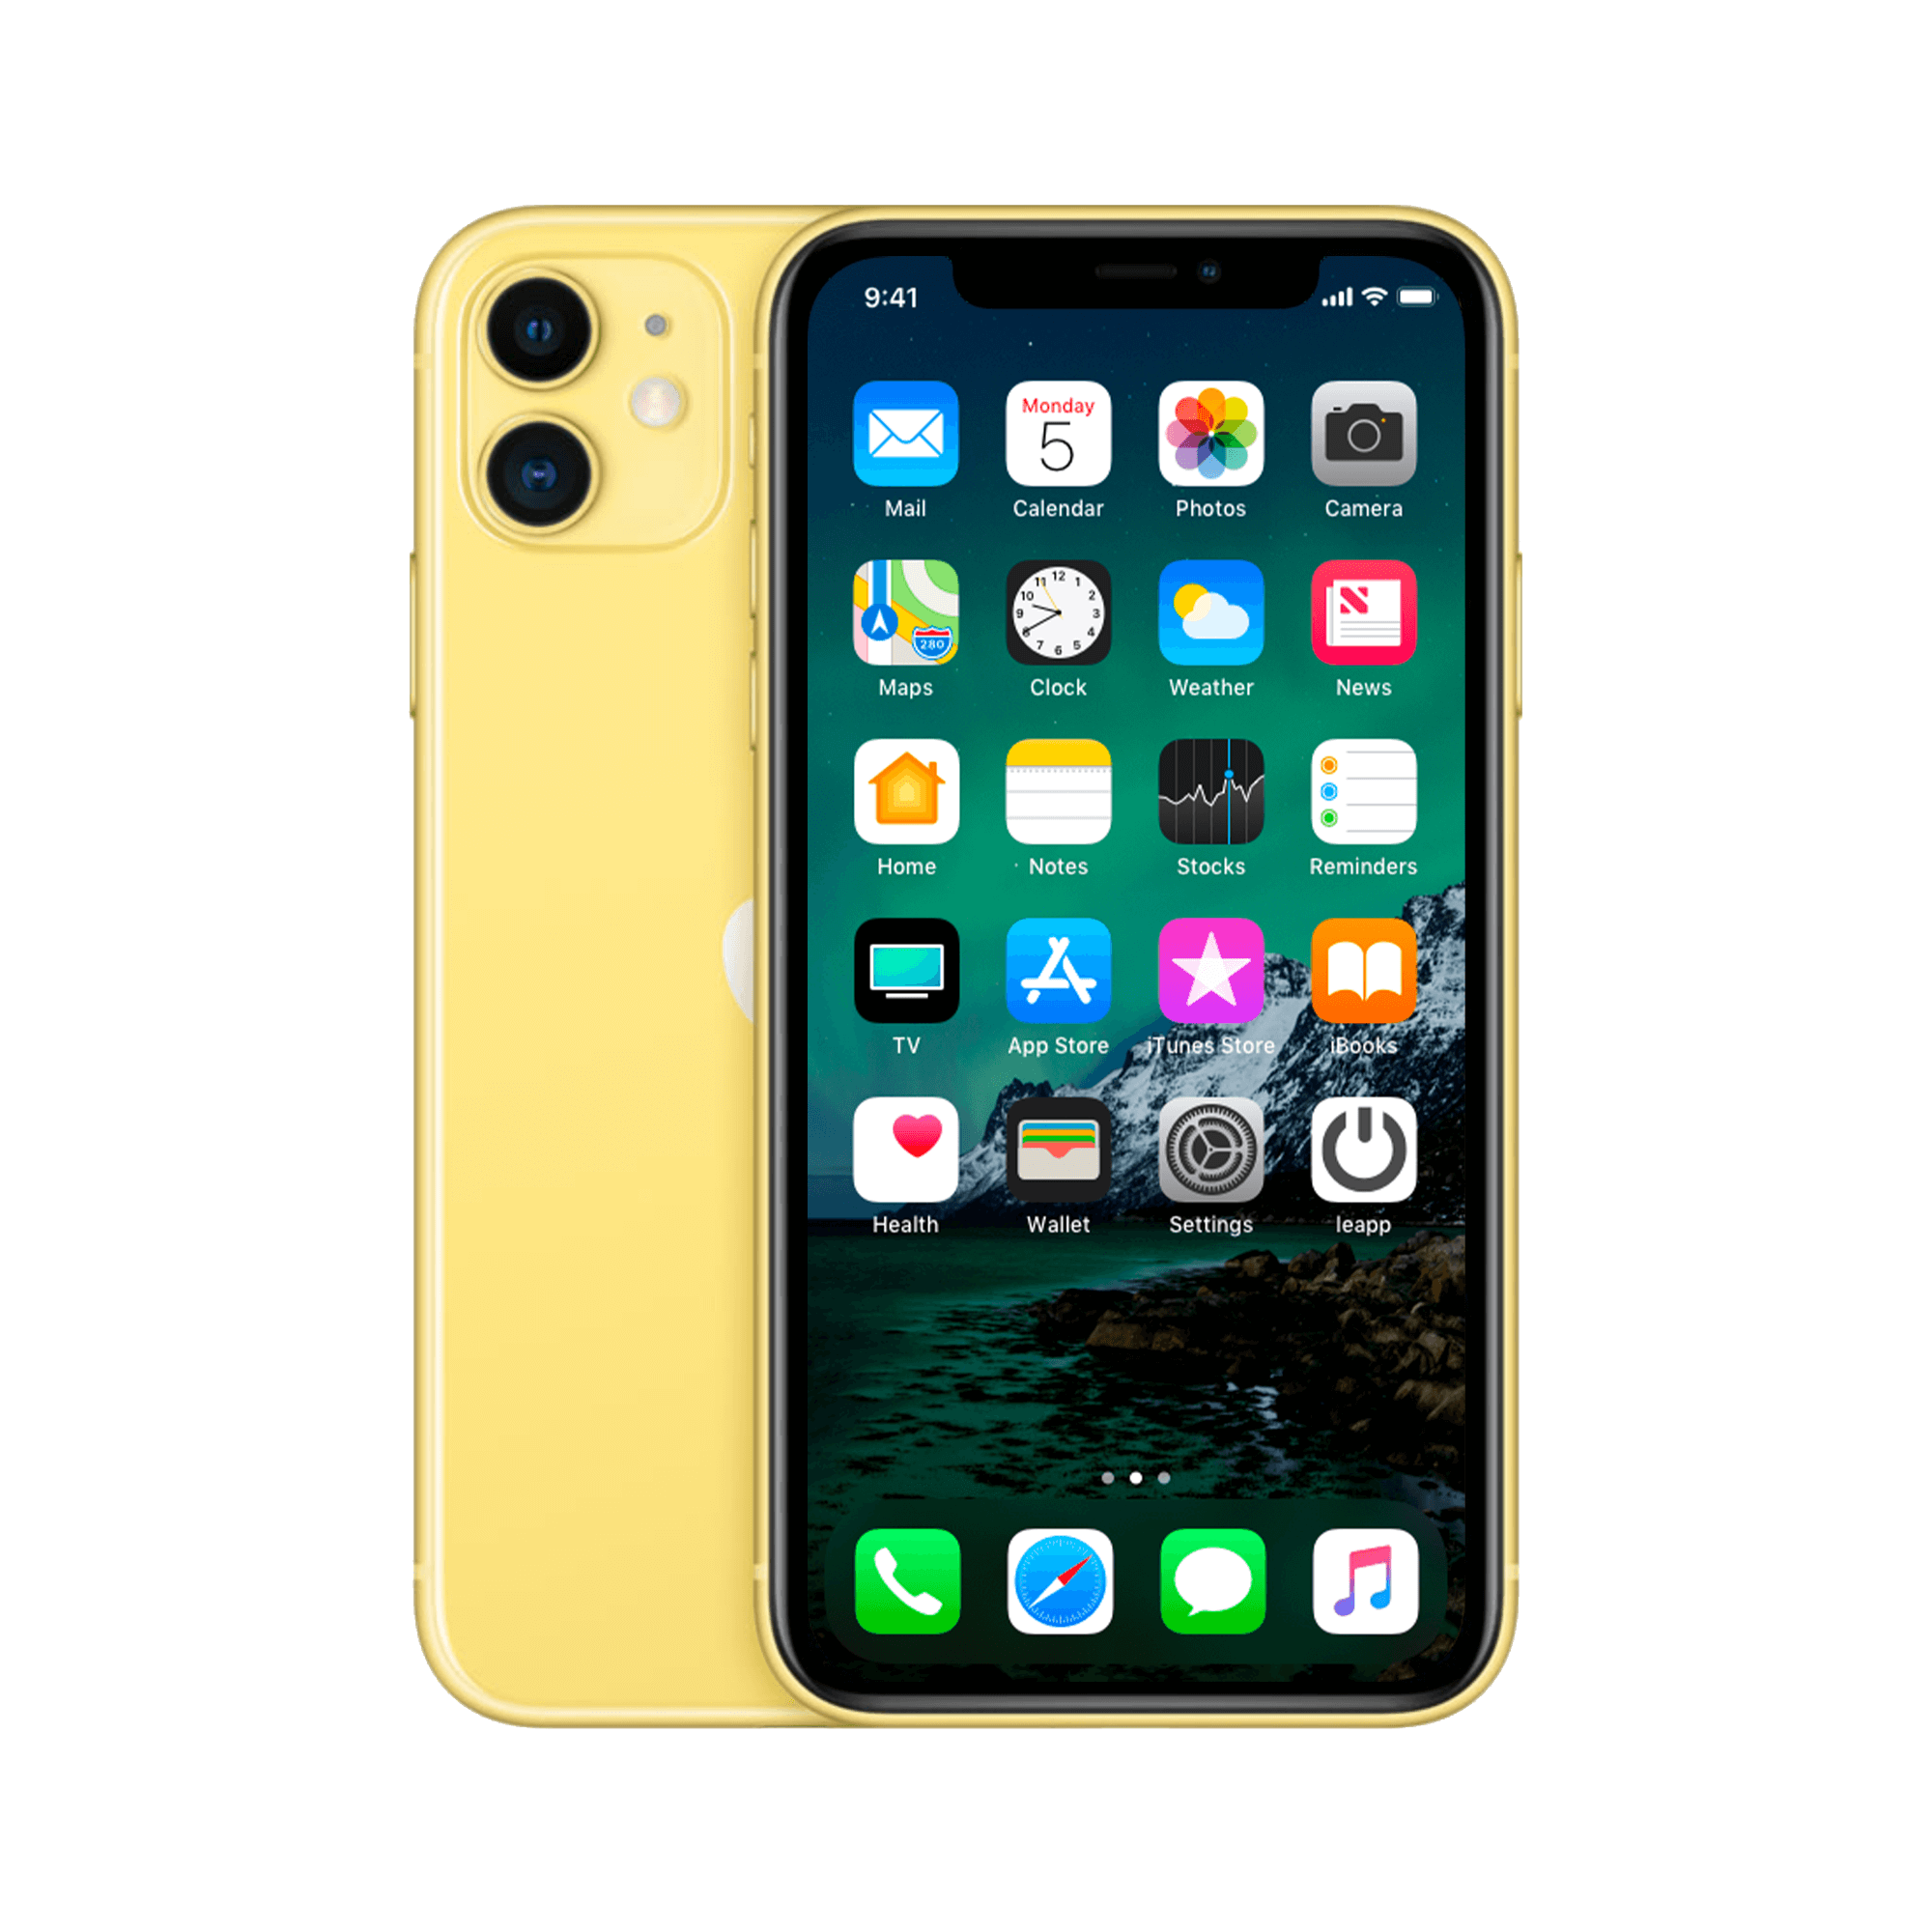
Not every model has Night Mode. Apple introduced this technology starting with the iPhone 11 series in 2019. Since then, the feature has been standard on:
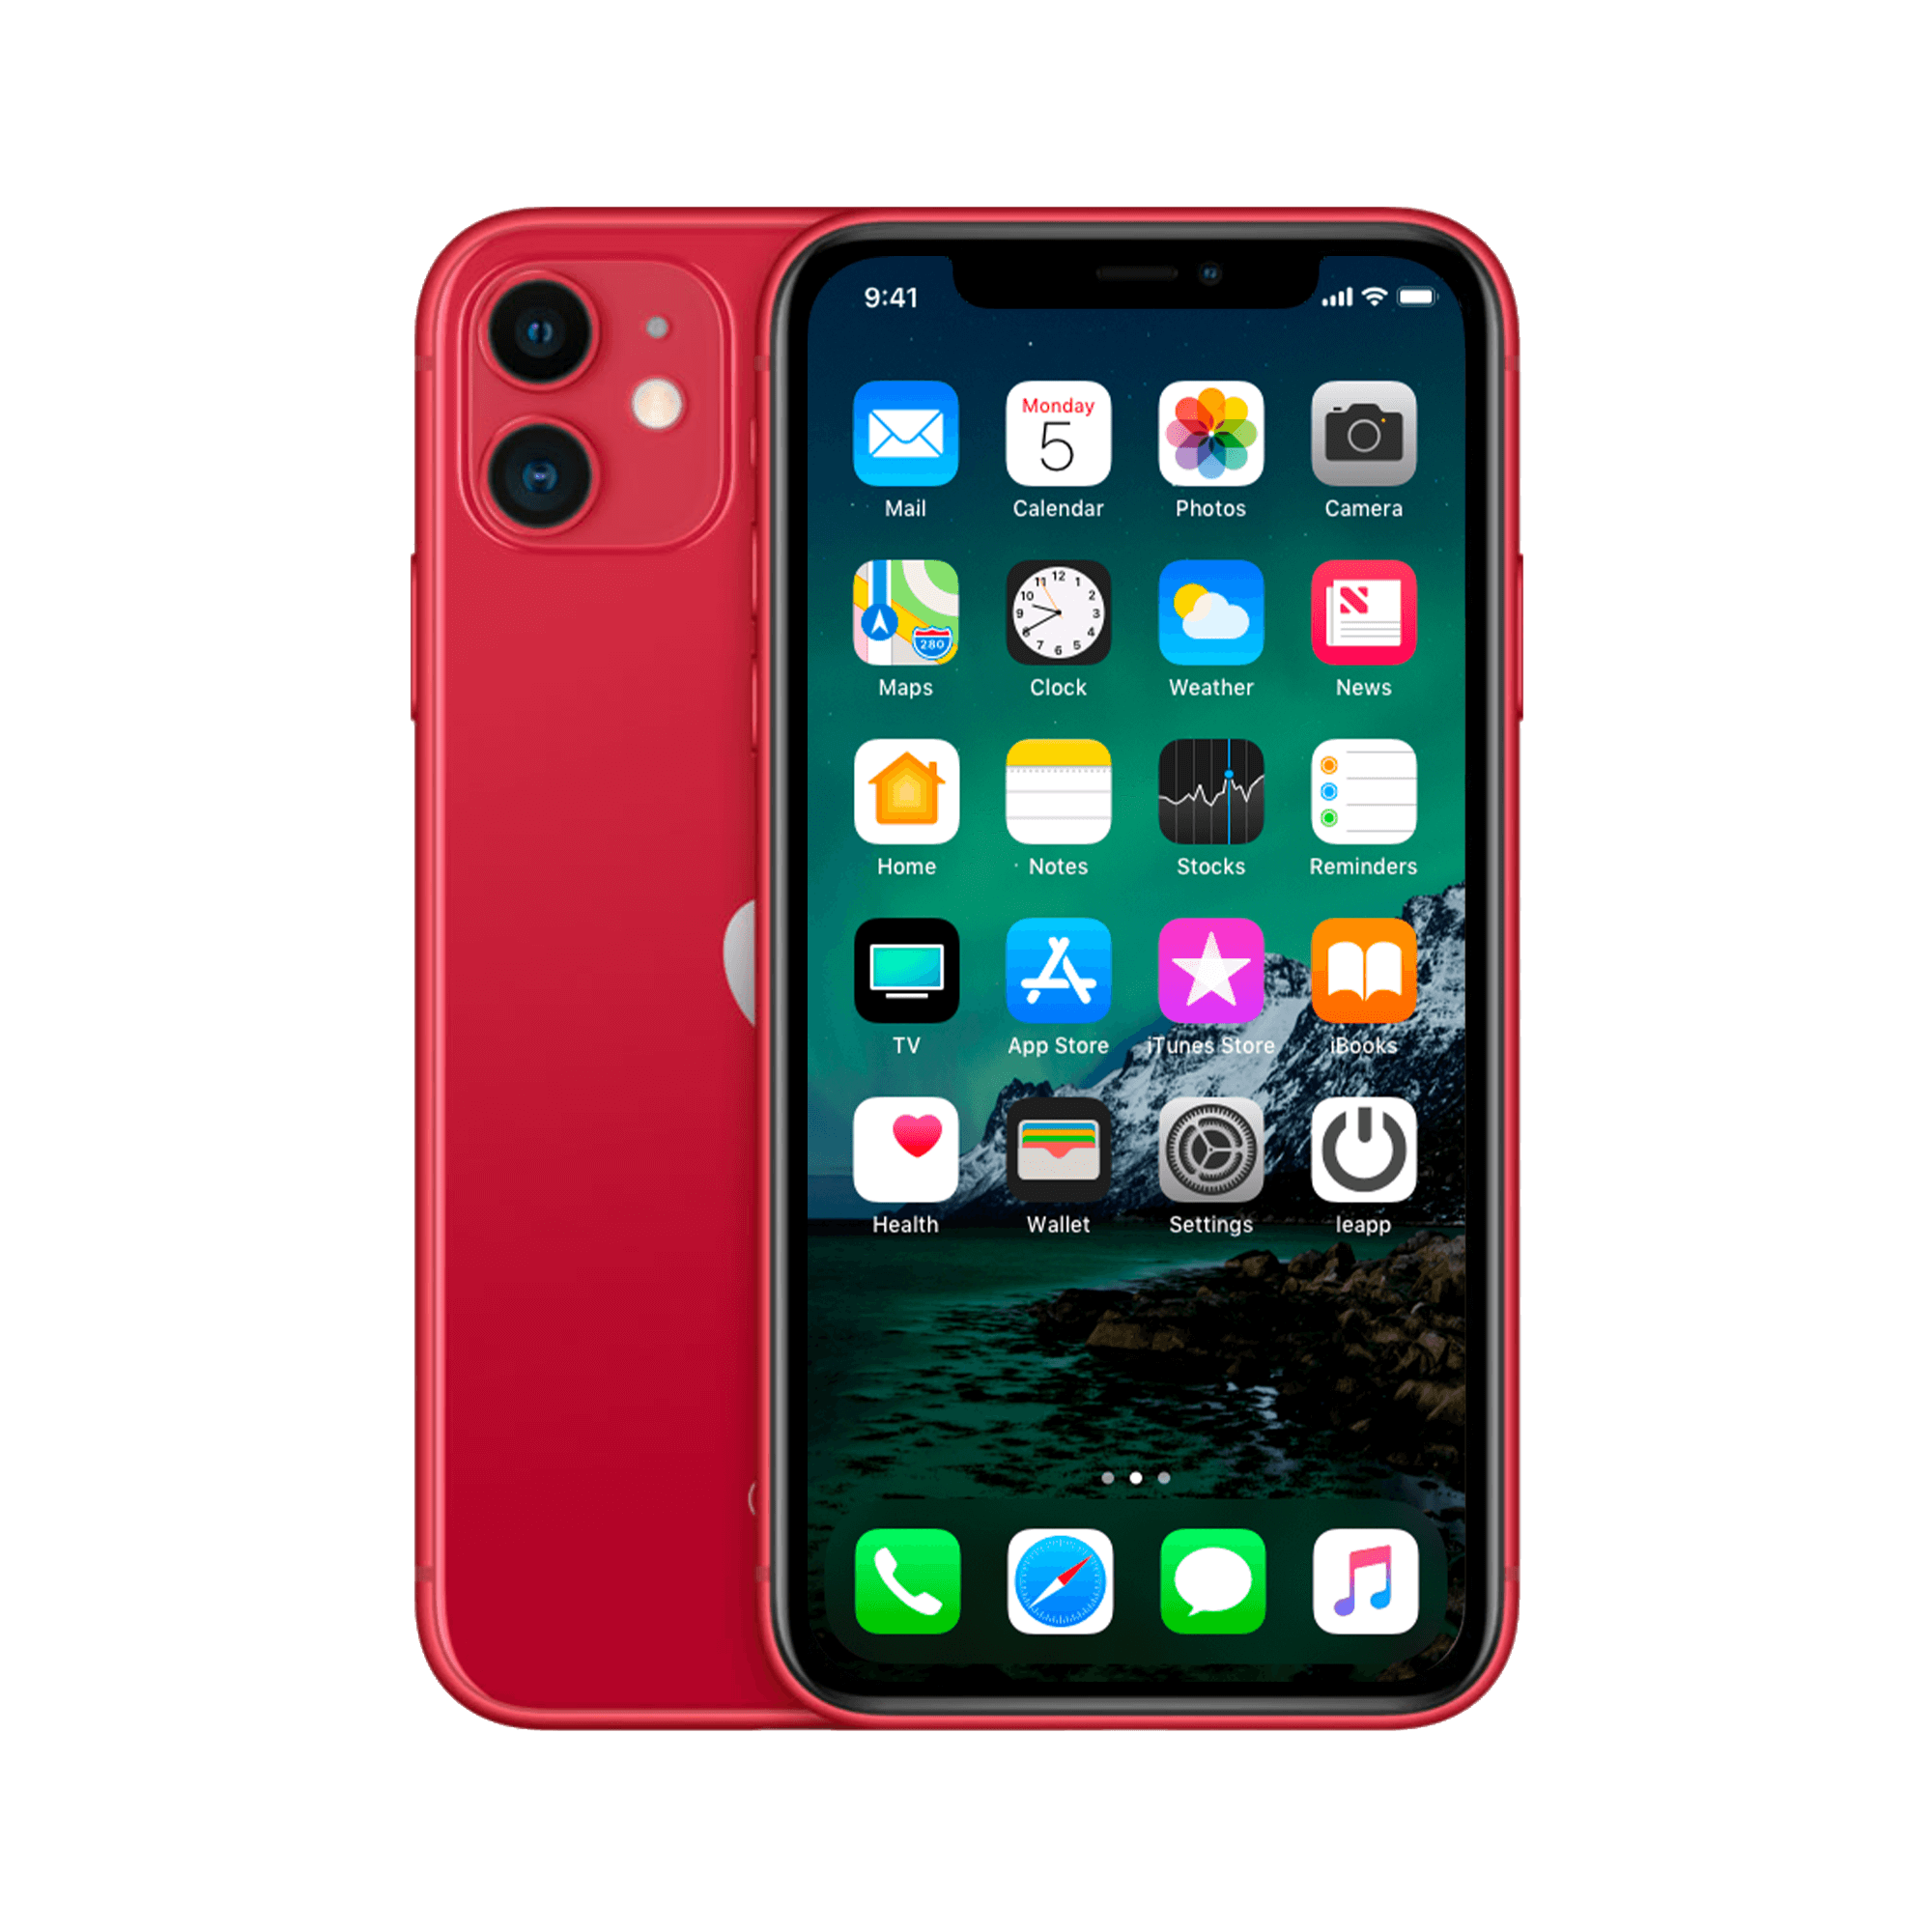
- iPhone 11, 11 Pro and 11 Pro Max
- iPhone 12 series (all variants)
- iPhone 13 series (all variants)
- iPhone 14 series (all variants)
- iPhone 15 series (all variants)
- iPhone 16 series (all variants)
Do you have an older model? Then you'll unfortunately miss this feature. In that case, consider upgrading to a refurbished model from a more recent series.
How to activate night mode
Activation usually happens automatically, but you can control the process yourself:
- Open the camera app as you normally would
- Look at the moon at the top of your screen - this appears automatically in low light
- Tap the moon to adjust the exposure time (1 to 30 seconds)
- Keep your phone steady while taking the photo
- Wait for the recording to finish - you will see a countdown timer on the screen
Manual settings
Want more control? Swipe the moon icon to the left for a shorter exposure time or to the right for a longer exposure. In extremely dark conditions, you can use exposures of up to 30 seconds. Note: the longer the exposure, the more still you'll need to be.
Practical tips for better night photos
Stability is essential
Your phone should be completely still during the shot. Lean against a wall, rest your elbows on a table, or use a small tripod. Even breathing can cause movement during long exposures.
Use the timer
Activate the self-timer (3 or 10 seconds) to prevent camera shake from pressing the shutter button. This simple trick significantly improves sharpness.
Avoid the flash
The flash destroys the natural atmosphere of your night shot. The harsh light creates unsightly shadows and overexposed areas. Rely on Night mode for natural results.
Creative possibilities
Astronomy
Find a location free of light pollution. Set the exposure time to a maximum of 30 seconds and use a tripod. The result: a clear starry sky that's barely visible to the naked eye.
Capturing light trails
Photograph busy streets with slow-moving traffic. The headlights and taillights create colorful streaks across your image. Experiment with different exposure times for the best effect.
Atmospheric portraits
Use candlelight or streetlights for intimate portraits. Night mode preserves warm colors while keeping faces bright.
Common mistakes
Moving too fast
Many users don't wait until the recording is complete. The yellow border on your screen indicates that the phone is still recording. Don't move until this disappears.
Wrong focus
Tap the screen where you want to focus before taking the photo. Night mode sometimes struggles to autofocus in the dark.
Too high expectations
Night mode isn't a magic wand. In total darkness, its results are limited. Some ambient light is always required for good results.
Comparison with other techniques
How does Night mode compare to alternatives? A dedicated camera with a large sensor remains superior for professional night photography. But for everyday use, iPhone Night mode offers an excellent balance between ease of use and quality.
Other smartphone brands offer similar features, but Apple's implementation is among the best. The seamless integration and automatic activation make all the difference.
Battery consumption and performance
Night mode uses more of your processor and battery than regular photos. With intensive use, you'll notice battery drain faster. Keep this in mind during long photo sessions.
Older models like the iPhone 11 sometimes require longer processing time than newer models. The improved processors in more recent models process night photos faster and more efficiently.
Conclusion
Night mode transforms your iPhone into a capable nighttime camera. With the right technique and a little practice, you can capture images that were once impossible with a smartphone. Whether you're capturing a party, photographing the starry sky, or capturing atmospheric street photography, this feature opens up new creative possibilities.
Start with simple shots and gradually experiment with longer exposure times. Remember, stillness is the key to sharp results. With this knowledge in your back pocket, you're ready to conquer the night with your iPhone camera.
Conclusion: Your night photography success starts now
Night mode is right there in your pocket, ready to go. No hassle with complicated settings or expensive accessories—just you, your iPhone , and a little patience. The key is simple: hold your phone steady , give the software time to do its work, and experiment with different situations. Whether you have a refurbished iPhone 11 or the latest model, the principles remain the same. Within a few evenings, you'll be shooting like a pro, and those dark, grainy photos will be a thing of the past.


