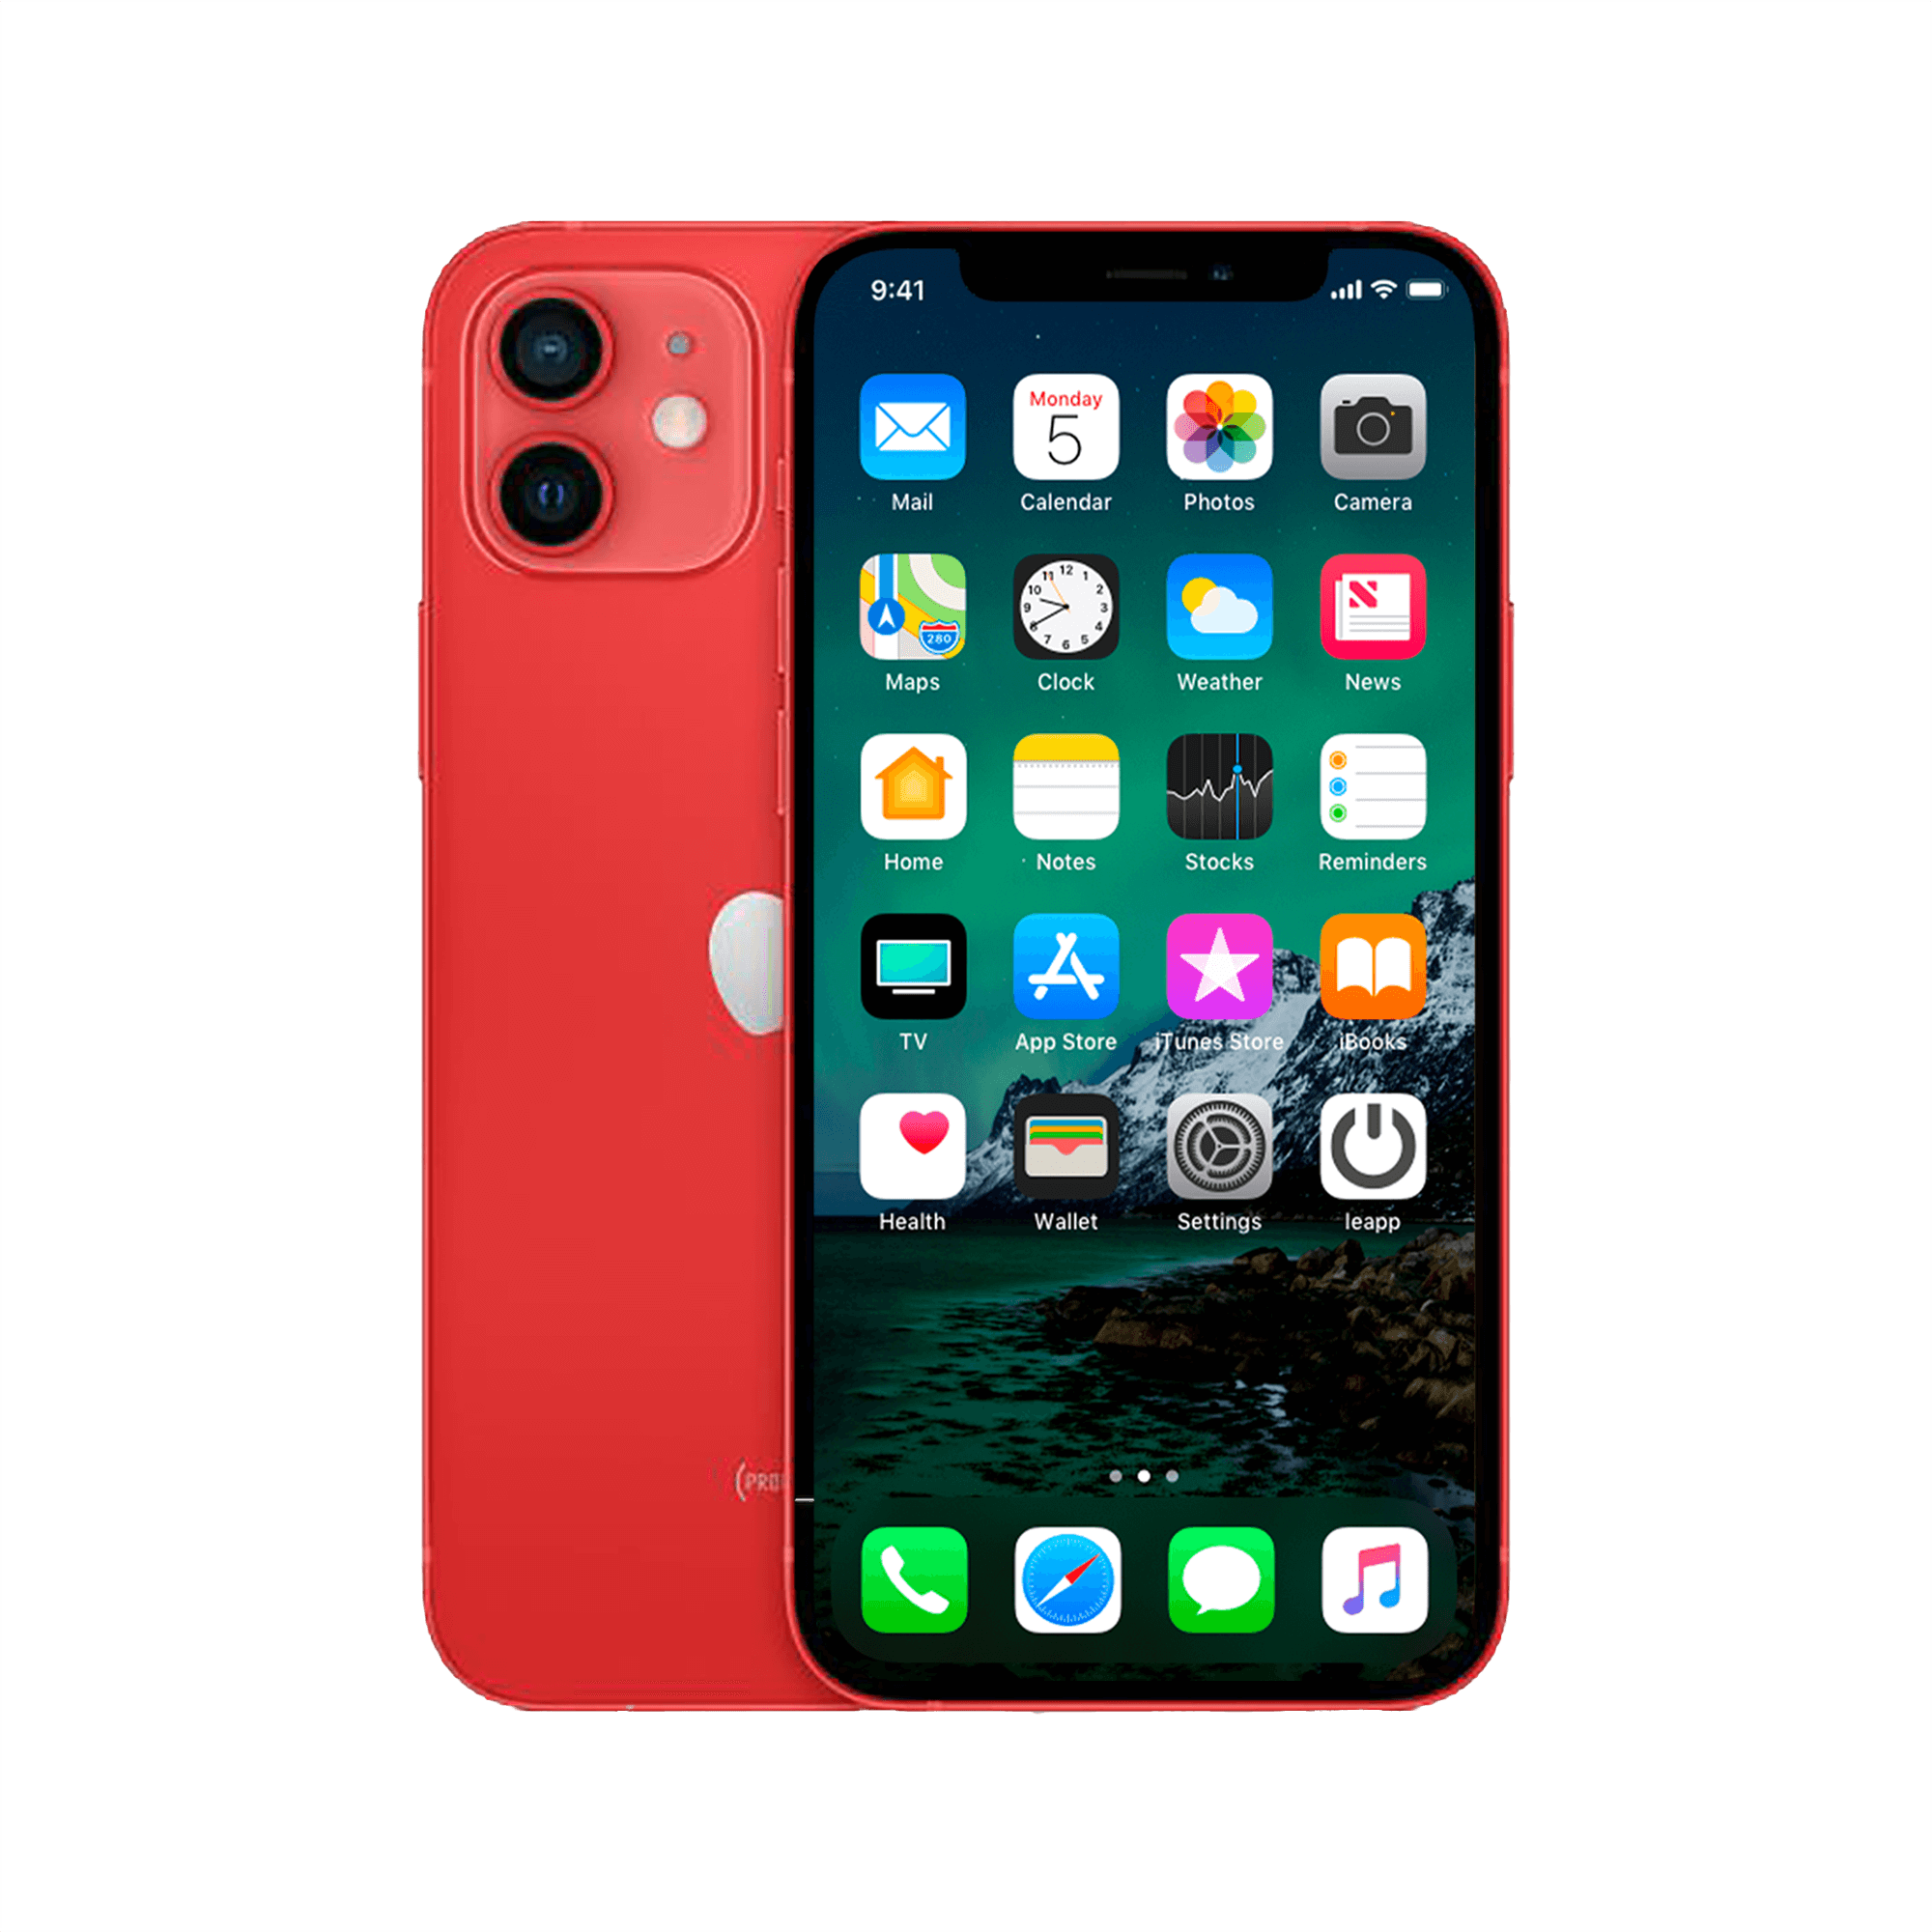
Photography is a passion for many, and with the iPhone in your pocket, you always have a powerful camera at your fingertips. But even with the best equipment, sometimes your photos can be disappointing. We understand that adding a grid can make a world of difference to your compositions and alignment, so we’re going to help you enable and use it!
Step-by-step guide: Enabling the grid
Enabling the grid on your iPhone is a simple yet effective way to improve your photos. Here's how to do it:
-
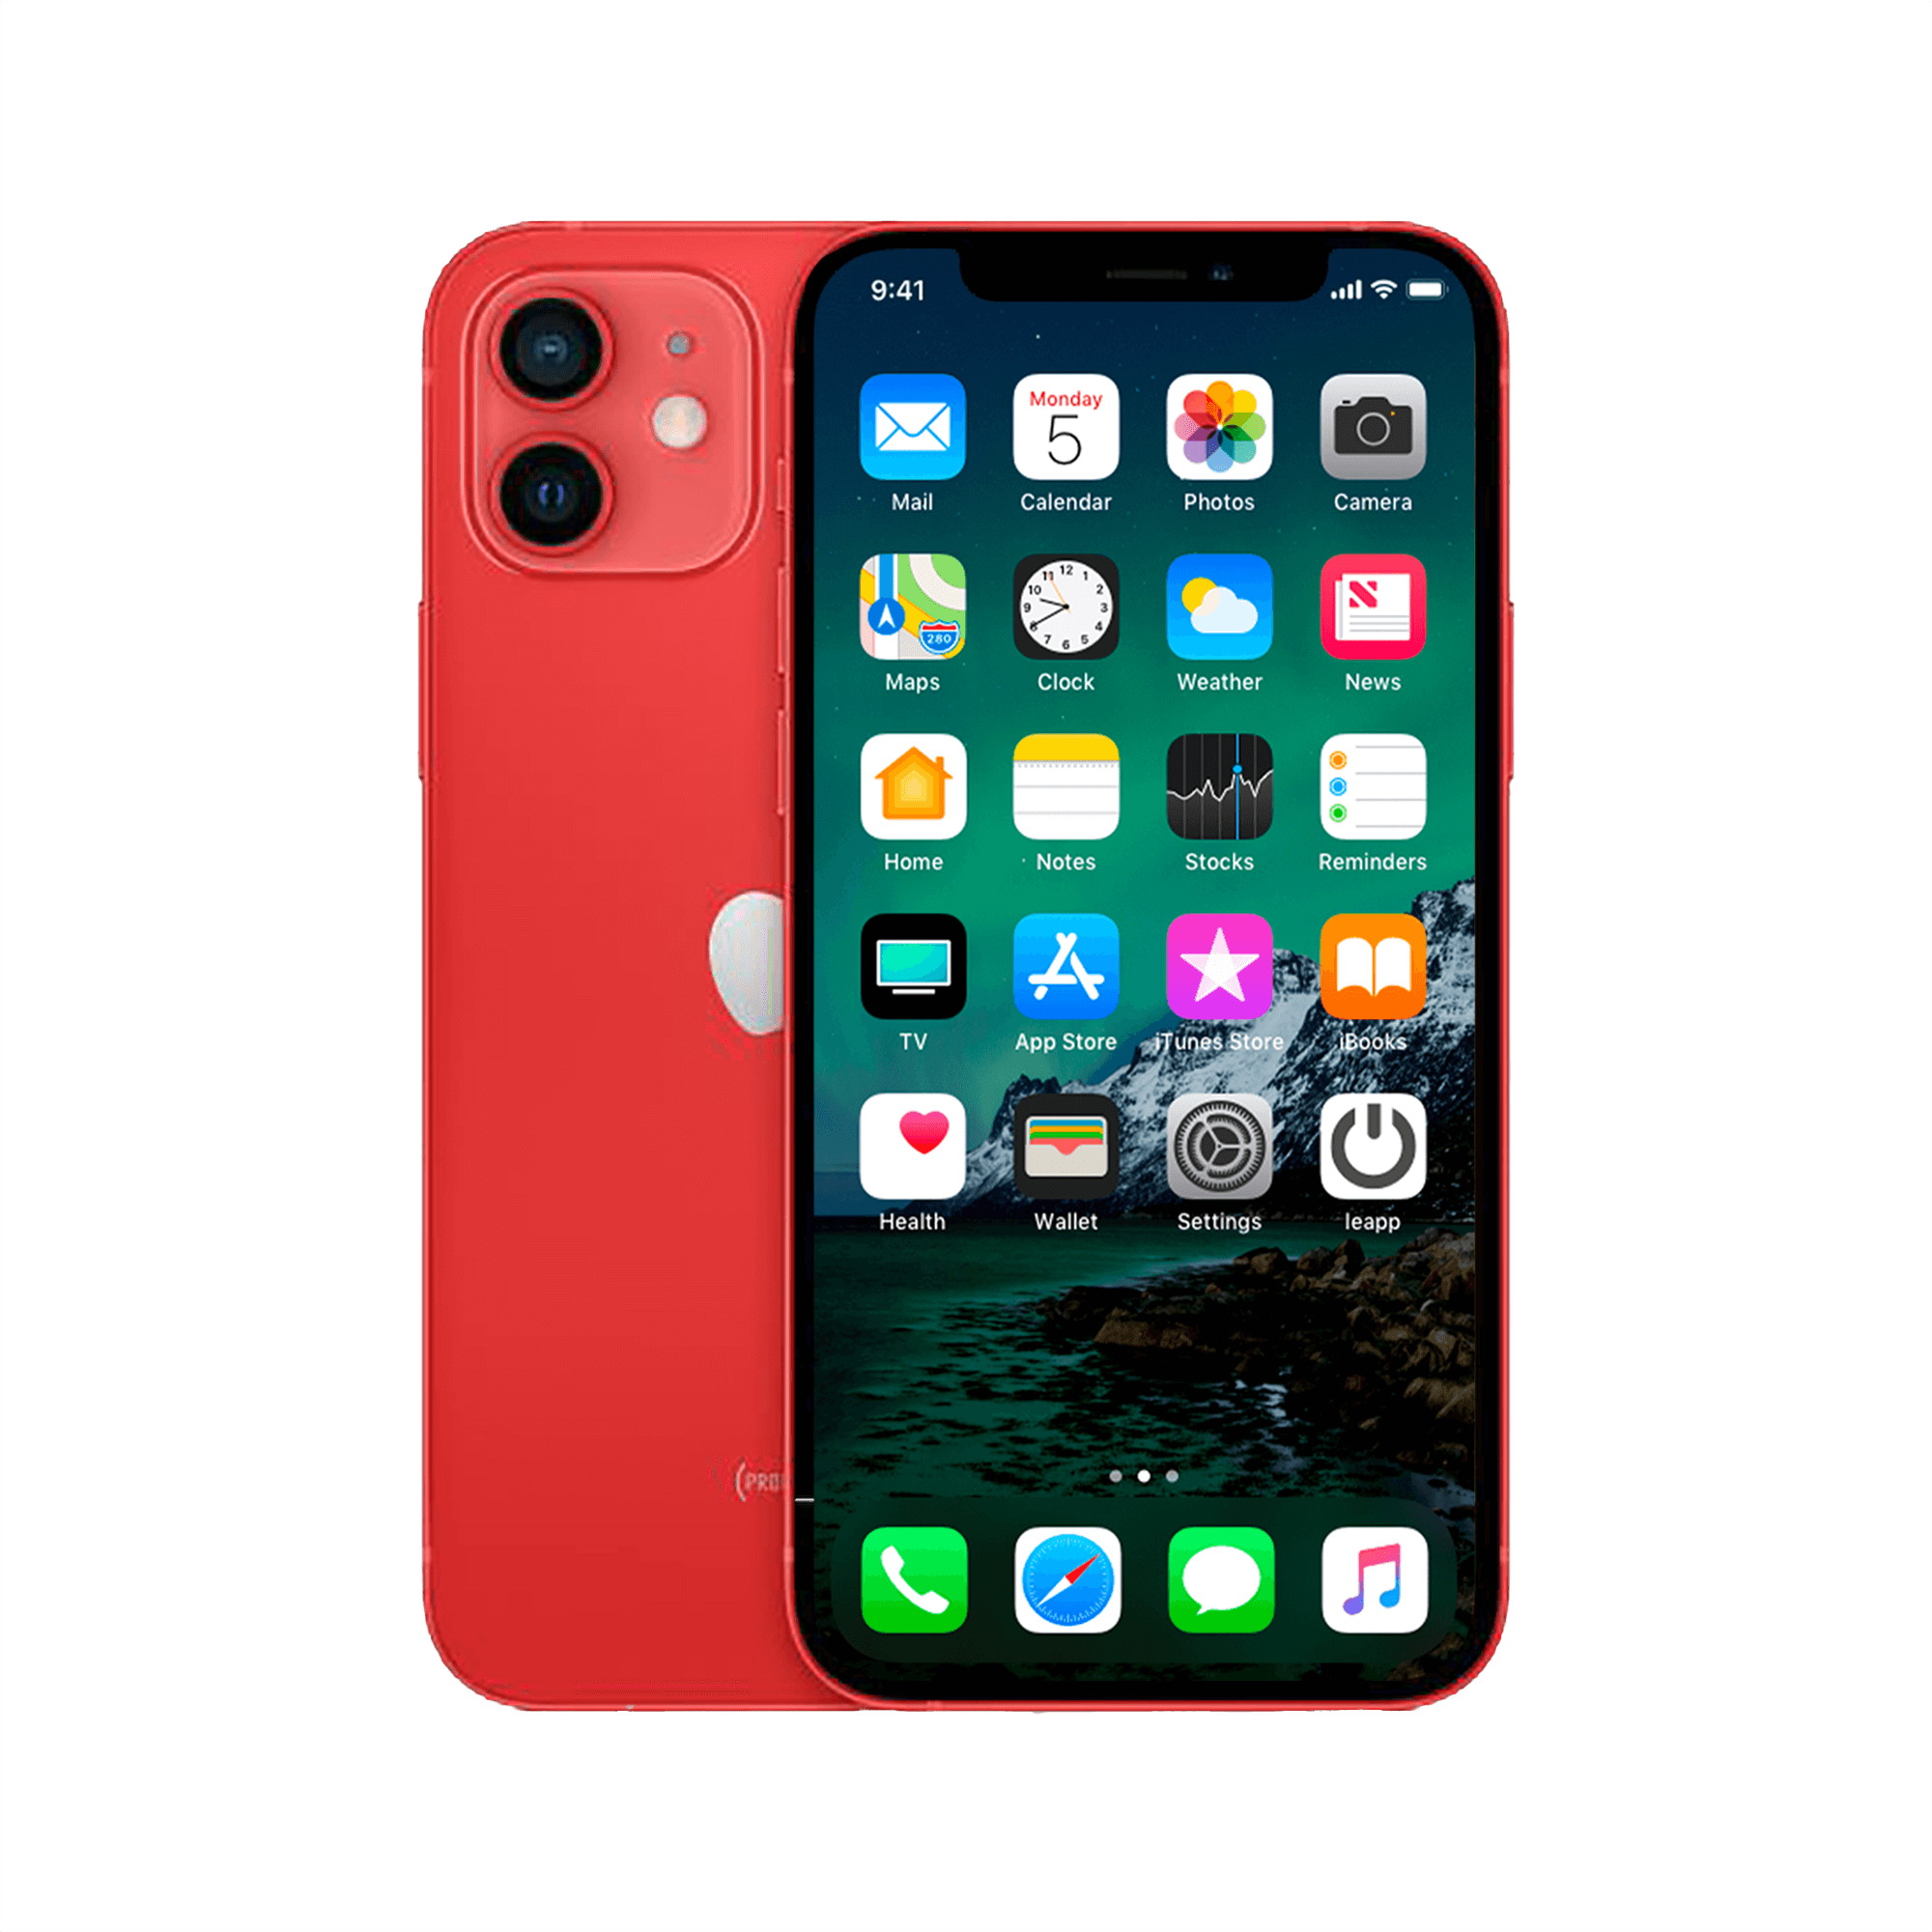
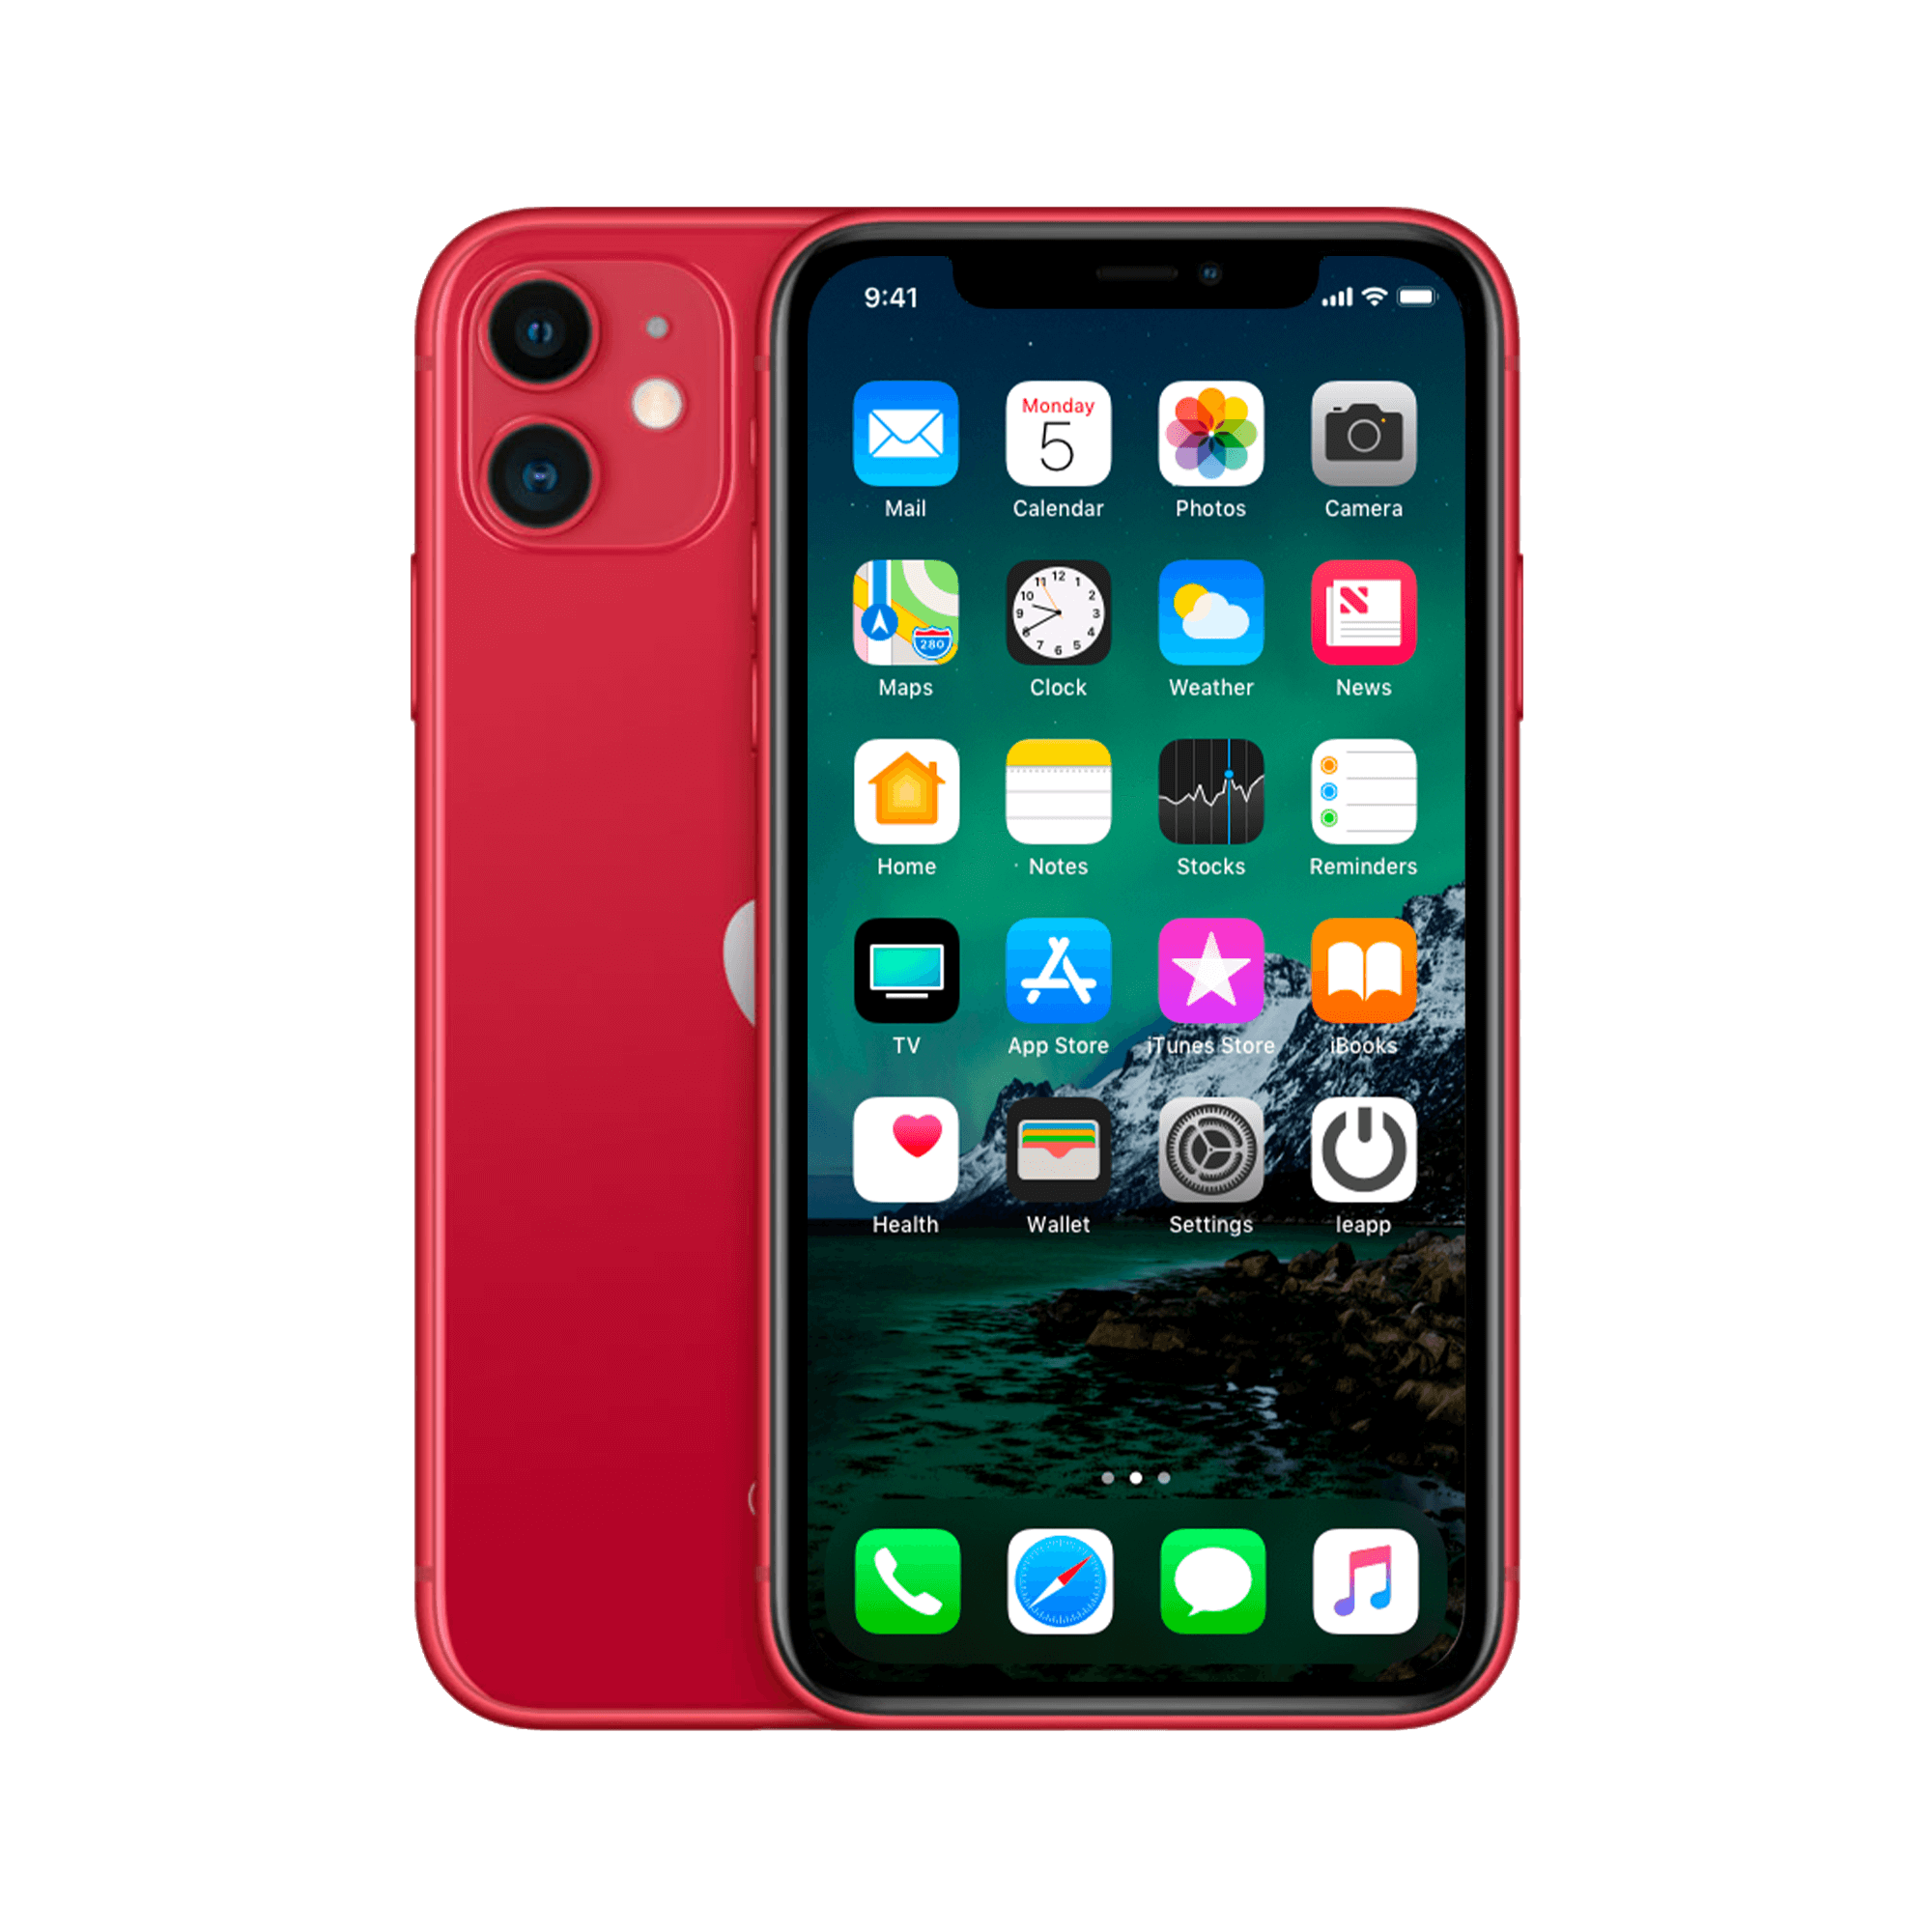
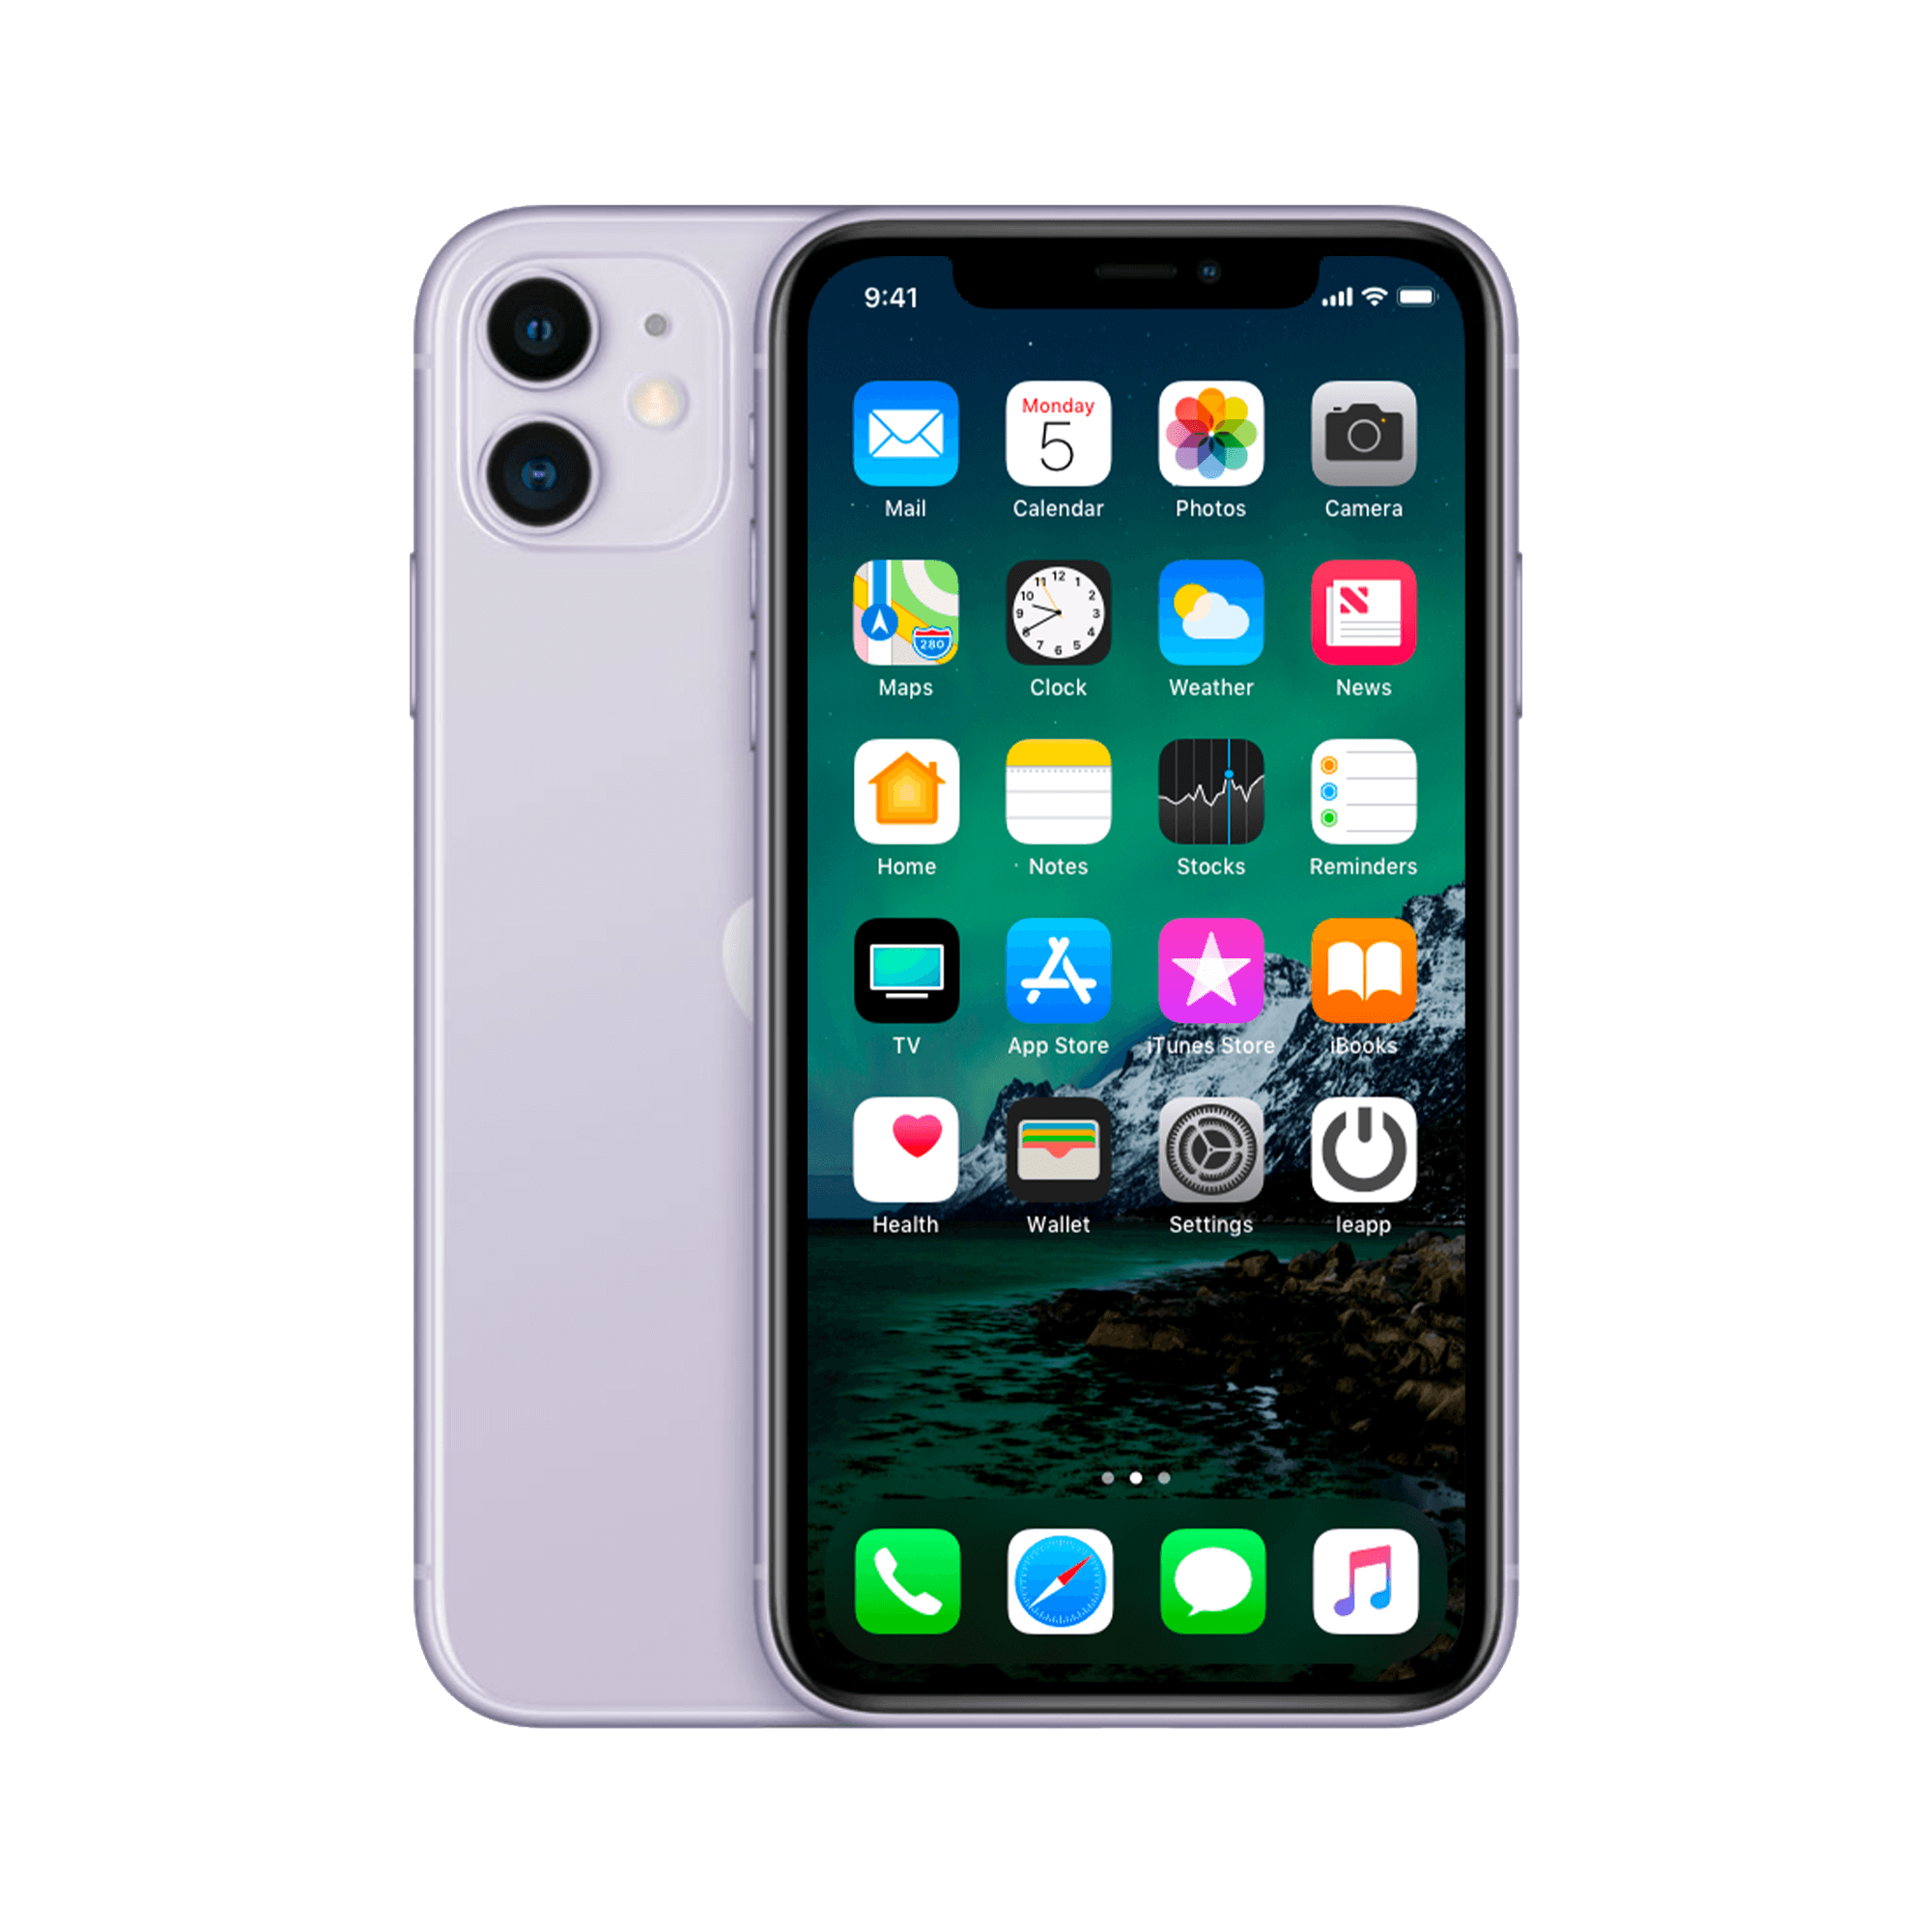
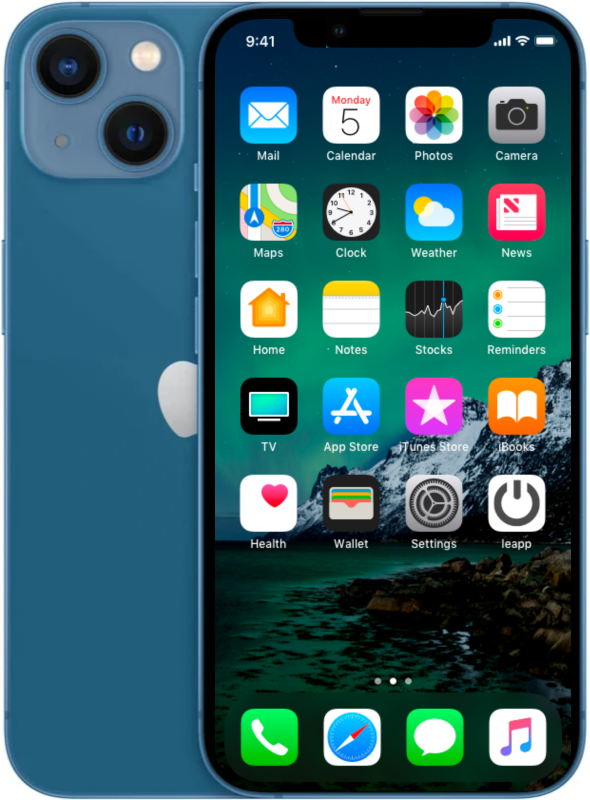
Open the Settings app
This is the first step. Find the gear icon on your home screen and tap on it. -
Scroll down and tap 'Camera'
In the list of settings, find the 'Camera' option and tap on it. -
Turn on the grid
Under the camera settings, you’ll see a toggle next to “Grid.” Turn it on. Now that you’ve turned on the grid, you’ll see a series of lines on your screen when you open the camera app. These lines will help you better compose and align your photos.
How to use the grid for better composition
Now that you've enabled the grid, it's time to learn how to use it to improve your photos. Here are some tips:
-
Use the rule of thirds
The grid divides your screen into nine equal parts. Try to place your subject on one of the intersections of these lines. This will help to make your photo more interesting and visually appealing. -
Align horizons
Use the horizontal lines of the grid to make sure your horizon is straight. This will give your photos a more professional look. -
Symmetry and balance
The grid also helps you create symmetry and balance in your photos. Place your subject in the center of the grid for a symmetrical effect, or use the lines to find balance between different elements in your photo.
Tips for other settings that can improve your photos
Besides enabling the grid, there are other settings you can adjust to enhance your photos:
-
Enable HDR
HDR (High Dynamic Range) helps to capture details in both light and dark areas of your photo. Enable HDR by going to your camera settings and turning on the HDR option. -
Using exposure compensation
Sometimes your iPhone’s automatic exposure can’t be exactly what you want. You can adjust the exposure by tapping the screen, then swiping up or down to increase or decrease the exposure. -
Night mode
When taking photos in low-light situations, your iPhone’s Night mode can help you take brighter, sharper photos. This mode turns on automatically when the camera detects low light.


