iPhone Screen Recording: The Hidden Feature Everyone Should Know
You want to capture something important on your iPhone. A conversation, an error message, proof of an online purchase. You search for the record button. You fumble around in settings. Nothing. Frustrating, because you know it should be possible. But here's the thing: most iPhone owners use their screen recording function incorrectly or not at all—even though Apple tucked this feature away years ago, hidden behind a simple swipe.
No extra apps needed, no complicated tricks. Just three taps and your iPhone records everything that happens on your screen. Sound included, if you want. The funny thing is: once you get the hang of it, you'll use it constantly. From recording video calls with family to creating quick how-to videos for colleagues. Time to discover that hidden button.
Useful links
Why record your iPhone screen?
Screen recording is more than just a technical feature. It's a practical tool for countless situations. Think of capturing an important WhatsApp conversation before messages disappear. Or documenting an online order for your records. Students use it to record online lectures, while grandparents use it to learn how apps work by watching their grandchildren's instructional videos.
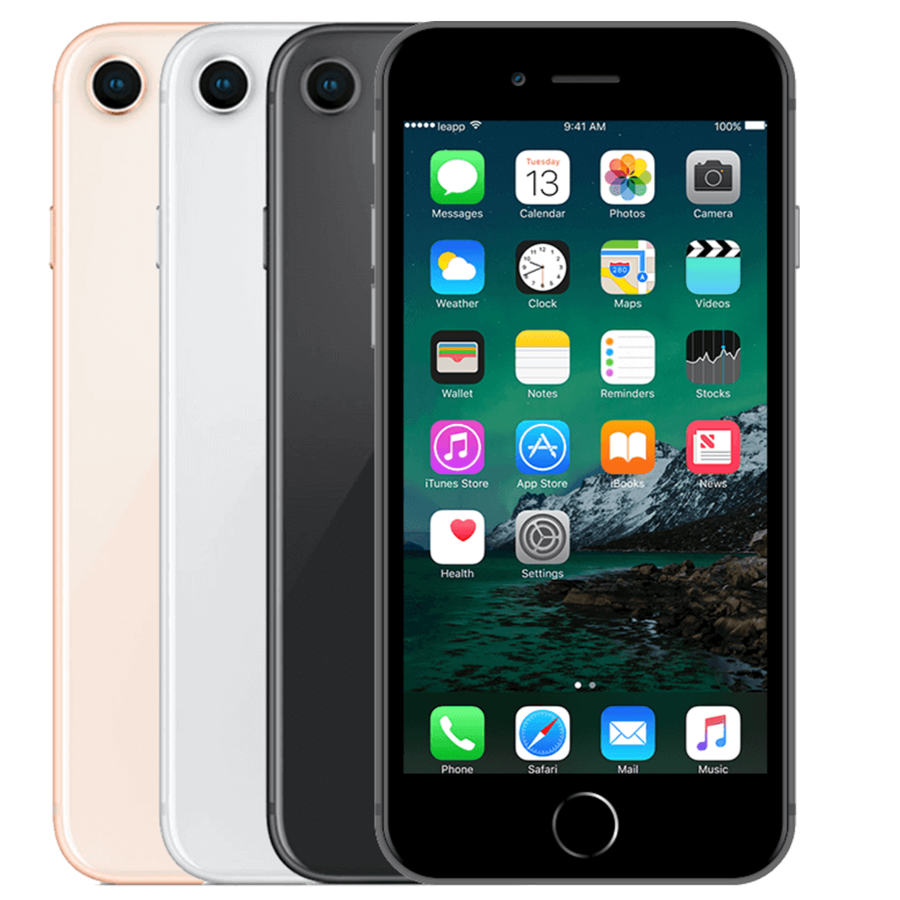
The beauty of Apple's built-in screen recording feature is its simplicity. No external apps required, no complicated settings. Everything you need is already built into your device. Whether you have an older iPhone 8 or the latest model, the feature works virtually identically.
Step 1: Activate the screen recording function
Before you can record, you need to add the feature to your control panel. Here's how:
- Open Settings on your home screen
- Scroll to Control Panel
- Tap Adjust Controls
- Find Screen Recording in the list
- Tap the green plus sign to add it
You only need to perform this step once. Afterward, the button will remain permanently available in your control panel. A handy detail: you can rearrange the buttons by dragging them, so that Screen Recording is at the top if you use it often.
Step 2: Start and stop a recording
Now that the button is activated, you can start recording right away. The method varies slightly depending on your iPhone model:
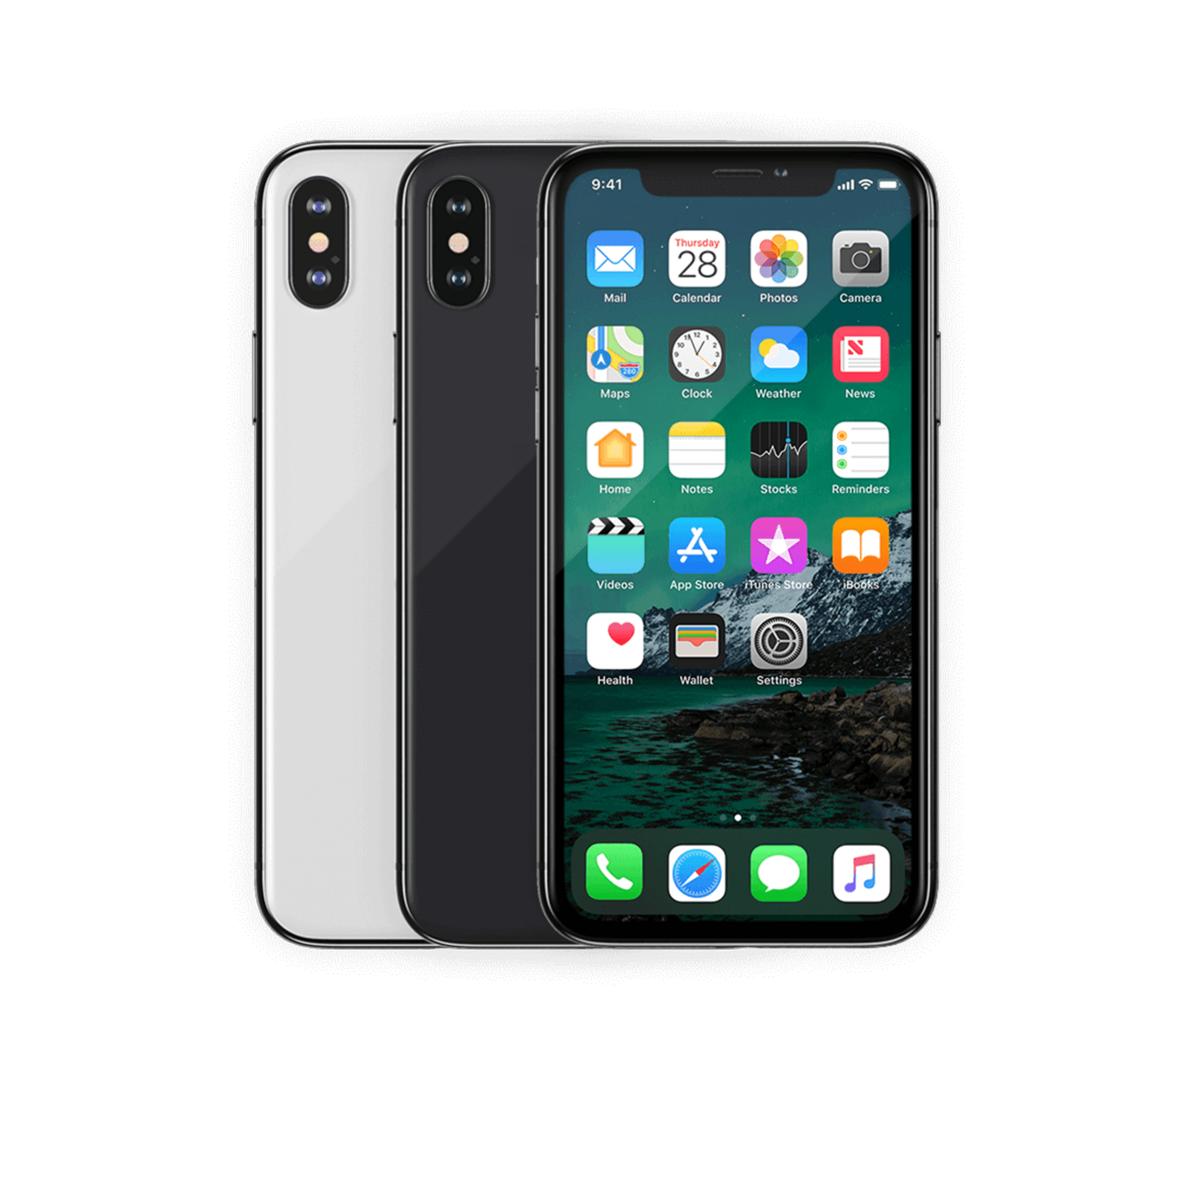
For iPhone X and later:
- Swipe down from the top right corner
- Tap the round recording icon
- Wait 3 seconds (you will see a countdown)
- The status bar turns red while recording
- Stop by tapping the red time at the top left
For iPhone 8 and older:
- Swipe up from the bottom
- Tap the recording icon
- After 3 seconds the recording starts
- A red bar appears at the top
- Tap the red bar and then 'Stop'
Tip: Long-press the record button for additional options. You can then turn on the microphone to record your own voice while recording. Perfect for creating instructional videos or adding commentary.
Step 3: Find and manage your recordings
All screen recordings are automatically saved to the Photos app. They're easy to find:
- Open the Photos app
- Go to the Albums tab
- Scroll to Screen Recordings
- All your recorded videos are collected here
From this album, you can view recordings, share them via WhatsApp or email, or edit them with built-in tools. For example, you can trim the beginning and end to keep only the relevant portion.
Helpful tips for better screen recordings
Good preparation makes the difference between a usable recording and a professional result. Enable Do Not Disturb in your settings beforehand. This prevents notifications from WhatsApp, email, or other apps from appearing during your recording. This is especially essential when creating instructional videos for work.
Also, keep an eye on your battery level. Screen recordings consume a significant amount of power, especially during longer sessions. Ideally, start with at least 20% battery or connect your device while recording.
Privacy while recording
Be aware of what appears on the screen. Open tabs in Safari, recently used apps in the app switcher, or notifications can contain personal information. Therefore, close all unnecessary apps beforehand and check your notifications screen.
When recording sensitive information like banking transactions, use the post-production editing tools to blur or crop out sections. The Photos app offers basic features, but apps like iMovie offer more control over privacy-sensitive content.
Troubleshooting common problems
Sometimes a recording doesn't start right away. This often happens when your storage is almost full. Check your available space in Settings > General > iPhone Storage . Videos take up space quickly, so free up some space regularly.
No sound in your recording? Check if your microphone was turned on. You'll need to activate it for each recording by holding down the record button. The microphone button should be red for audio recording.
If the record button is gray and unresponsive, restrictions may be in place. Check Settings > Screen Time > Content & Privacy Restrictions . Here you can allow screen recording if blocked.
Creative applications
Screen recordings are more versatile than you think. Use them to create a digital photo album by scrolling through your photos while recording. Add personal stories to the footage using the microphone.
Screen recordings are valuable customer service tools for businesses. Record a short explanation of how to use your app or website. This saves time on recurring questions and provides visual support for customers.
Students can take notes during online classes by recording their screen. Combine this with the microphone to record your own notes. You can review everything later and elaborate on it.
Conclusion: always ready for recordings
Screen recording on your iPhone is surprisingly simple. Set it up once , tap three times, and you're recording everything that happens on your screen. Whether you want to capture an important conversation, create an instructional video for colleagues, or just share something funny, the feature is always ready for you in Control Center.
The beauty is that it works on virtually any iPhone, from older models to the latest. Just try it out. After a few tries, you'll use it without thinking, just like you take photos or send messages.


