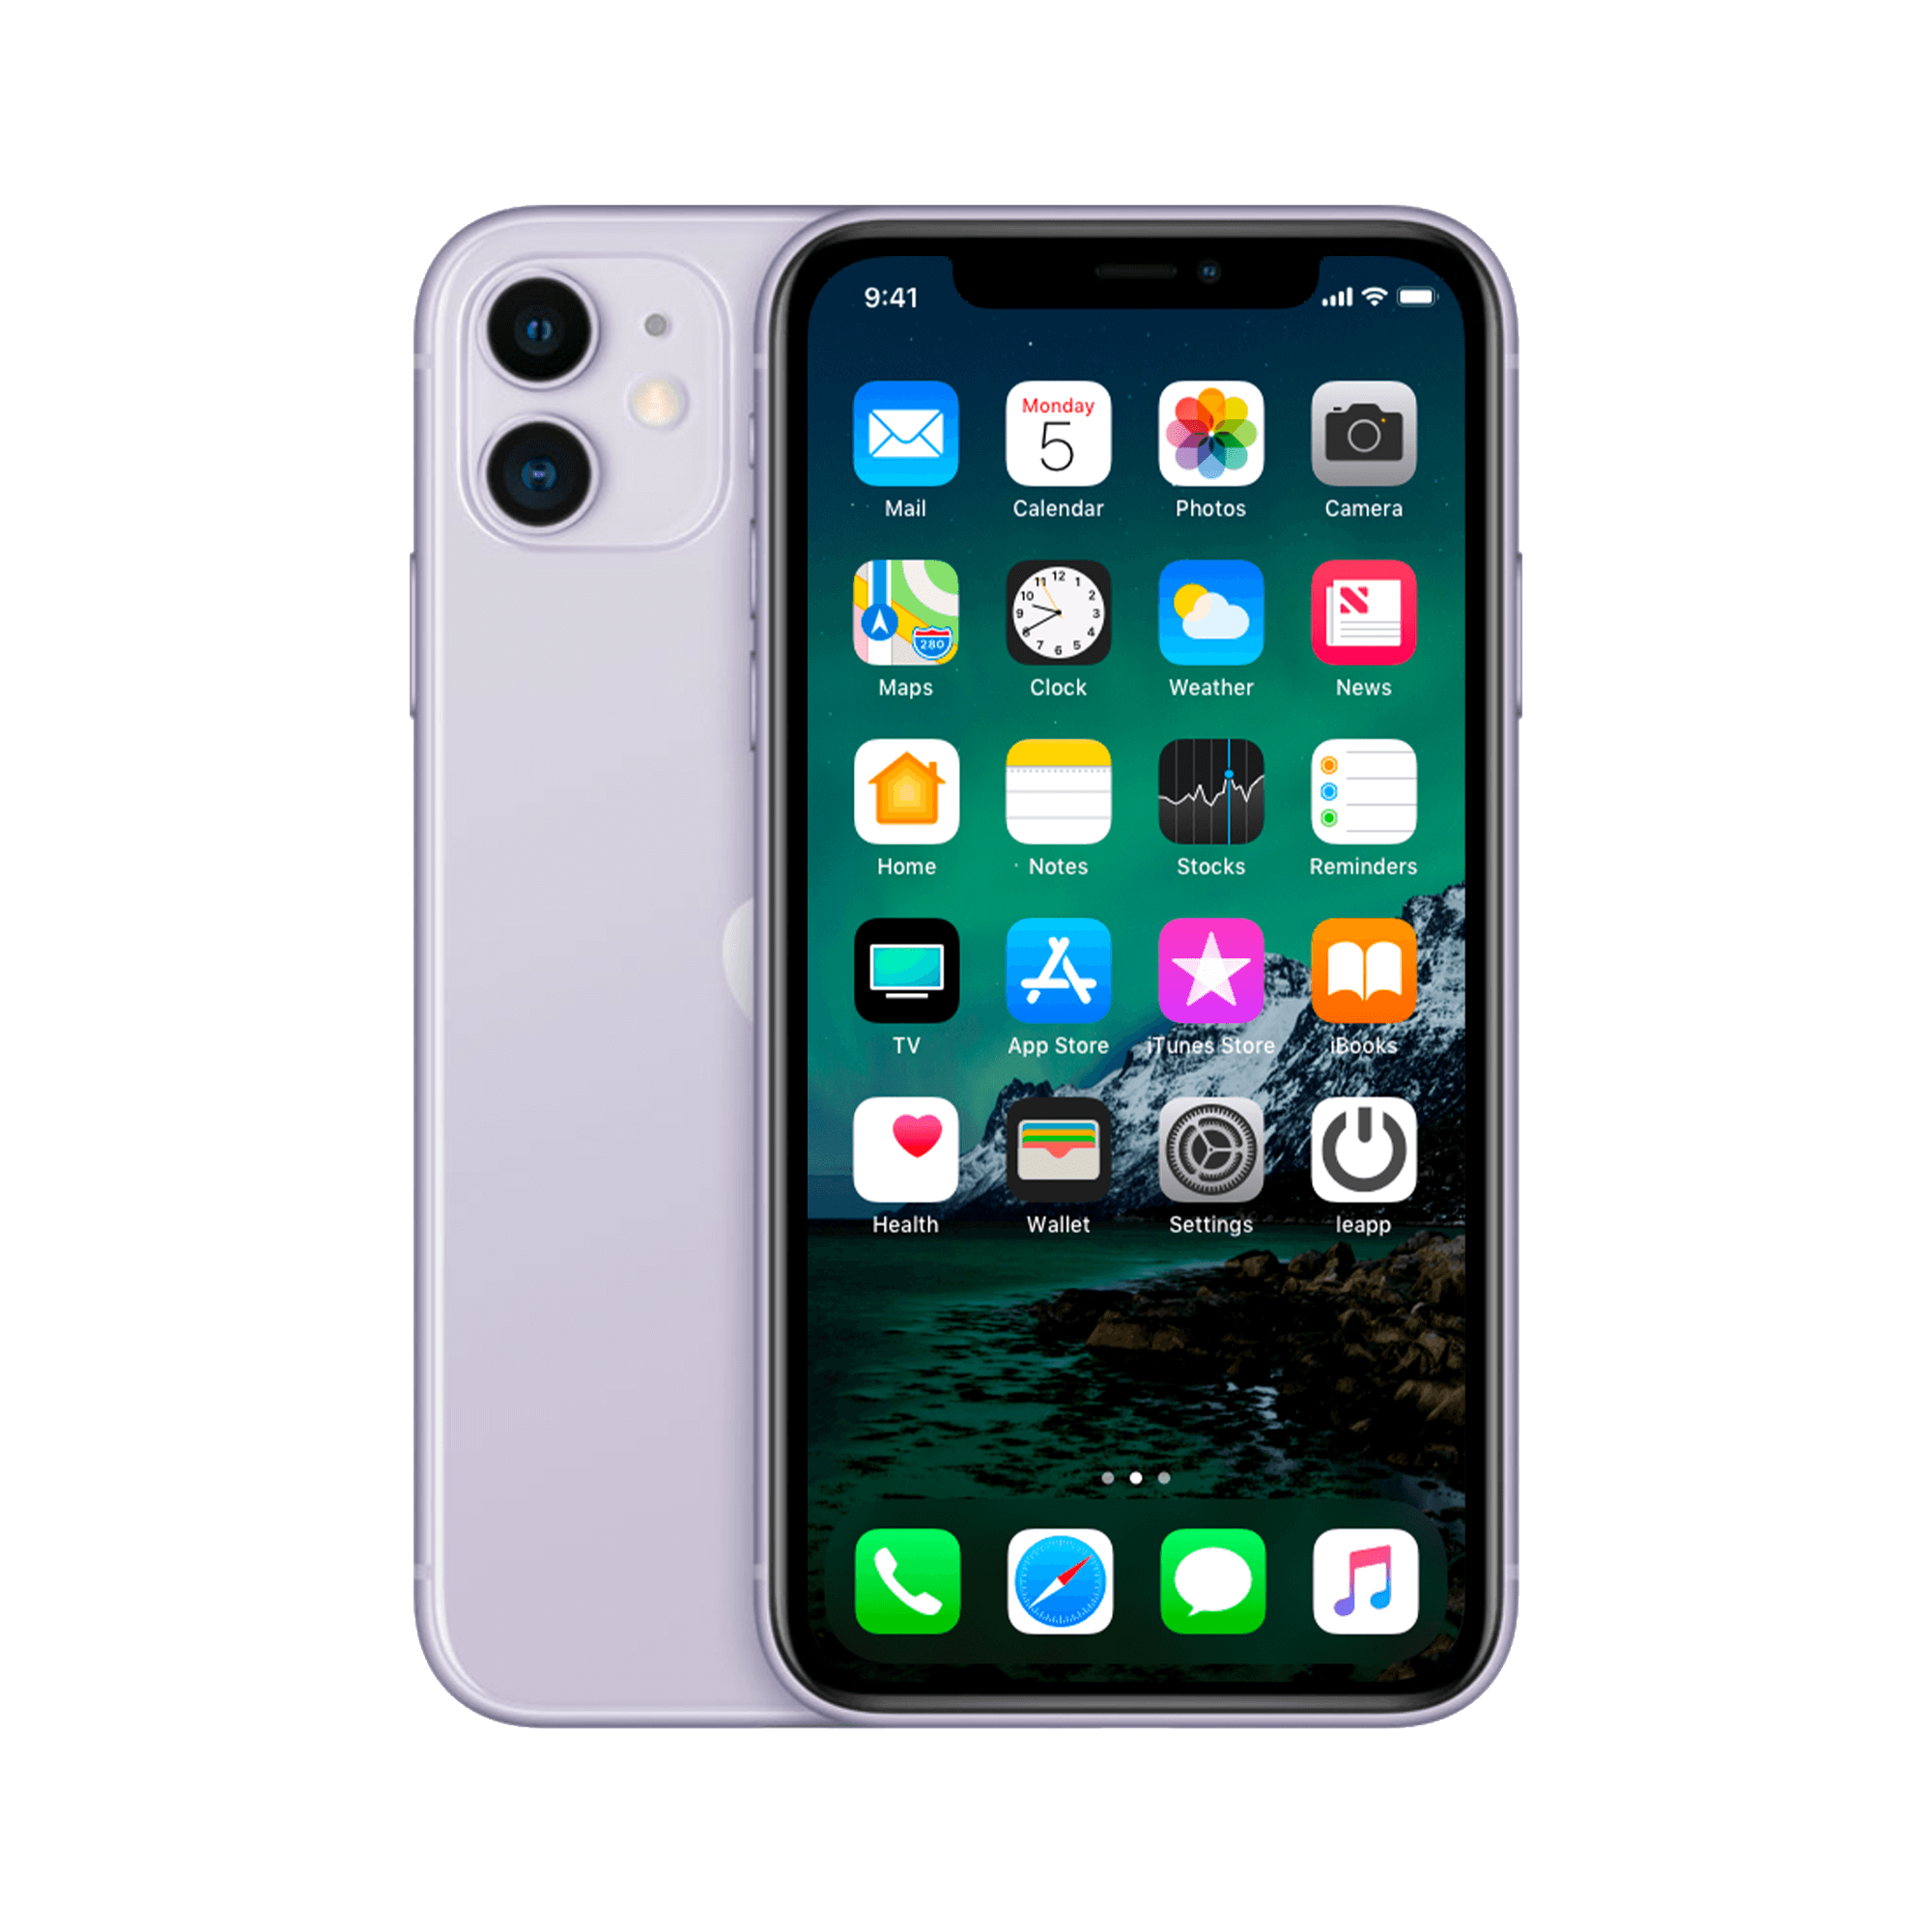
Transferring your SIM card: easier than you think
New iPhone. Old SIM card. For many, the very idea makes them break out in a sweat. Finding that tiny slot, using the right pin, worrying about breaking something—it feels like open-heart surgery. Yet, transferring your SIM card is one of the simplest things you can do with your iPhone. In fact, it takes less time than unpacking your new AirPods or choosing the right accessories . The problem isn't the technology, but our minds. We make things harder than necessary. In six simple steps, you can get it done, stress-free, hassle-free. And the best part? You probably already have everything you need at home.
Preparation: what do you need?
Before you start transferring your SIM card, it's helpful to have everything ready. You really only need two things: the SIM eject tool that came with your iPhone, and about three minutes of your time. No eject tool? A paperclip will do just as well. Even an earring will work in an emergency.
The most important thing is that both phones are turned off. This prevents damage to the SIM card and ensures your contacts aren't lost. Place both devices on a clean, flat surface. A towel will prevent scratches on your new purchase.
Step by step: the transfer itself
Step 1: Location of the SIM card tray
The SIM card tray is located on the right side of modern iPhones. On older models (iPhone 3GS and earlier), it's on the top. You'll recognize it by a small hole next to a barely visible slot.
Step 2: Remove the old SIM card
Push the SIM card removal tool straight into the hole. You'll feel a slight resistance, then the tray will pop out slightly. Carefully pull it all the way out of the device. The SIM card will be loose in the tray—lift it out carefully.
Step 3: Check the size
Not all SIM cards are created equal. Older phones often use a micro-SIM, while modern iPhones require a nano-SIM. The nano-SIM is the smallest format currently available. If your SIM card is too large, you can have it replaced by your provider or carefully trim it yourself with a SIM card cutter.
Step 4: Insert the SIM card
Place the SIM card in the tray of your new iPhone. Note the angled corner—it should match the shape of the tray. The gold chip is facing down. If it doesn't fit, don't force it; just make sure you're inserting it the right way up.
Step 5: Replace the drawer
Gently slide the tray back into the iPhone. It only goes in one way, so if you feel any resistance, turn it over. A soft click will confirm it's secure.
Step 6: Start up the iPhone
Turn on your new device. After about thirty seconds, your provider's name will appear in the top left corner of the screen. Do you see "no service"? Don't panic, it sometimes takes a while for the network to recognize your SIM card.
Common problems and solutions
It's not uncommon for your iPhone to not immediately recognize the SIM card. Restart the device by pressing and holding the power and volume buttons simultaneously. This solves the problem in ninety percent of cases.
Are you receiving a message about a SIM card lock? Then your SIM card is protected with a PIN code. You either set this code yourself or received it from your provider. After three incorrect attempts, the SIM card will be blocked. You'll then need the PUK code located on the SIM card holder.
Some users are noticing that their contacts have disappeared. These are likely still on their old phone or in iCloud. Go to Settings, tap your name at the top, and check if iCloud syncing for contacts is enabled.
The difference between physical and digital SIM cards
Modern iPhones (from iPhone XS onwards) also support eSIM – a digital SIM card. You activate this via a QR code from your provider. The advantage? You can use multiple numbers on one phone without physically switching them. Handy for work and personal use, or if you often travel abroad.
The physical SIM card will remain the standard in the Netherlands for the time being. Providers offer eSIMs as an optional extra, usually at an additional cost. For most users, the traditional SIM card is perfectly sufficient.
Tips for a smooth transition
Back up your old iPhone beforehand via iCloud or your computer. This way, you won't lose any important data. Also check that your two-factor authentication apps, such as your banking app or DigiD, have been transferred correctly.
Keep the plastic box that originally came with your SIM card. It contains important codes like your PUK. Put it in a drawer where you'll find it again—you'll probably need it someday.
Considering a refurbished iPhone? These devices have been fully technically inspected and work exactly the same as new models. Transferring your SIM card is identical. You'll save money and contribute to a more sustainable world by giving electronics a second life.
When to seek help?
Can't open the SIM card tray? Don't force it. A bent SIM card removal tool could damage the opening. Visit a phone store or Apple Store where they have the right tools.
Does your iPhone still display "no SIM card" after several attempts? The SIM card reader may be defective or your SIM card may be damaged. Your provider can send you a new SIM card free of charge. This usually takes two business days.
Transferring a SIM card is ultimately a breeze. With this guide, a little patience, and three minutes of your time, you'll be done in no time. The fear of breaking something is unfounded – Apple designed the system so that you can hardly do anything wrong.
Conclusion: just do it
Transferring your SIM card turns out to be no rocket science at all. With a paperclip and three minutes of your time, you can do it. The fear of making a mistake is understandable, but unnecessary – the system is so simple that it's almost impossible to do it wrong. Whether you choose a brand new or refurbished iPhone , transferring your SIM card is exactly the same process. Just do it, stress-free, and you'll be reachable on your new device in no time.


