How to take screenshots on your MacBook: four methods you should know
Taking screenshots on your MacBook seems simple. Command + Shift + 3, right? But why doesn't it always work? Why doesn't that screenshot sometimes appear on your desktop? And where does that file go if you accidentally press Escape? Frustrations every Mac user knows.
Yet, it turns out that 73% of people only know one way to take a screenshot. While your MacBook has four different methods built in—each with a specific purpose. From capturing a single window to selecting just that one piece of text.
The best part: you don't need to install expensive software or buy complicated accessories . Even without taking off your AirPods , you can take, edit, and share a perfect screenshot in seconds. How? Find out in four simple steps.
Useful links
The Four Methods for Taking Screenshots on Your MacBook
Every Mac user has experienced that frustration at some point. You want to quickly capture something from your screen, but what key combination was it again? And why doesn't that screenshot appear where you expect it to? The reality is, your MacBook offers four different ways to take screenshots, each with their own advantages and uses.
Method 1: Capture Full Screen
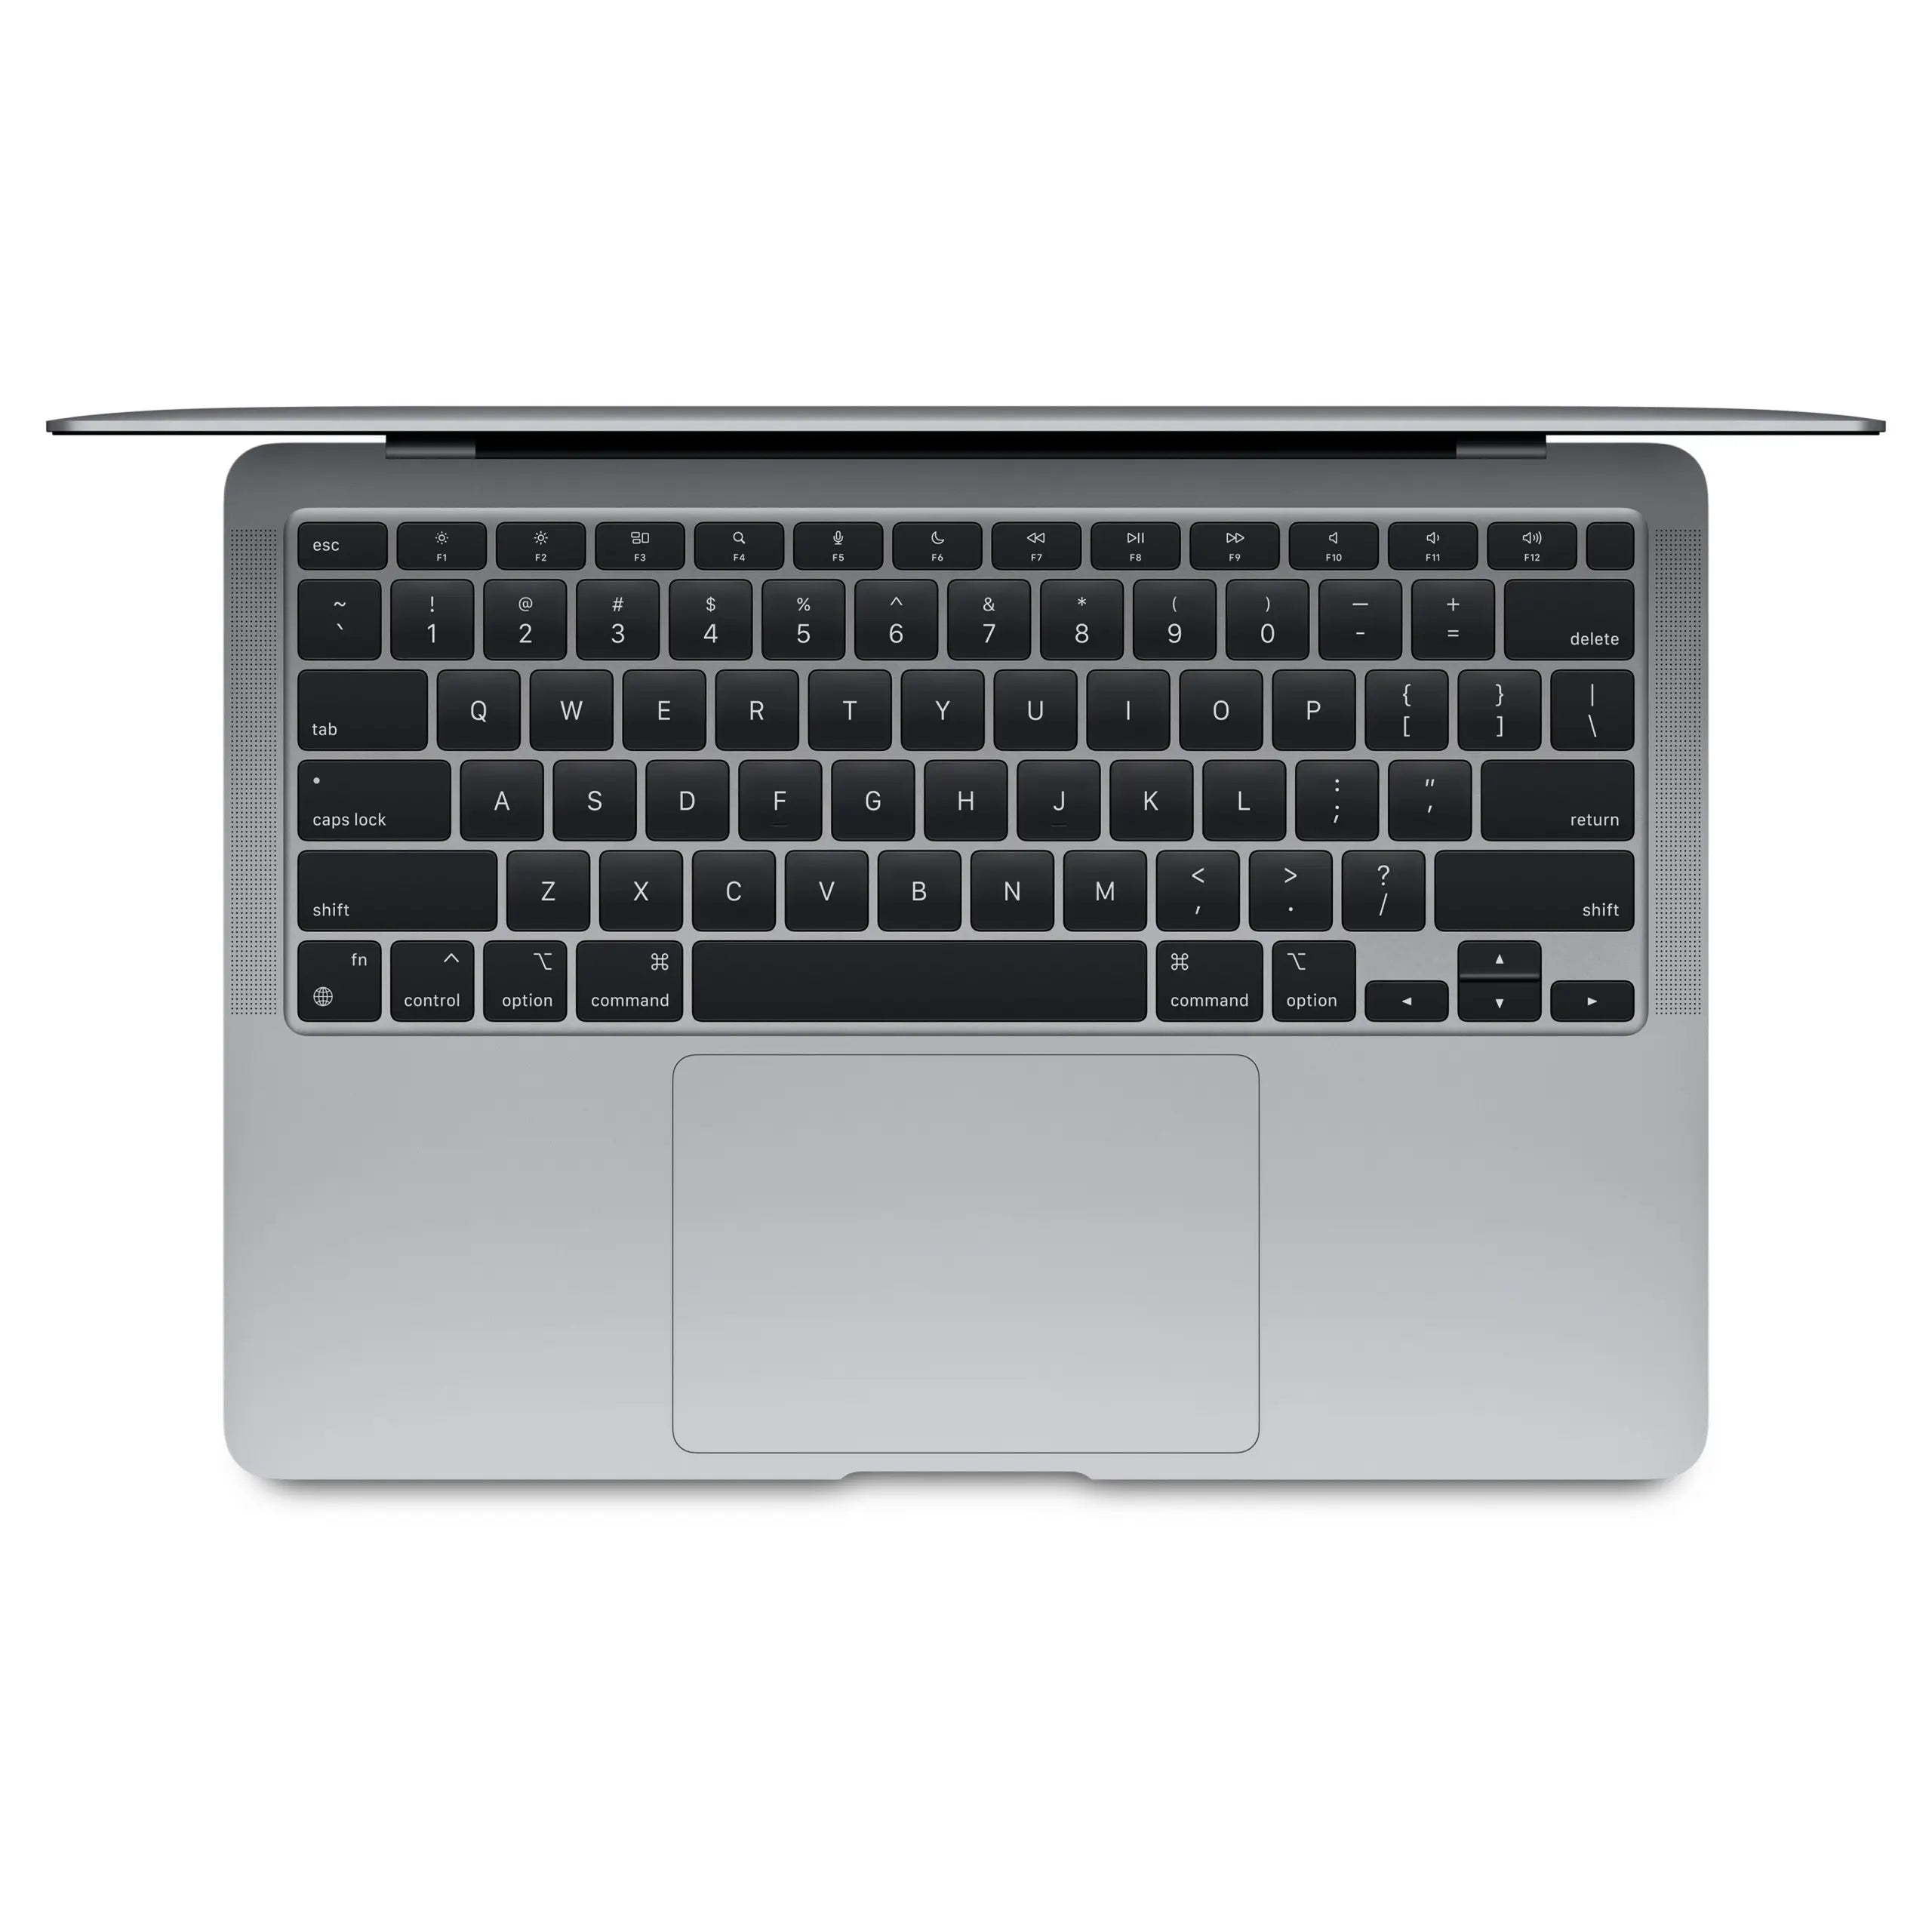
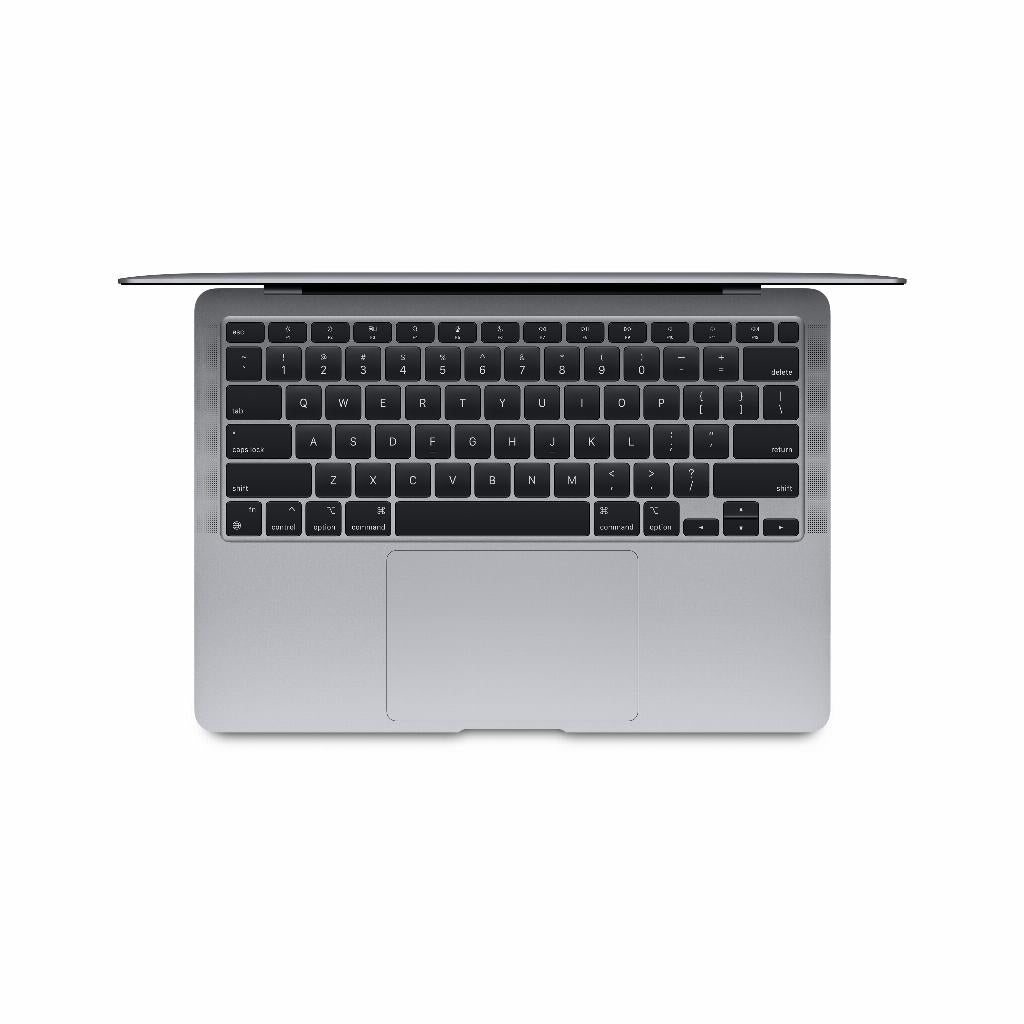
The most direct way is to capture your entire screen. Press Shift + Command ⌘ + 3 to capture everything visible at once. This method works well if you want to document a web page, dashboard, or entire workspace, for example. The result automatically appears on your desktop with a timestamp in the filename.
Note: If you have multiple screens, all screens will be captured simultaneously as separate files. This can be useful for documentation, but it also creates more files than expected.
Method 2: Select a specific window
To capture just one application window without the rest of your screen, press Shift + Command ⌘ + 4, followed by the spacebar. Your cursor will change into a camera icon. Hover it over the desired window—it will automatically be highlighted with a blue glow. One click and only that window will be captured, including the shadows beneath it.
This technique is ideal for tutorials or documentation where you want to focus on a single application. The result looks more professional than a full-screen crop.
Method 3: Select an area yourself
For maximum control over what you capture, press Shift + Command ⌘ + 4 without the spacebar. Your cursor will become a crosshair, allowing you to select precisely the area you need. Drag from the start point to the end point and release. Perfect for capturing specific sections like a graph, table, or text.
Tip: Hold down the spacebar while dragging to move your selection without resizing it. Pressing the Shift key locks the selection in one direction.
Method 4: The Screenshots App
Shift + Command ⌘ + 5 opens the most versatile option: the Screenshots app. A toolbar appears at the bottom of your screen, clearly displaying all the options. In addition to the three screenshot options mentioned earlier, you'll also find screen recording options here—useful for creating instructional videos or documenting processes.
The options menu in this toolbar lets you directly adjust where screenshots are saved, whether to use a timer, and whether the mouse cursor should be visible. This central location for all screen capture options makes it easier to navigate, especially for new users.
Where do you find your screenshots?
By default, screenshots are saved to the desktop with a name like "Screenshot 2024-01-15 at 14:35:22." This makes them easy to find, but can create a cluttered desktop if you take many screenshots. Using the Screenshots app (Shift + Command ⌘ + 5), you can specify a different save location, for example, a specific folder in Documents or directly in your Downloads folder.
Since macOS Mojave, a thumbnail of your screenshot appears in the bottom right corner and remains visible for a few seconds. Clicking it immediately opens editing mode. If you ignore the thumbnail, the file will automatically be saved to the specified location.
Direct editing without additional software
That appearing thumbnail is more than just a confirmation—it's your gateway to instant editing options. Clicking on it opens an editing window with various tools. You can add explanatory text, draw arrows to draw attention to specific elements, or place shapes like rectangles and circles to highlight important parts.
The highlighter function is particularly useful for highlighting text or important information. The ruler lets you draw perfectly straight lines. And with the color options, you can customize everything to your style or preference. These built-in tools often eliminate the need for external editing software.
Useful key combinations for advanced users
Besides the basic combinations, there are refinements that can speed up your workflow. Adding the Control key to any screenshot combination (for example, Control + Shift + Command + 3) will copy the screenshot to your clipboard instead of saving it. This is ideal when you want to paste the screenshot directly into a document, email, or chat message.
When making a selection with Shift + Command + 4, you can use various keys while dragging for extra control. The Option key extends your selection from the center instead of a corner. Shift constrains the movement to horizontal or vertical, useful for perfect alignment.
Troubleshooting and alternatives
Are the shortcuts not working? First, check your system preferences under Keyboard > Shortcuts > Screenshots. There you'll see all the combinations and can adjust them if necessary. Sometimes other applications can claim the same shortcuts, causing conflicts.
For specific situations, there are alternatives. The Grab application (found via Spotlight) offers a traditional screenshot interface with timer options. For web pages longer than your screen, consider browser extensions that can capture entire pages. And for technical documentation, the Terminal command "screencapture" is a powerful alternative with many parameters.
Mastering these screenshot techniques will transform your MacBook into an efficient documentation tool. Whether you're providing tech support, preparing presentations, or simply want to save interesting content, these four methods will ensure you always have the right tool at hand.
Conclusion: screenshots without headaches
Taking screenshots on your MacBook doesn't have to be a headache anymore. With these four built-in methods, you have the right approach for every situation—from entire screens to specific selections. The editing tools are already built into your system, so no additional software is needed .
Whether you're using a brand-new Mac or a refurbished MacBook , these techniques work on any model. All you need are the right key combinations and a little practice. Your Mac will take care of the rest.


