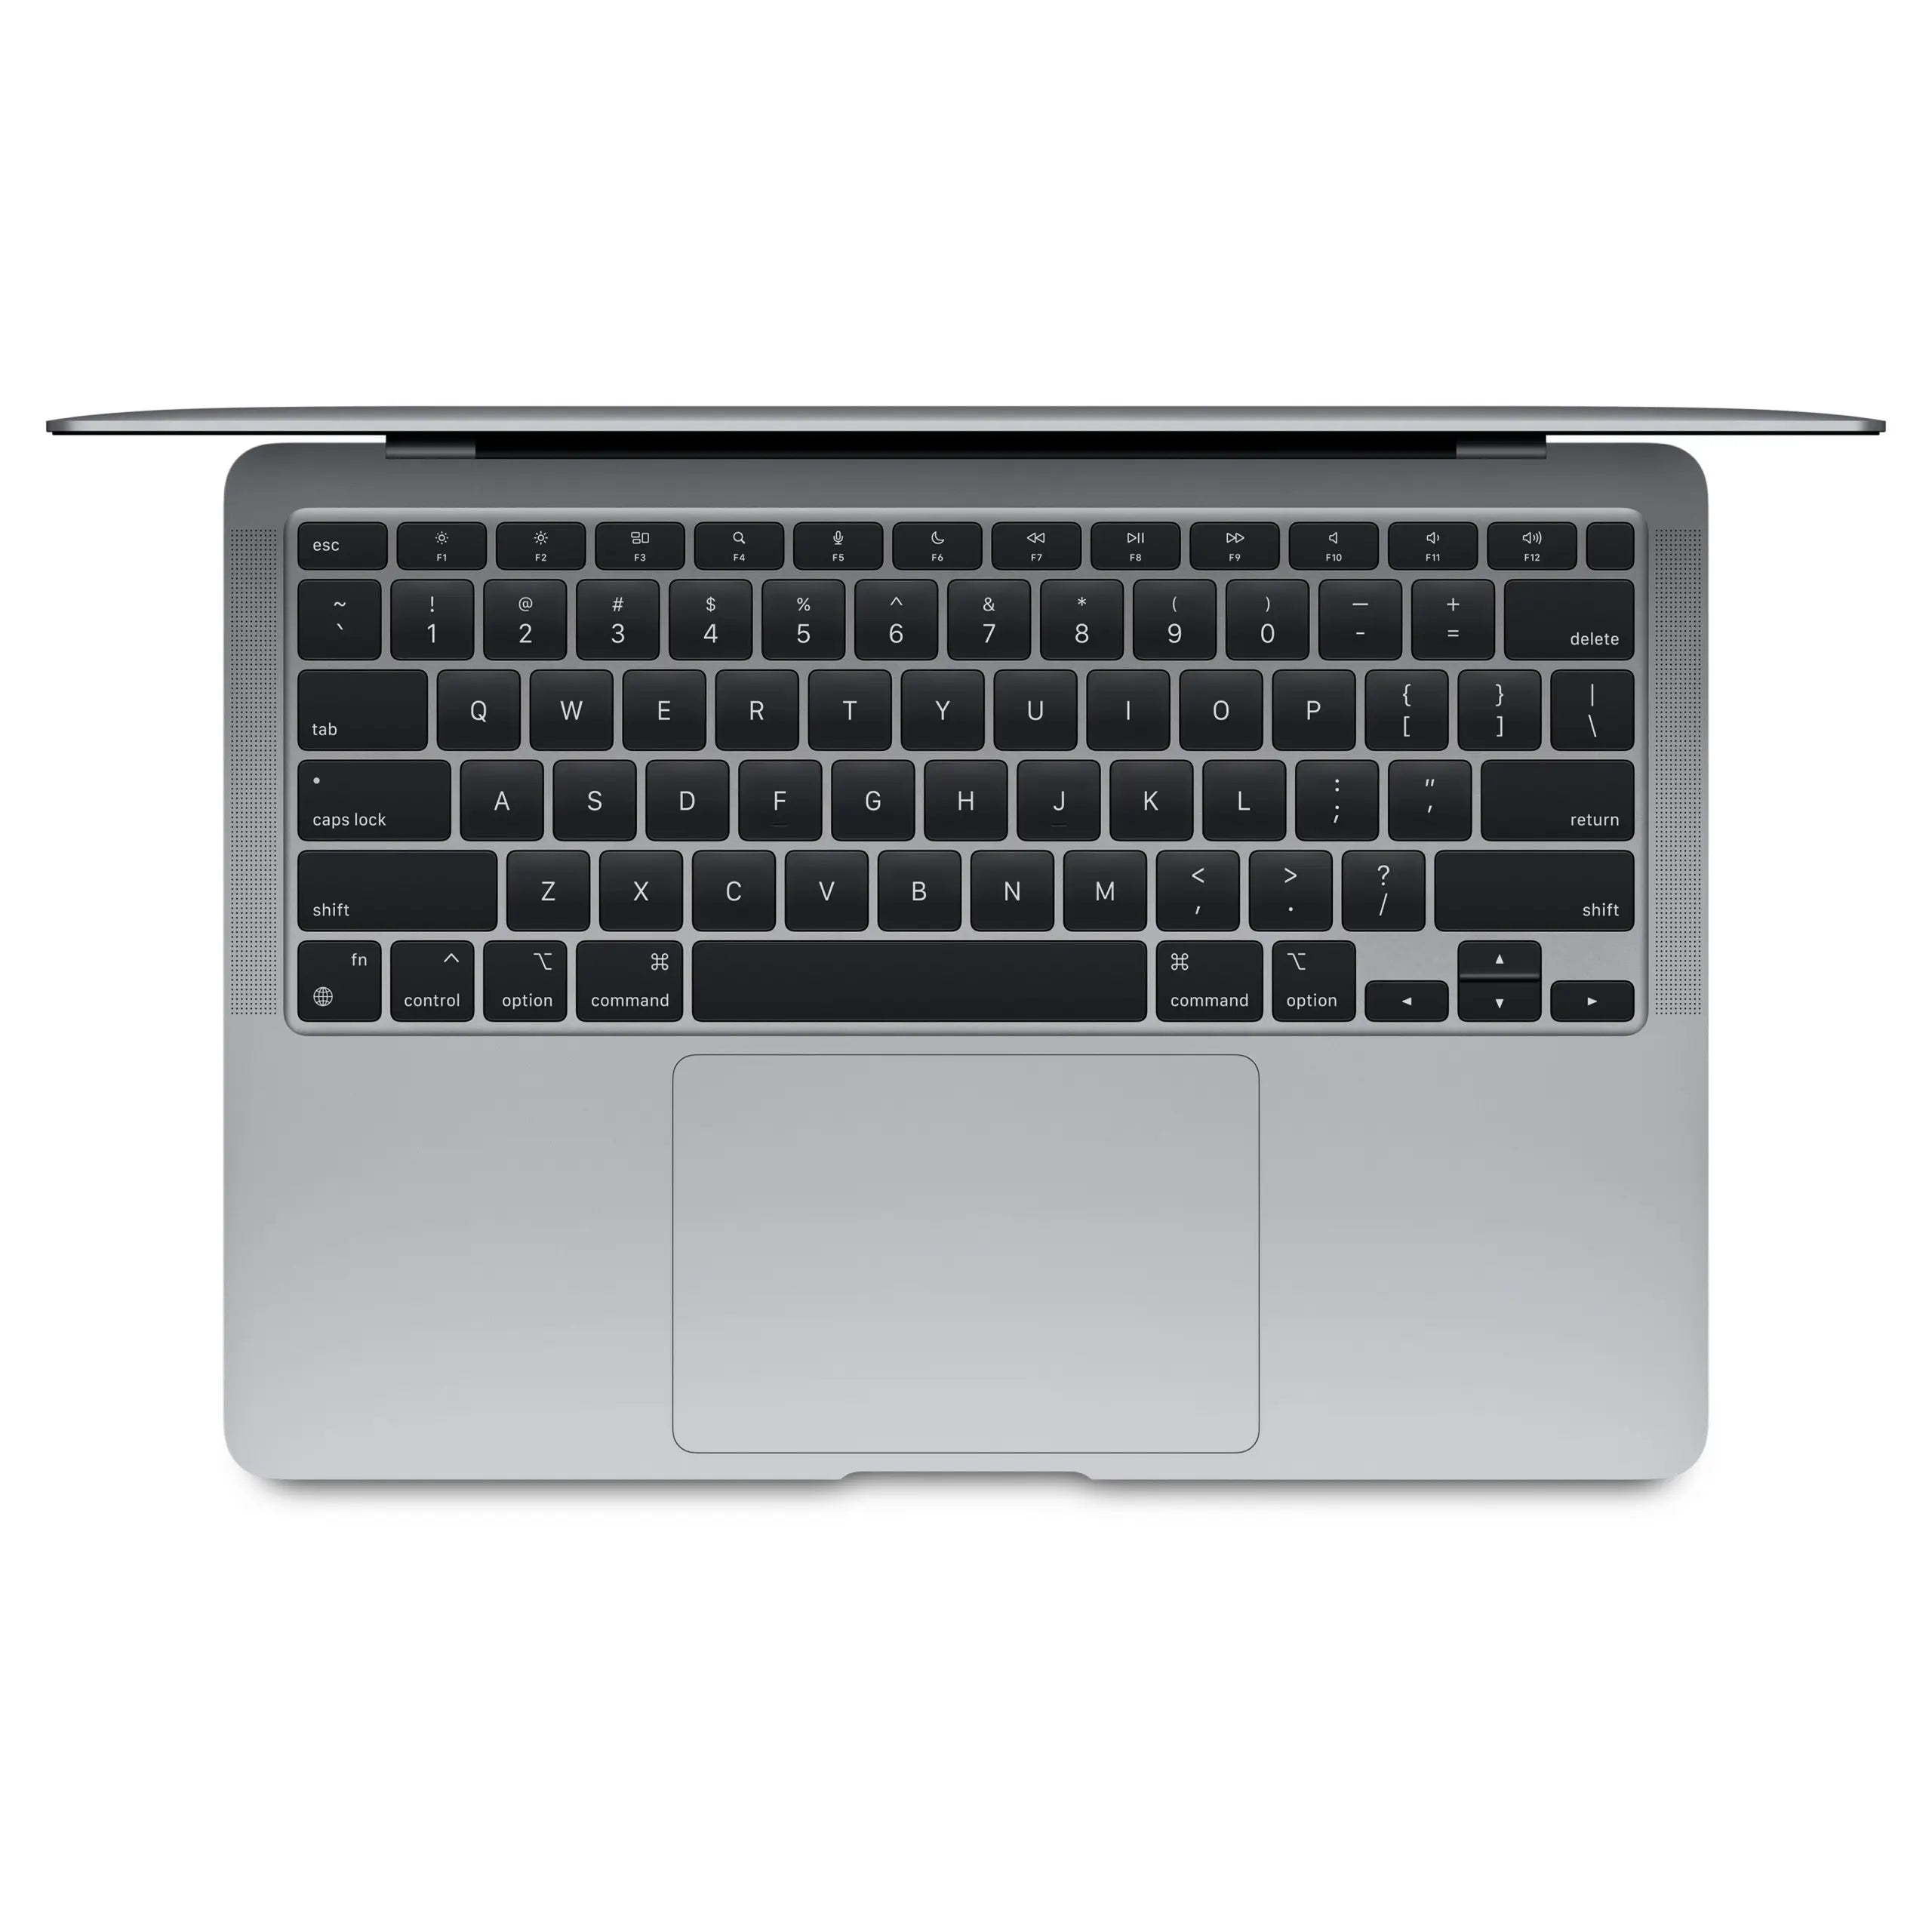
Securely share your MacBook with a guest account
Sharing your MacBook with friends or family feels like handing over the keys to your house. Your personal photos, documents, browsing history—everything is out in the open. Yet, you don't want to be the person who refuses to lend their laptop.
The solution seems simple: a guest account . But here's the twist: most MacBook users have no idea how powerful this feature actually is. It goes beyond just hiding your files. A properly configured guest account transforms your MacBook into a completely clean workspace—leaving no trace after logging out.
Perfect for when your kids want to watch YouTube, or when your colleague needs to print something. And with the right accessories , like a privacy screen or AirPods for personal sound, sharing becomes even easier. Time to smartly secure that digital front door.
Useful links
- Refurbished MacBook Air collection - ideal for families who need multiple devices
- Apple Watch Series 8 - Share personal notifications without a laptop
- iPad collection - perfect alternative for children without access to your MacBook
Why a guest account is essential for every MacBook user
A guest account on your MacBook is more than just a nice-to-have feature. It's a fundamental security measure that many users overlook. When friends, family, or colleagues want to borrow your laptop, you no longer have to reluctantly share your password. A guest user gains access to a completely clean environment without your personal files, browsing history, or logged-in accounts.
The power of this feature lies in its automatic cleanup. As soon as a guest logs out, all downloaded files, browsing history, and temporary data are permanently deleted. This means every new guest user starts with a fresh slate. This is ideal for parents with children: they can safely watch YouTube or visit educational websites without having to worry about what they'll find in your own browsing history.
Step-by-step instructions for activation
Setting up a guest account varies slightly between macOS versions, but the basics remain the same. First, open System Preferences via the Apple menu in the upper-left corner. Navigate to "Users & Groups." You'll see an overview of all existing accounts on your device.
Click the padlock icon in the lower left corner to enable changes. Enter your administrator password. You'll now see the "Guest User" option appear in the list. Check the box to allow guests to log in. Directly below this option, you'll find additional settings such as access to shared folders—enable this only if you want to share specific folders.
Important security settings
After enabling the guest account, you can further fine-tune it. Go to the parental controls to block specific websites or specify allowed sites. This is especially useful when children use the guest account. You can set time limits, block certain applications, and even disable the camera.
Also consider enabling FileVault if it isn't already enabled. This encryption ensures that even with physical access to your hard drive, no one can access your personal files. Combining FileVault with guest accounts provides a strong line of defense against unwanted access.
Practical applications in daily life
The guest feature proves its value in countless situations. Think of that time your colleague needs to quickly print a document during a meeting. Or when friends want to play music via Spotify Web at a party. Children can safely do their homework without worrying about accidentally deleting important files.
For people who regularly work from home, the guest account offers a professional solution when clients or suppliers need to use a computer. You maintain a professional image without compromising privacy. This sharing model is becoming increasingly relevant as hybrid working becomes the norm.
Common pitfalls and solutions
A common problem is that users forget to disable the guest account after use. This leaves an unnecessary gateway open. Make it a habit to check after each use whether the feature is still needed. Another point of attention: some applications don't work optimally in a guest session because they require specific user permissions.
If the guest account doesn't appear on the login screen, first check if you've installed the latest macOS updates. Sometimes a restart can also do wonders. For persistent problems, you can try resetting the NVRAM by holding down Command + Option + P + R during startup.
Alternatives and additional security measures
In addition to guest accounts, you can consider creating separate user accounts for regular users. This option offers more control over individual settings and preserves personal preferences. For children, you can set up a special child account with permanent restrictions.
A privacy screen protector creates a physical barrier against onlookers. These accessories drastically limit the viewing angle, ensuring only the person directly in front of the screen can see the content. Combine this with a guest account for optimal privacy while sharing your workspace.
Future-proof tips for account management
Apple is continuously improving the security features in macOS. Keep your system up to date to benefit from the latest security patches. Also consider using two-factor authentication for your Apple ID. This prevents unauthorized access, even if someone knows your password.
Make regular backups via Time Machine before making major changes to user accounts. A good backup strategy ensures you can always revert to a working configuration. Periodically test the guest account for proper functionality, especially after major system updates.
The time invested in setting up a guest account correctly will pay off in peace of mind. Your MacBook becomes a device you can share without hesitation, knowing your digital life remains protected.
Privacy and convenience in balance
Setting up a guest account takes only five minutes, but it will save you years of hassle. Your MacBook becomes a device you can share without worry—whether it's with kids who want to watch YouTube or colleagues who need to print something quickly.
Combining it with smart accessories makes sharing even easier. Remember: privacy isn't a luxury, it's a necessity . With this simple adjustment, you protect what's yours while remaining hospitable to others.


