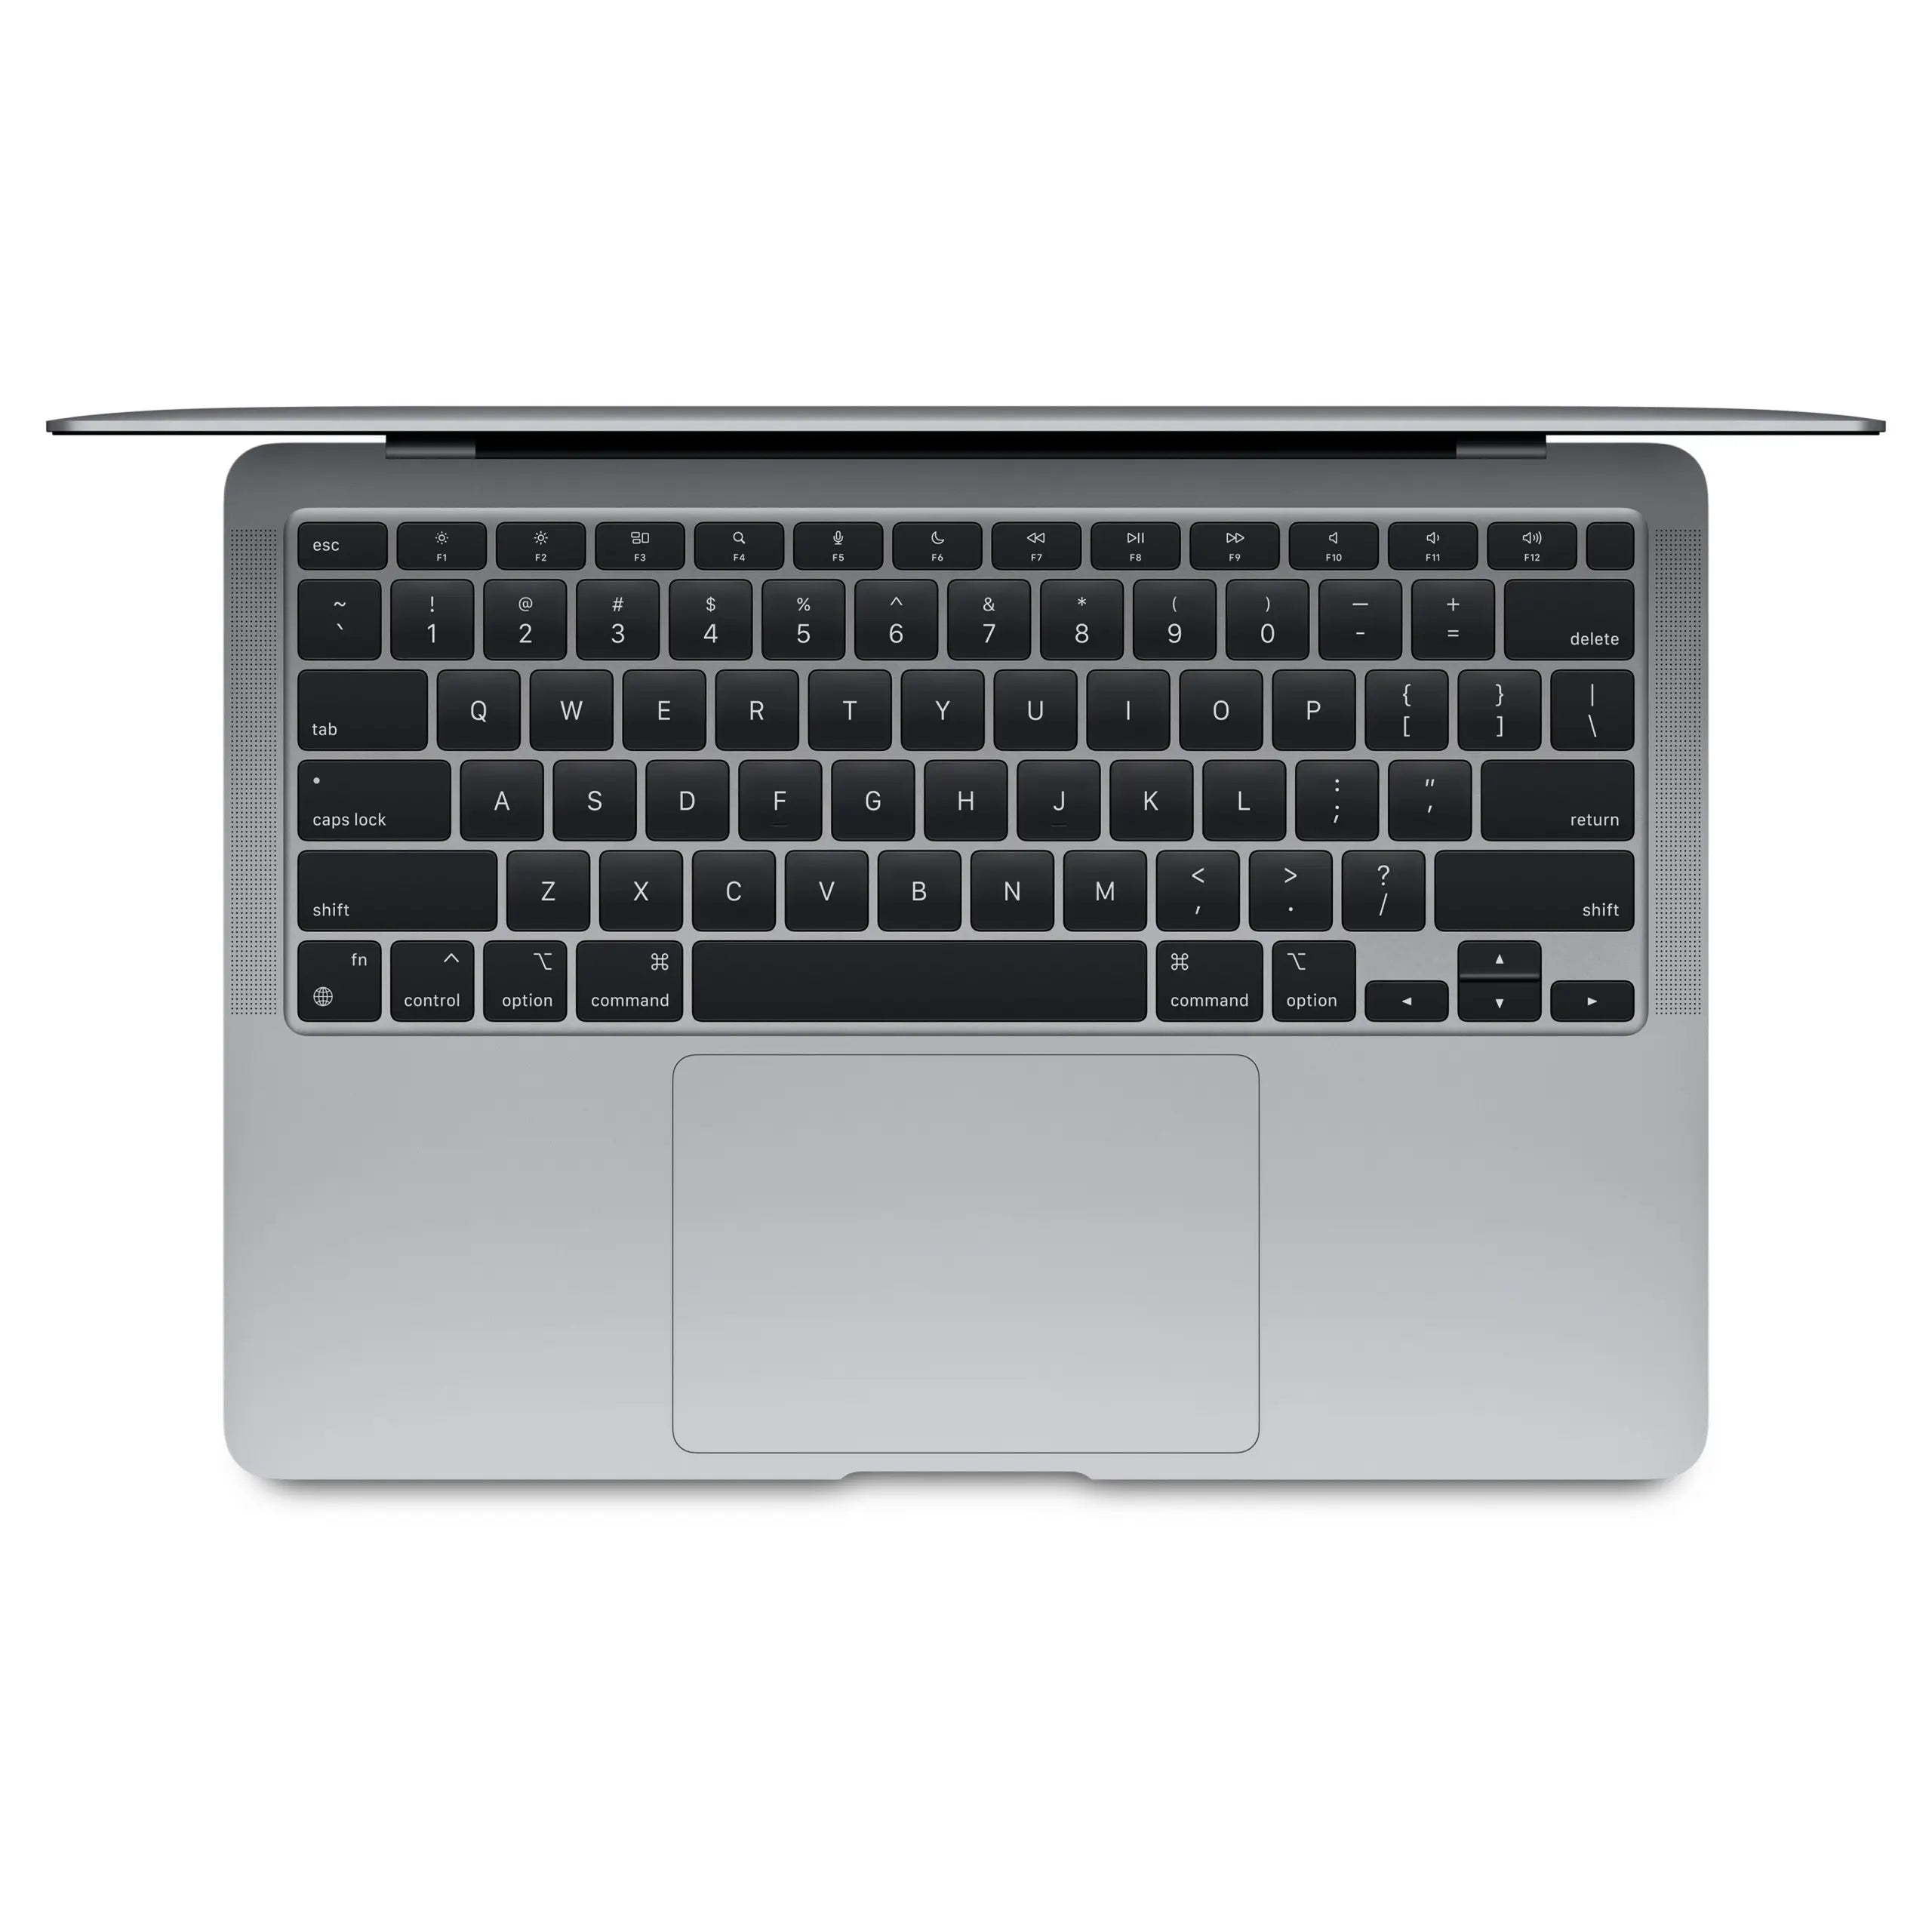
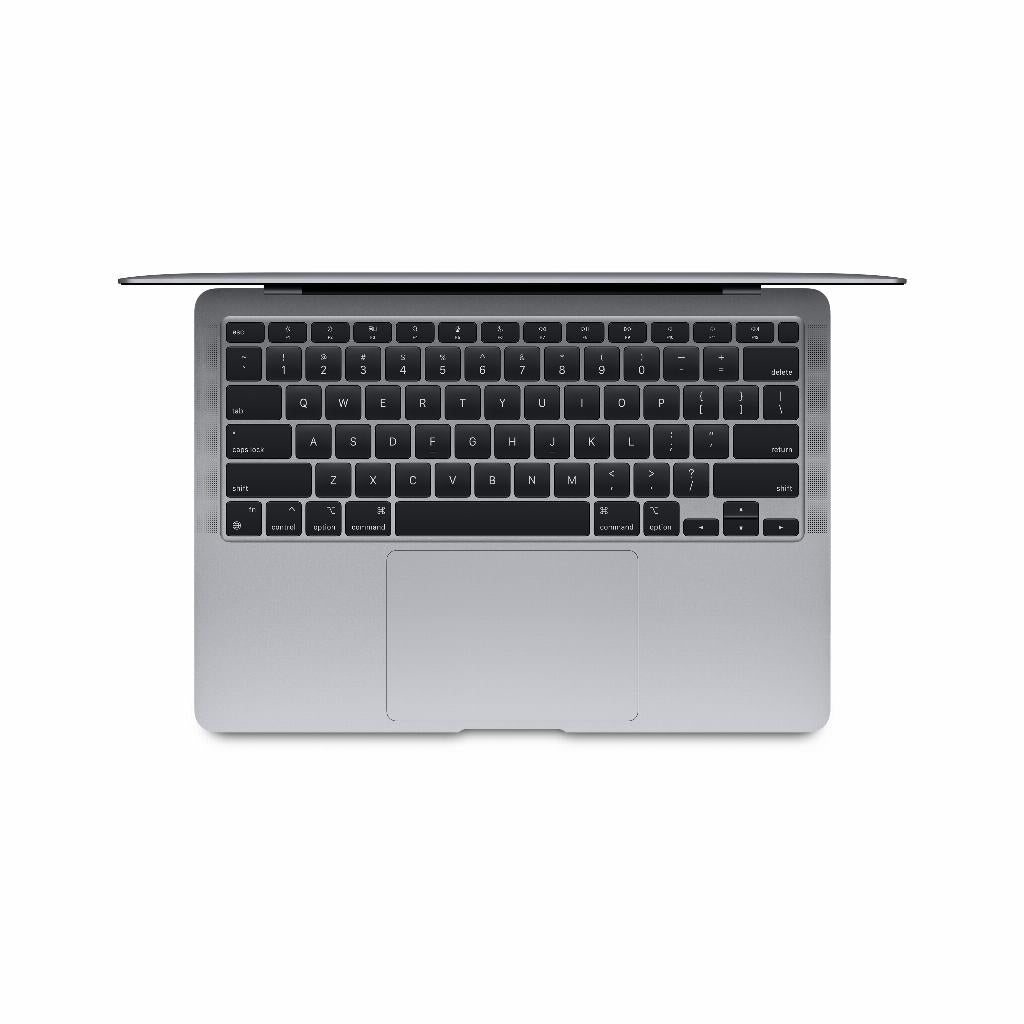
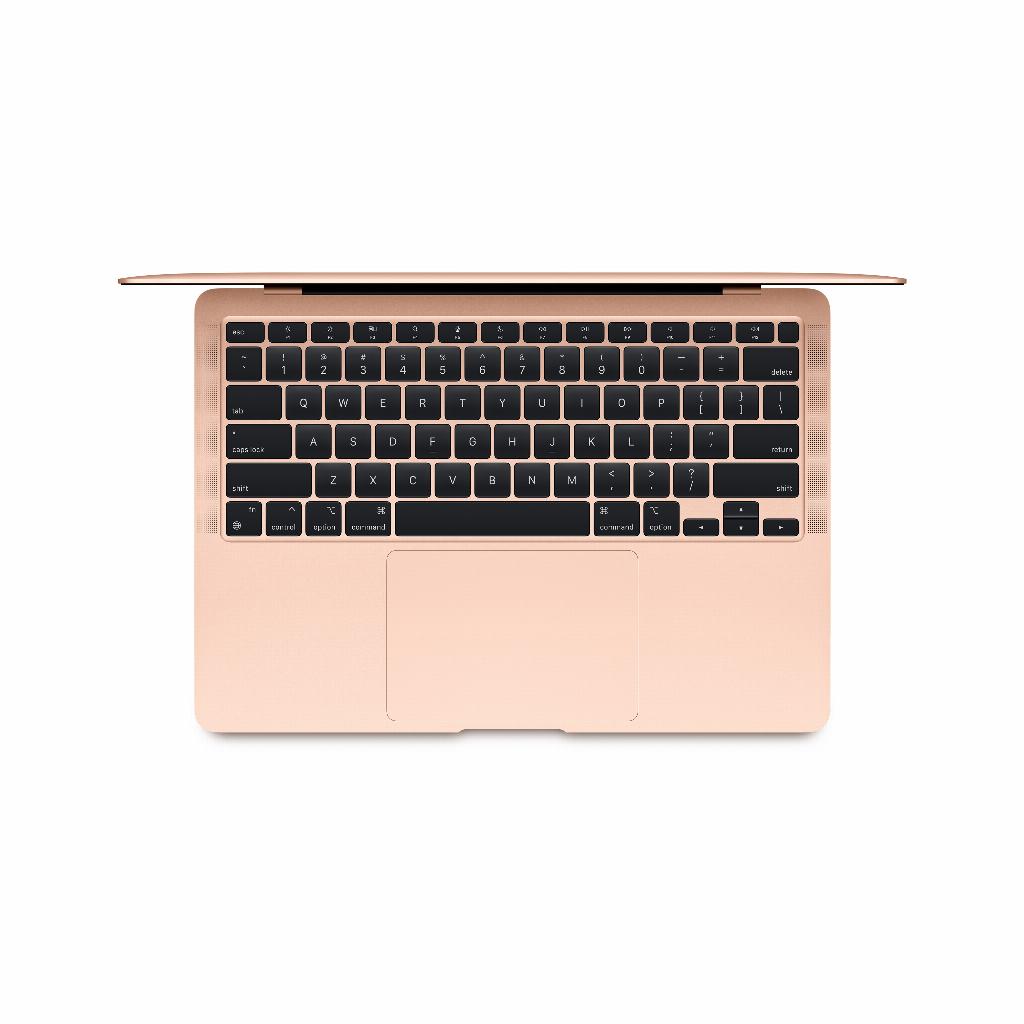
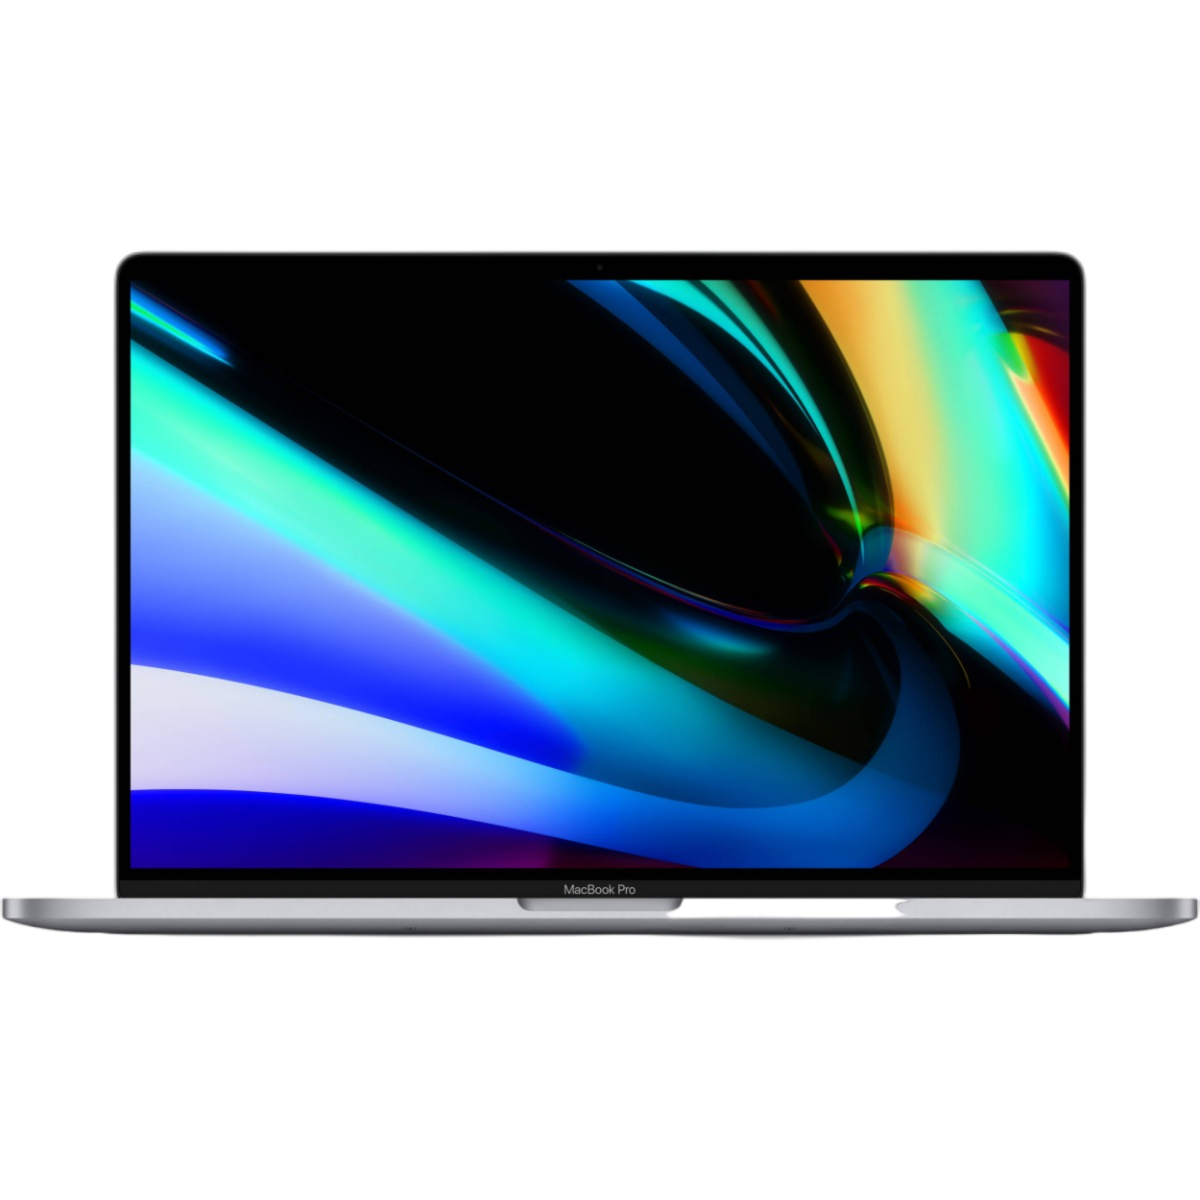
Your MacBook keyboard is dirtier than you think
Your keyboard is dirtier than a toilet seat. Fact. Crumbs, bacteria, dust—everything settles between those keys. You know you should clean it. But you put it off. Afraid of breaking something. Or you have no idea where to start.
Cleaning your MacBook keyboard is actually easier than you think. No need to worry about removing keys or using expensive cleaning supplies. With a few handy accessories like a microfiber cloth and some compressed air, you'll be done in ten minutes. You can even get that sticky space bar smooth again.
And the best part: you don't have to be a techie. This method works for any MacBook, whether you're as avidly abusing your keyboard as you are stuffing your AirPods in your pocket. Time to eradicate that bacteria colony once and for all.
Useful links
Why is cleaning your keyboard important?
Your keyboard is a breeding ground for bacteria. Studies show that the average keyboard harbors up to 400 times more bacteria than a toilet seat. Think about that for a moment as you type. Crumbs from your lunch, dust from the air, greasy fingerprints—it all accumulates between those keys.
Not only is this unhygienic, it can also affect the functionality of your MacBook. Sticky keys respond more slowly, dust can block the mechanisms, and in extreme cases, keys can even stop working altogether. Regular cleaning prevents these problems and extends the life of your device.
Cleaning supplies
Before you begin, gather these items:
- Compressed air spray (crucial for removing deep-seated dirt)
- Two lint-free or microfiber cloths (one for damp, one for dry)
- Disinfectant wipes without bleach (bleach damages the coating)
- Optional: toothpick or soft brush (for stubborn dirt)
The step-by-step plan: how to tackle it
Step 1: Preparation
Turn your MacBook off completely. Don't put it to sleep, but truly turn it off. Unplug all cables, including the charger. This prevents short circuits and unwanted keystrokes while cleaning.
Step 2: Rough cleaning
Hold your laptop upside down over a trash can and shake it gently. You'll be amazed at how much crumbs and dust fall out. Then press all the keys one by one and shake again. This will loosen any stuck-on dirt.
Step 3: Use compressed air
Here's where it gets technical. Hold your MacBook at a 75-degree angle, with the screen tilted forward. This specific angle ensures that dirt falls outward instead of being blown deeper into the laptop. Move the compressed air in a zigzag pattern along the length of the keyboard.
Note: If you have a MacBook from before 2016, skip the compressed air. With older models, compressed air can actually blow dust deeper into the device due to the different casing design.
Step 4 and 5: Clean the sides
Rotate your laptop 90 degrees to the right. The keyboard will now be upright, to the left of the screen. Keeping the laptop tilted slightly, apply the compressed air from top to bottom. Repeat this process on the other side, rotating the laptop 180 degrees back.
Step 6: Dust the surface
Take a dry microfiber cloth and gently wipe over all the keys. Don't use paper towels or paper towels – they can leave microscopic scratches on the sensitive coating of your keyboard.
Step 7: Disinfect
Now comes the most important part: killing bacteria. Use disinfectant wipes to clean each key individually. Work systematically from left to right, row by row. Don't forget the spaces between the keys.
Step 8 and 9: Cleaning and drying
Slightly dampen a microfiber cloth (not wet!) and wipe the entire keyboard. This will remove any cleaning agent residue. Immediately afterward, dry everything thoroughly with a second, dry cloth. Moisture is the enemy of electronics, so take your time.
Step 10: Final inspection
Test all the keys. Is everything working properly? Great, you're done. The keyboard looks like it just came out of the box again.
Tips for different MacBook models
Cleaning methods vary slightly by model. With newer MacBooks with butterfly mechanisms (2015-2019), you need to be extra careful with compressed air. These keyboards are more susceptible to dust and can jam more easily. Use shorter bursts of compressed air and maintain a greater distance.
The Magic Keyboard models (from 2019 onwards) are more robust. You can handle these more thoroughly without worrying about damage. The scissor mechanism is more resistant to dust and crumbs.
How often should you clean?
The frequency depends on your use. Do you work hours every day on your MacBook? Then schedule a monthly cleaning. For average use, once every two months is sufficient. Do you regularly eat on your laptop? Then increase the frequency – crumbs are the biggest culprit.
A quick daily routine also helps: at the end of your workday, give your keyboard a quick wipe with a dry cloth. This prevents dirt buildup and makes the major cleaning less intensive.
Avoiding common mistakes
- Never use harsh cleaning agents like acetone, bleach, or glass cleaner. These will damage the plastic keys and may even remove the lettering.
- Getting it wet is also prohibited – use only slightly damp cloths.
- Never spray compressed air directly into the ports or speakers. The powerful airflow can damage internal components.
- Always keep a minimum distance of 15 centimeters between the spray can and your MacBook.
When to seek professional help?
Are keys sticking despite thorough cleaning? Or is a key completely unresponsive? Then the problem may be more serious. For MacBooks with the butterfly keyboard, a single crumb can cause major problems. Apple even offers a free repair program for certain models.
When in doubt, consult a professional. Replacing a broken keyboard is more expensive than preventative maintenance. Regular cleaning remains the best investment in the longevity of your device.
A clean keyboard is essential
A clean keyboard isn't a luxury; it's a necessity . These ten steps will not only remove bacteria and crumbs, but also prevent expensive repairs to stuck keys. It'll take you a maximum of ten minutes a month, and all you need is a microfiber cloth and some compressed air—simple accessories you probably already have.
Stop procrastinating. Grab that cloth, shut down your MacBook , and get started. Your fingers (and your wallet) will thank you.


