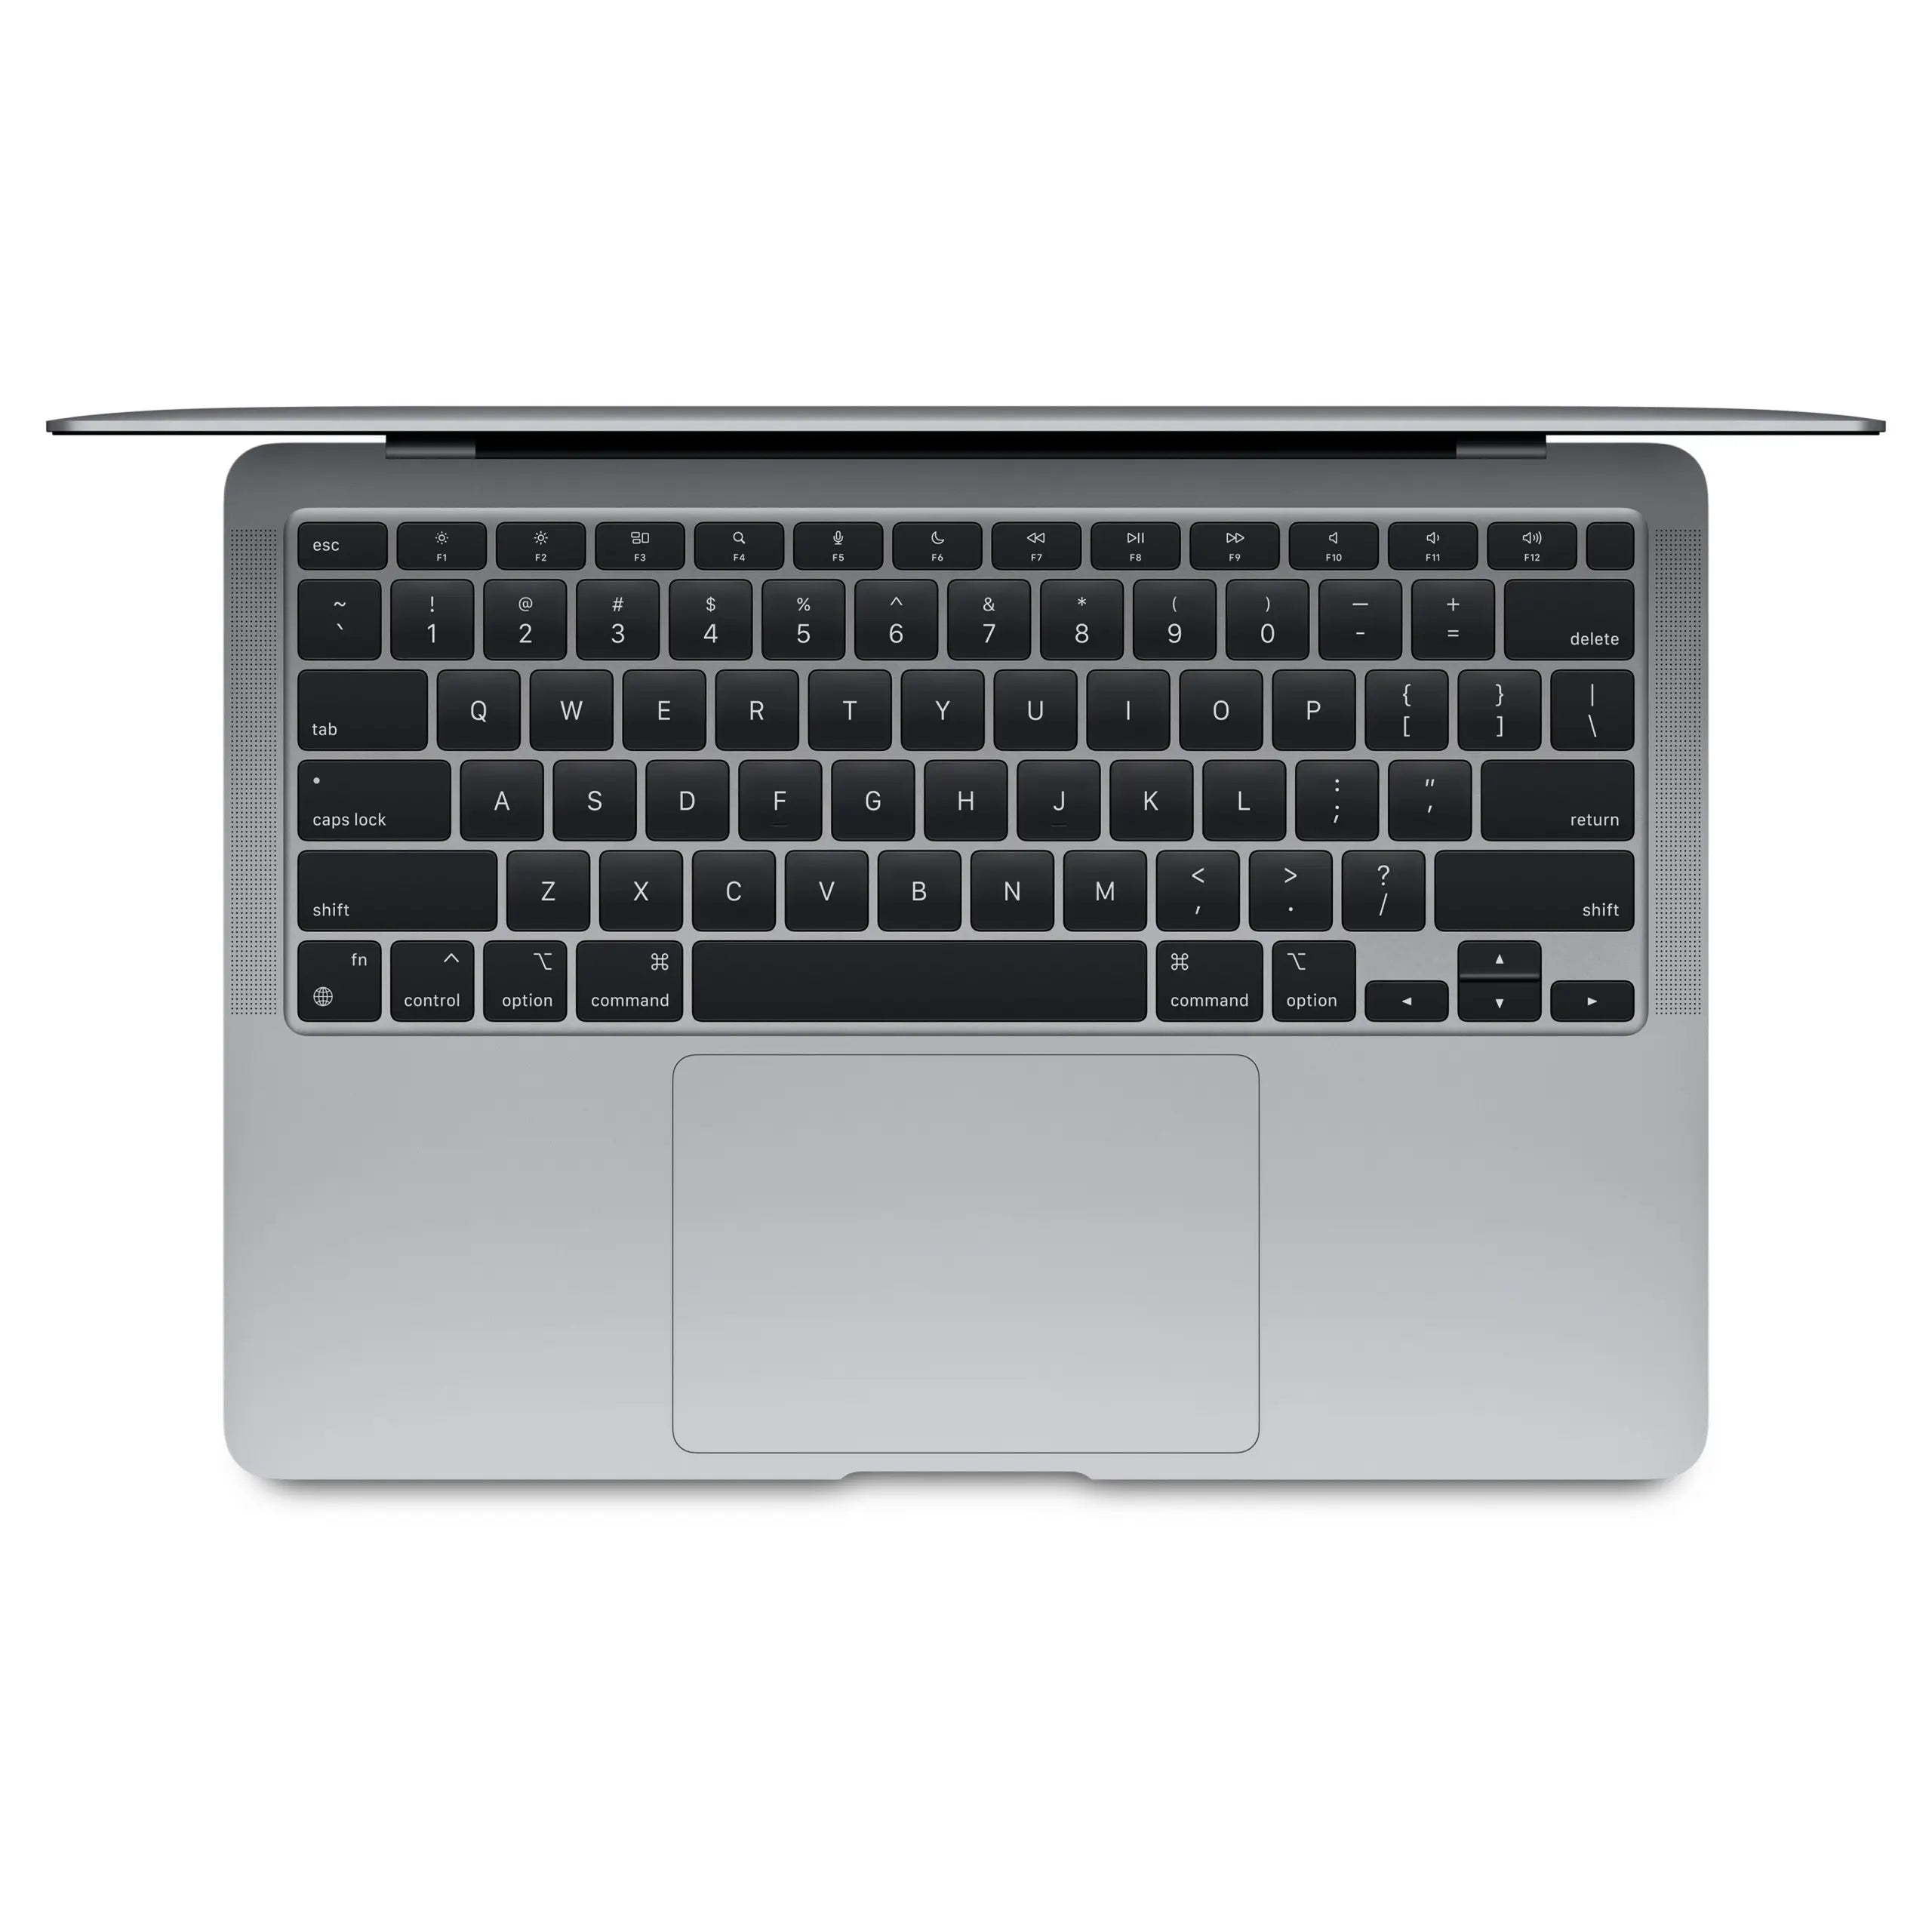
Why your MacBook screenshots look amateurish
Screen recording on your MacBook. It seems simple. Command-Shift-5 and you're done. But why do your recordings look amateurish while others look professional? The problem isn't with your MacBook or your professional accessories . It's not even with the software you're using.
The real problem is that no one tells you that Apple's built-in tools are deliberately limited . Apple wants you to buy a separate app for each specific task. From QuickTime for basic recording to expensive annotation software. Yet, with the right knowledge and a few clever workarounds, you can achieve the same results. Without extra costs. Without wasting time. And yes, you can even record the sound from your AirPods perfectly. If you just know how.
Useful links
- Refurbished MacBook collection - For the right hardware for professional screen recordings
- Refurbished iPad collection - As an additional second screen or for annotations
- Refurbished iPhone collection - For recording external content
The Hidden Capabilities of Command-Shift-5
Most users are familiar with the shortcut Command-Shift-5 for screen recording. What few realize is that this tool offers far more options than you might initially think. Clicking the Options button provides access to essential settings like the save location, timer function, and displaying mouse clicks. This last option is crucial for tutorials where you want to show exactly where you click.
The timer function deserves special attention. By setting a delay of 5 or 10 seconds, you have time to open windows or activate menus that would otherwise disappear as soon as you click the record button. This makes the difference between amateurish recordings where you constantly see someone hastily navigating to the right screen, and professional videos that start immediately with the desired content.
Recording audio: the biggest challenge
Recording system audio remains a stumbling block for many users. By default, macOS's built-in tools can only record microphone audio, not the sound coming from your speakers. To capture system audio, you need additional software like BlackHole or Loopback. These virtual audio drivers create a bridge between your system and the recording software.
To record your own voice during presentations, it's best to use an external microphone. Your MacBook's built-in microphone picks up too much ambient noise. A USB microphone or headset will immediately deliver better results. Be sure to select the correct audio source in the recording settings before you begin.
QuickTime Player: More Than Just Playback
QuickTime Player is often underestimated as a recording tool. Besides screen recording, it also lets you record your iPhone or iPad screen directly when connected via cable. This is ideal for app demonstrations or showing mobile workflows.
QuickTime's editing options are limited but effective. You can trim, rotate, and even split recordings. This is more than enough for removing unwanted parts at the beginning or end of your recording. Exporting is lossless when you choose the original resolution.
Screenshot features that save you time
Besides video recording, macOS has powerful screenshot capabilities. Pressing Command-Shift-4 followed by the space bar lets you capture entire windows, including shadows. Holding down the Option key while selecting lets you select from the center instead of a corner.
The newer feature where screenshots temporarily appear in the bottom right corner of the screen offers instant editing capabilities. You can immediately add annotations, highlight text, or draw arrows. This saves you from having to open a separate editing app. Dragging the thumbnail into a chat window or document adds the image directly without saving it first.
Optimal settings for different purposes
For tutorials and instructional videos, a resolution of 1920x1080 pixels is best. This produces sharp images without excessive file size. A frame rate of 30fps is sufficient for most screen recordings. 60fps is only recommended for recording games or animations.
When creating presentations for business, pay extra attention to the background. Close all irrelevant applications and notifications. Use focus mode to temporarily disable notifications. A tidy desktop with a neutral background gives a professional look.
Manage file size and storage
Screen recordings can quickly take up a lot of storage space. A single minute of high-quality recording can easily take up 100MB. By trimming unnecessary parts immediately after recording, you can reduce the file size. Converting to H.265 instead of H.264 halves the file size without any noticeable loss of quality.
For long-term storage, it's best to use an external drive or cloud storage. iCloud Drive syncs automatically but counts against your storage limit. Services like Google Drive or Dropbox often offer more free space. However, be aware of upload speeds for large files.
Considering alternatives
While the built-in tools are sufficient for many situations, there are times when specialized software is worth the investment. OBS Studio is free and offers professional features such as multiple scenes and live streaming. For educational content, Camtasia is popular for its extensive library of animations and transitions.
The choice depends on your specific needs. Do you occasionally make screen recordings for colleagues? Then the standard tools are sufficient. Do you produce weekly tutorials or training courses? Then it's worth exploring professional alternatives. However, always start by exploring what your MacBook offers out of the box. You'll be amazed at the possibilities already at your disposal.
Professional screen recordings without additional software
Taking screenshots on your MacBook doesn't have to be a headache. The built-in tools offer more than enough options for most users. Start with Command-Shift-5, experiment with QuickTime Player, and discover the handy screenshot features. Only when you run into the limitations should you consider alternatives.
With the right refurbished MacBook and these techniques, you'll create recordings that are second to none. The secret isn't expensive software, but clever use of what you already have .


