Where is the delete button on your MacBook?
You're looking for it. That delete button on your MacBook. It's just not there. At least, not where you expect it to be. Where other laptops have a clear delete key, Apple seems to have hidden it. Frustrating if you're coming from Windows. Or if you're using a refurbished MacBook Air for the first time.
But here's the thing: Apple didn't ditch the delete function. They just designed it differently than you might think.
Because while you're searching for a button that removes text to the right of your cursor, Apple uses a completely different logic. Their "delete" button does what Windows calls "backspace." And for what you call "delete," you need to know a trick. A simple key combination that no one tells you. Not even if you restart your MacBook in sheer desperation. Time to clear up that confusion once and for all.
Useful links
- MacBook accessories for a better typing experience
- Refurbished MacBook collection with different keyboard layouts
The mystery of the missing delete button
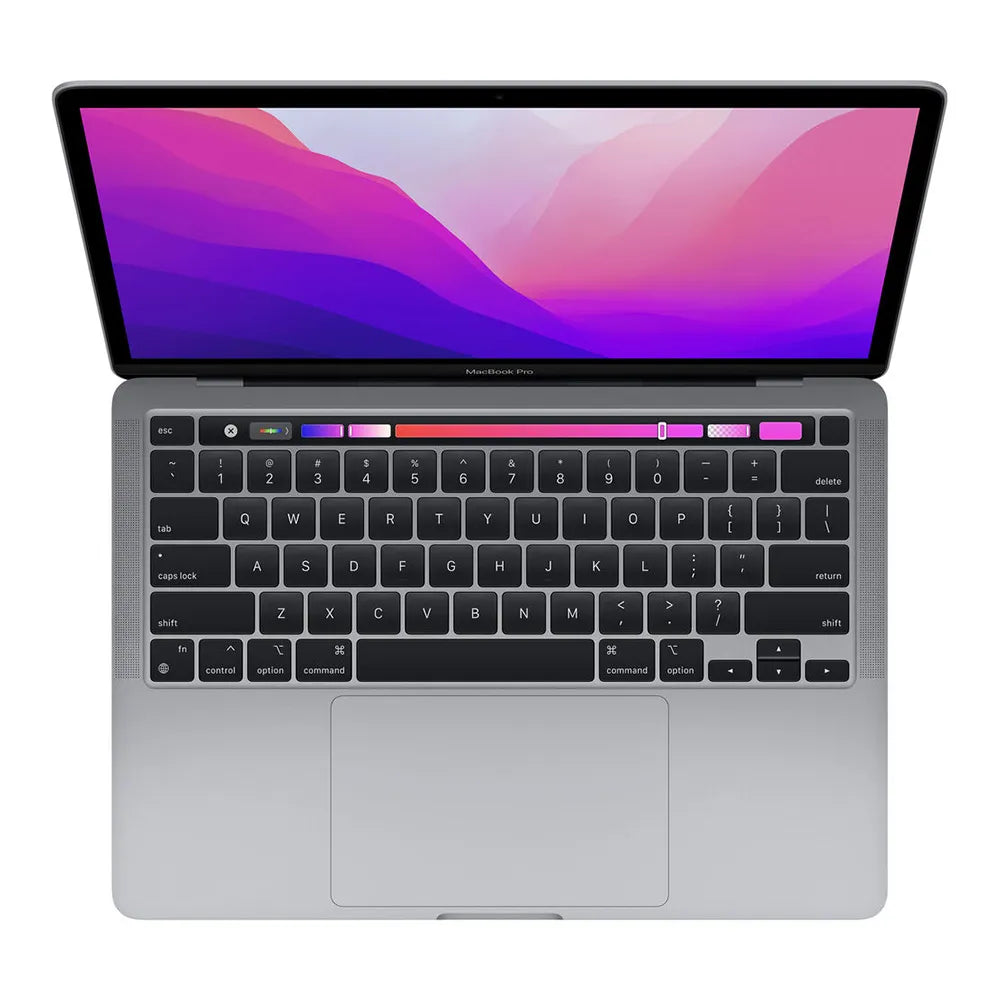
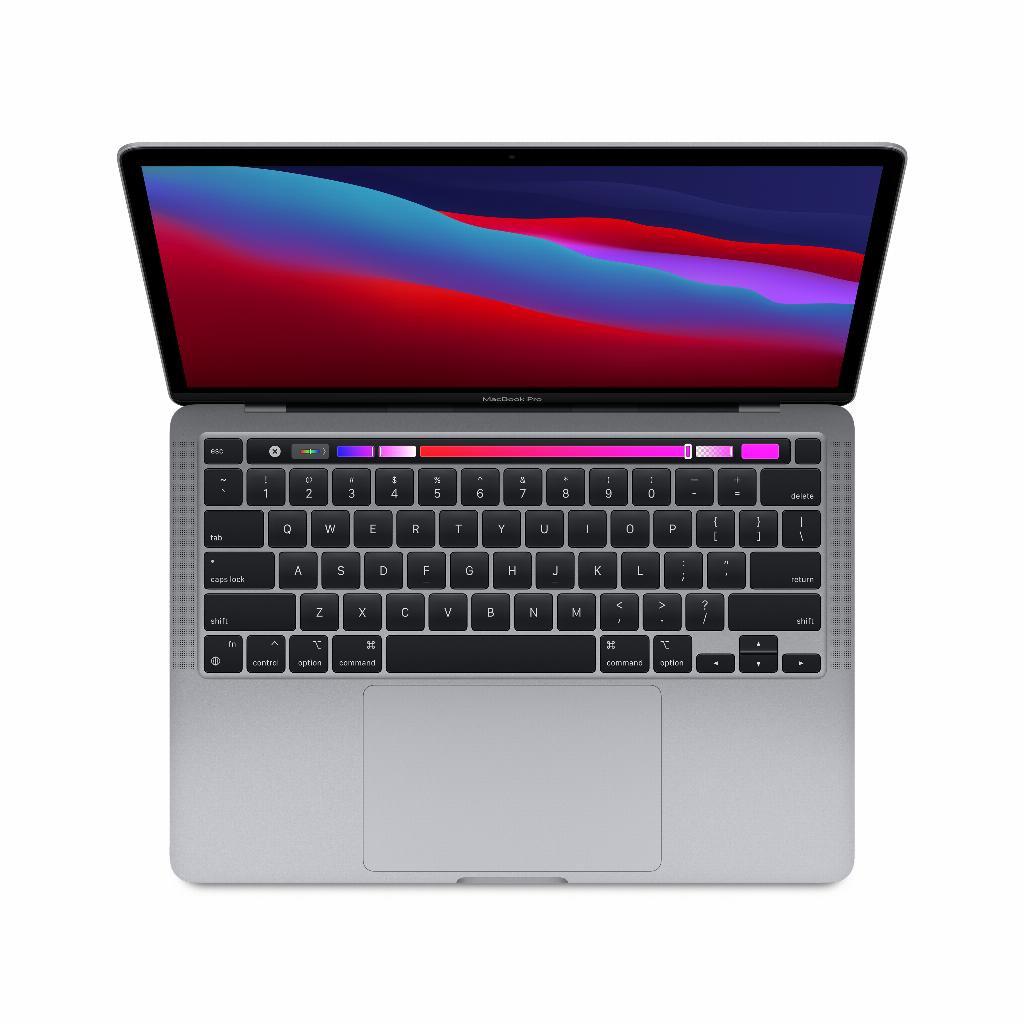
The confusion begins the moment you open your new MacBook. You look at the keyboard and wonder: where did that delete button go? Where you expect it to be, in the upper right corner of the keyboard, you see only a button marked "Delete." But it does the exact opposite of what you're used to.
Apple uses a different philosophy than Windows manufacturers. What Apple calls "delete" is called "backspace" in Windows. This button deletes characters to the left of your cursor. For deleting characters to the right of the cursor—what Windows users know as "delete"—Apple has come up with a clever solution: a key combination.
The fn key: your secret weapon
The secret lies in the fn (function) key. This small key in the bottom left corner of your keyboard opens up a world of extra functions. For the delete function you're looking for, simply hold down fn while pressing the delete key. Suddenly, you'll be deleting characters to the right of your cursor instead of to the left.
Apple didn't choose this approach randomly. It saves space on the keyboard, which is especially valuable for the compact MacBook Air models. It also keeps the keyboard cleaner and more organized.
Differences between MacBook models
Not every MacBook model works exactly the same:
- MacBook Air: Always uses the fn + delete combination. There's no dedicated forward delete key.
- MacBook Pro 13-inch: Here too, use fn + delete for forward delete functionality.
- MacBook Pro 16-inch: Some older models do have a dedicated delete key to the right of the return key.
- MacBook with Touch Bar: The Touch Bar can show additional delete options depending on context.
Useful shortcuts for text editing
Now that you know the basics, here are more tricks to boost your productivity:
Delete entire words: Hold down Option + Delete to delete entire words to the left of the cursor. To delete words to the right, press Fn + Option + Delete.
Delete entire lines: Command + Delete deletes everything from the cursor to the beginning of the line. Press Fn + Command + Delete to delete to the end of the line.
Select and delete: Combine Shift and the arrow keys to select text. Then press Delete to remove the selection. This is faster than deleting characters one by one.
Troubleshooting the Delete Function
Is your delete button not working as expected? Here are the most common causes and solutions:
Check software settings
Sometimes the problem lies in System Preferences. Go to System Preferences > Keyboard and check whether the option "Use F1, F2, etc. keys as standard function keys" is disabled. If it is enabled, you'll need to use the Fn key in reverse.
Cleaning the keyboard
A stuck key can be frustrating. Turn off your MacBook, gently tilt it to a 75-degree angle, and use compressed air to remove crumbs and dust. Spray in a zigzag pattern across the entire keyboard.
External keyboards
Using an external keyboard? Windows keyboards work fine with your MacBook, but the delete key does what you're used to: delete characters to the right of the cursor. The backspace key on a Windows keyboard functions like the regular delete key on a MacBook.
Alternatives to the delete function
There are situations where traditional deletion methods aren't ideal. Fortunately, macOS offers several alternatives:
Trackpad gestures: Use three fingers on the trackpad to select text by swiping. Then tap with two fingers to bring up the context menu and choose "Cut" or "Delete."
Accessibility Options: For users with motor impairments, macOS offers the on-screen keyboard. This virtual keyboard does have a prominent forward delete button. Enable it via System Preferences > Accessibility > Keyboard.
Text Replacements: Set automatic text corrections for common typos. This prevents you from having to delete anything at all. Go to System Preferences > Keyboard > Text to set this up.
Tips for Windows switchers
Switching from Windows to macOS takes some getting used to. These tips will make the transition smoother:
Give yourself two weeks to get used to the new keyboard layout. Muscle memory needs time to adjust. Force yourself to use the fn + delete key combination, even if it feels unnatural.
Consider installing Karabiner-Elements, a free tool that lets you redefine keys. This allows you to create a Windows-like keyboard layout on your MacBook if desired.
Print a cheat sheet with the most important key combinations and stick it next to your screen. After a few weeks, you'll use them automatically.
The logic behind Apple's choice
Apple's design philosophy revolves around minimalism and elegance. By combining functions via the fn key, the keyboard remains compact without sacrificing functionality. This approach aligns with the broader Apple ecosystem, where simplicity and intuitiveness are paramount.
The choice to use "delete" for what is technically "backspace" stems from the early days of the Macintosh. Apple wanted to differentiate itself from the competition and deliberately chose its own terminology. They continue this tradition, even though it causes confusion for new users.
Conclusion
The delete button on your MacBook is indeed there, but it works differently than you might expect. The fn key unlocks full functionality. After a short period of getting used to it, you'll find Apple's approach logical and efficient. The compact keyboard offers all the functions you need, without unnecessary keys. Keep experimenting with the different key combinations and discover just how powerful the MacBook keyboard really is.
The delete button is right under your nose
The delete button on your MacBook is right there, right under your nose—it just works a little differently. The Fn key brings up all the functionality you're used to in Windows. It feels unfamiliar at first, but after a few weeks, you'll use the shortcuts without a second thought.
Typical Apple: they choose their own approach that ultimately proves quite logical. Whether you're editing text on a refurbished MacBook Pro or a brand-new Air, the tricks remain the same.