As a proud owner of an Apple device, you naturally want to benefit from all the advantages that the Apple ecosystem has to offer. One of those advantages is Apple Pay , a simple and secure payment method that makes life a lot easier. However, setting up Apple Pay can come with some uncertainty. Is it compatible with your bank and device? What about the security of your financial information? And how do you actually set up Apple Pay on your device? In this blog, we will take away all these concerns and show you step by step how to set up Apple Pay and use it optimally.
Step by Step: Set Up and Use Apple Pay
To help you set up and use Apple Pay as best as possible, we have listed the following tips and tricks for you. This way, you will be ready to pay safely and quickly with your Apple device in no time.
1. Check the compatibility of your device and bank
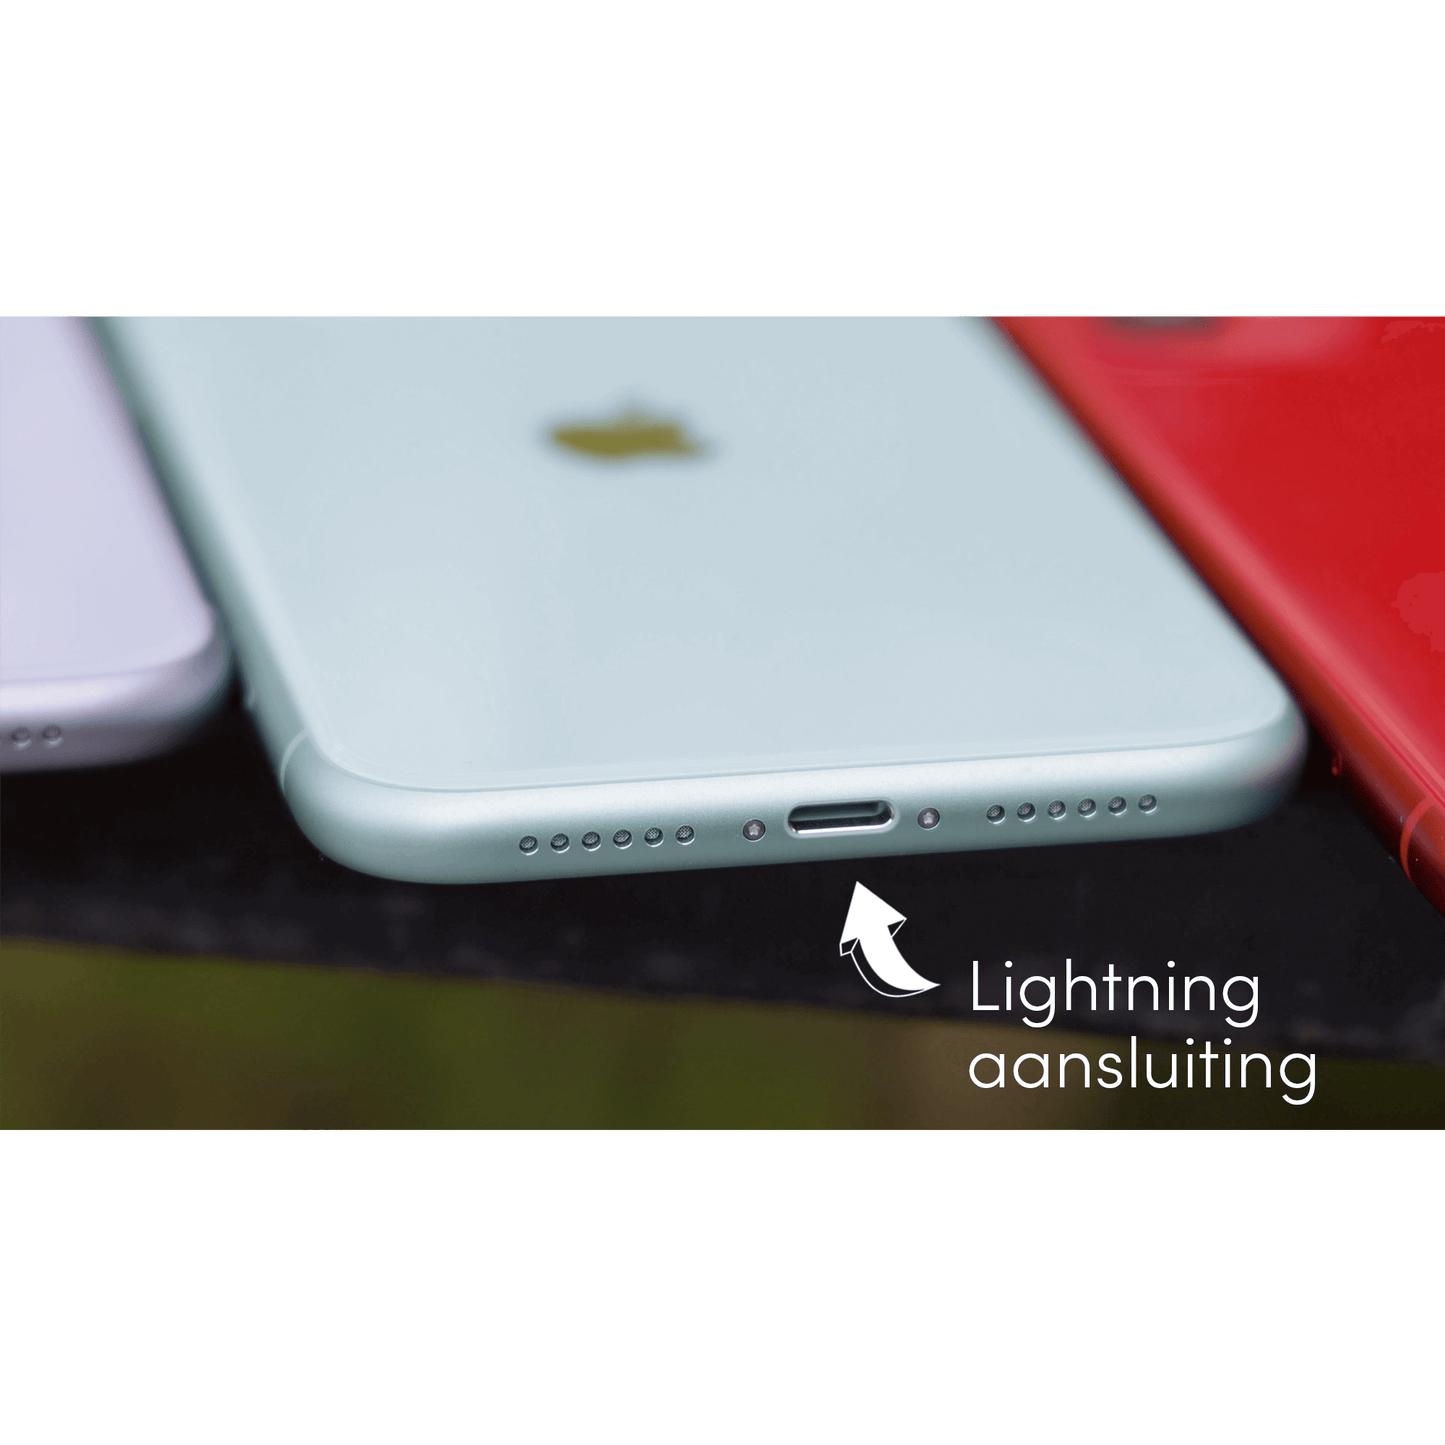
Apple Pay is compatible with most recent Apple devices, including iPhone, iPad, Apple Watch and Mac. To check if your device is compatible with Apple Pay, you can check Apple's support page . It is also important to know if your bank supports Apple Pay. In the Netherlands, most major banks, such as ING, Rabobank, ABN AMRO and bunq, are compatible with Apple Pay. A full list of supporting banks can be found here .
2. Add a payment card to the Wallet app
To use Apple Pay, you’ll first need to add a payment card to the Wallet app on your device. Here’s how:
- Open the Wallet app on your iPhone or iPad .
- Tap the plus sign in the top right corner.
- Follow the steps to add your payment card. This can be done by inserting the card manually or by taking a picture of the card with your device's camera.
- Accept your bank's terms and conditions and verify your card if necessary.
- Wait for your bank to validate your card and tap 'Next' to add the card to your Wallet.
On Apple Watch , add a payment card using the Watch app on your paired iPhone. To add a card on your Mac , go to System Preferences > Wallet & Apple Pay and click Add Card.
3. Set Apple Pay as your default payment method
If you have multiple payment cards in your Wallet, you can specify which card you want to use by default for Apple Pay. To do this, drag the desired card to the front in the Wallet app on your iPhone or iPad. On your Apple Watch, set the default card via the Watch app on your iPhone, under 'Wallet & Apple Pay' > 'Default Card'.
4. Pay with Apple Pay
Using Apple Pay to pay is quick and easy. In physical stores, hold your iPhone or Apple Watch near the payment terminal with the Apple Pay or contactless payment logo. On your iPhone, confirm the payment with Face ID, Touch ID , or your passcode. On your Apple Watch, double-click the side button and hold the screen near the payment terminal.
For online payments and in-app purchases, select the 'Apple Pay' option during checkout and confirm the payment in the same way as in physical stores.
5. View your transaction history
In the Wallet app on your iPhone or iPad, you can easily view your transaction history. Tap a payment card to see recent transactions. On your Apple Watch, the last ten transactions are visible in the Wallet app.
How Leapp can help you further
With this step-by-step guide, you are now all set to set up and use Apple Pay on your Apple device. At leapp, we are here to help you, both with purchasing sustainable ( refurbished ) Apple products and with support when you unexpectedly get stuck (like in this blog). Our excellent service is always there for you.
Are you inspired and want to get even more out of your Apple ecosystem? Then take a look at leapp.nl for our range of refurbished Apple products. Make your life even easier and more sustainable with leapp!